Add Photo to Video: 5 Best Ways to Put a Picture in Your Clip

Edited by
Ben Jacklin
12,316

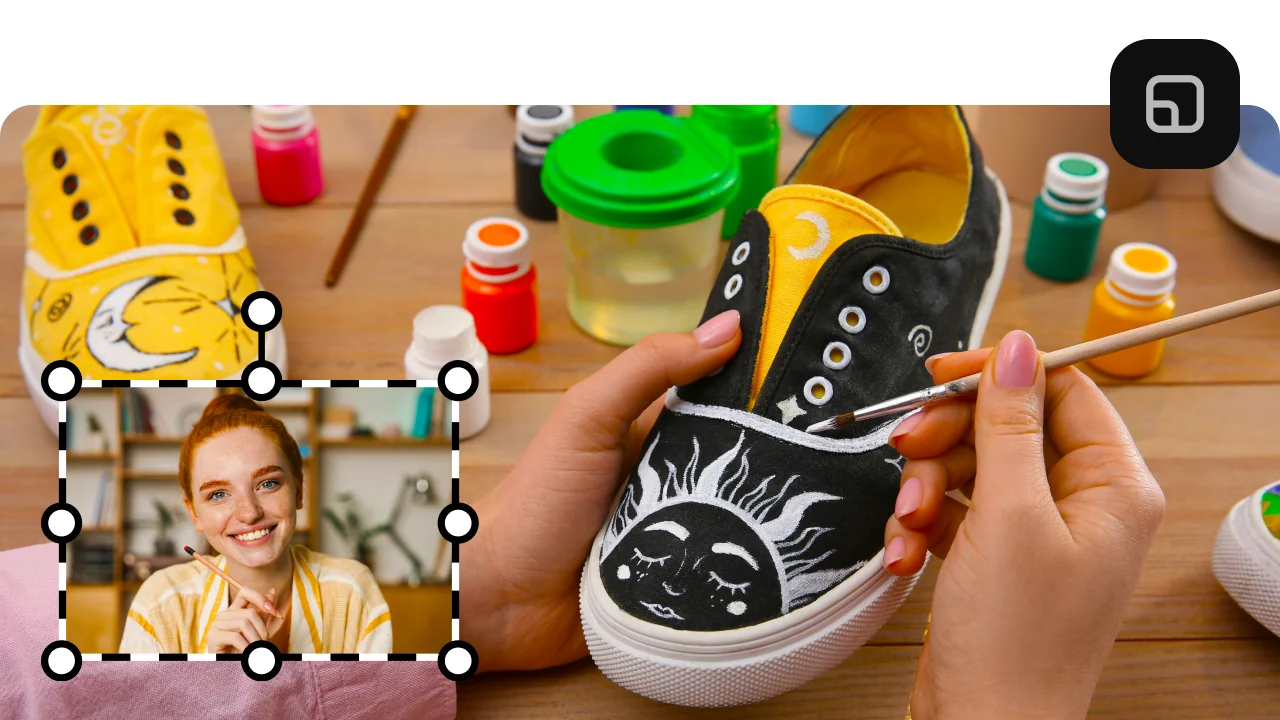
There are two ways to add photo to video. You can layer the picture over your footage, as a corner inset, a channel logo, or a split screen. Or you can cut to the photo as its own full-screen shot, alone or as a short slideshow. Movavi Video Editor handles both on Windows and macOS. iMovie is the free pick on a Mac or iPhone, Kapwing and Clipchamp work in a browser with nothing to install, and CapCut does the job on a phone.

This guide is for you if you film unboxings or daily vlogs and want a product shot on screen while you talk. It also fits if you're putting together a birthday video for someone in your family, or if you review gadgets and want your channel logo in the corner of every clip.

Quick comparison: 5 ways to add a picture to a video

Tool

Best for

Online or desktop

Free version

Starting price

Ways to place the photo

Movavi Video Editor

Product shots in vlogs, birthday slideshows, channel logos

Windows, macOS

Yes: 60-second export cap, watermark

From $19.95

Picture-in-Picture, Logo, Side-by-side, Trio, Overlap, full-frame shot

iMovie

Simple family videos and school projects on Apple devices

Mac, iPhone, iPad

Completely free, no watermark

Free

Picture in Picture, Cutaway, Split Screen

Kapwig

Social clips edited with a team in the browser

Browser

Yes: watermark, 720p, short export cap

Pro: $24/month, or $16/month billed annually

Overlay layer you pinch to resize

CapCut

Short vertical clips edited on a phone

Mobile, web, desktop

Yes: 1080p, watermark when Pro assets or AI are used

Standard: $9.99/month; Pro: $19.99/month or $179.99/year

Overlay layer you pinch to resize

How we picked

We looked for tools that cover the job beginners ask about most: putting a still image on top of a clip, or between clips, without a learning curve. Four criteria decided the list. The tool has to support at least one way to overlay image on video. It has to run where you already edit: a desktop, a browser, or a phone. It needs a free version or a free price tier you can test first. And the basic job has to fit into a handful of steps.

How to add a photo to a video: 5 ways, step by step

1. Movavi Video Editor: put a picture on video with overlay modes

Best for: vloggers who want a product photo or screenshot on screen during an unboxing, and reviewers who brand every clip with a channel logo.
Why we picked it:

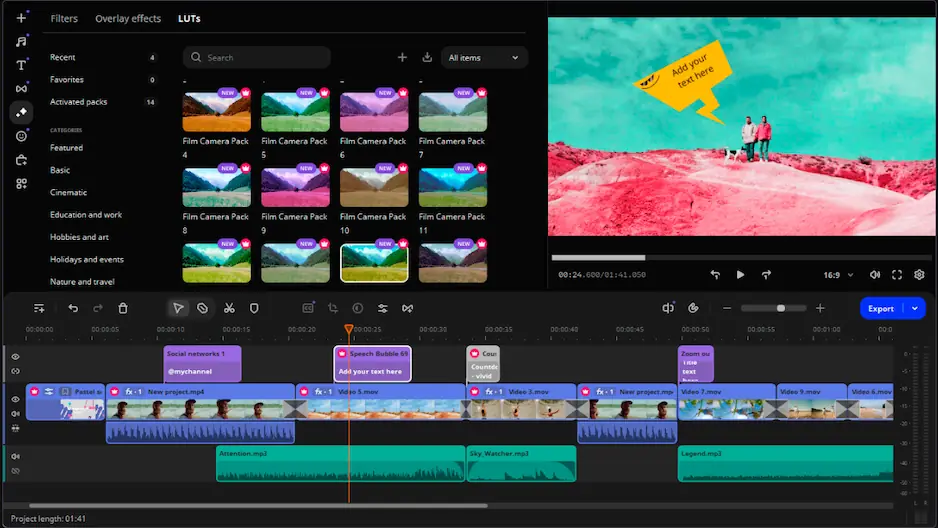
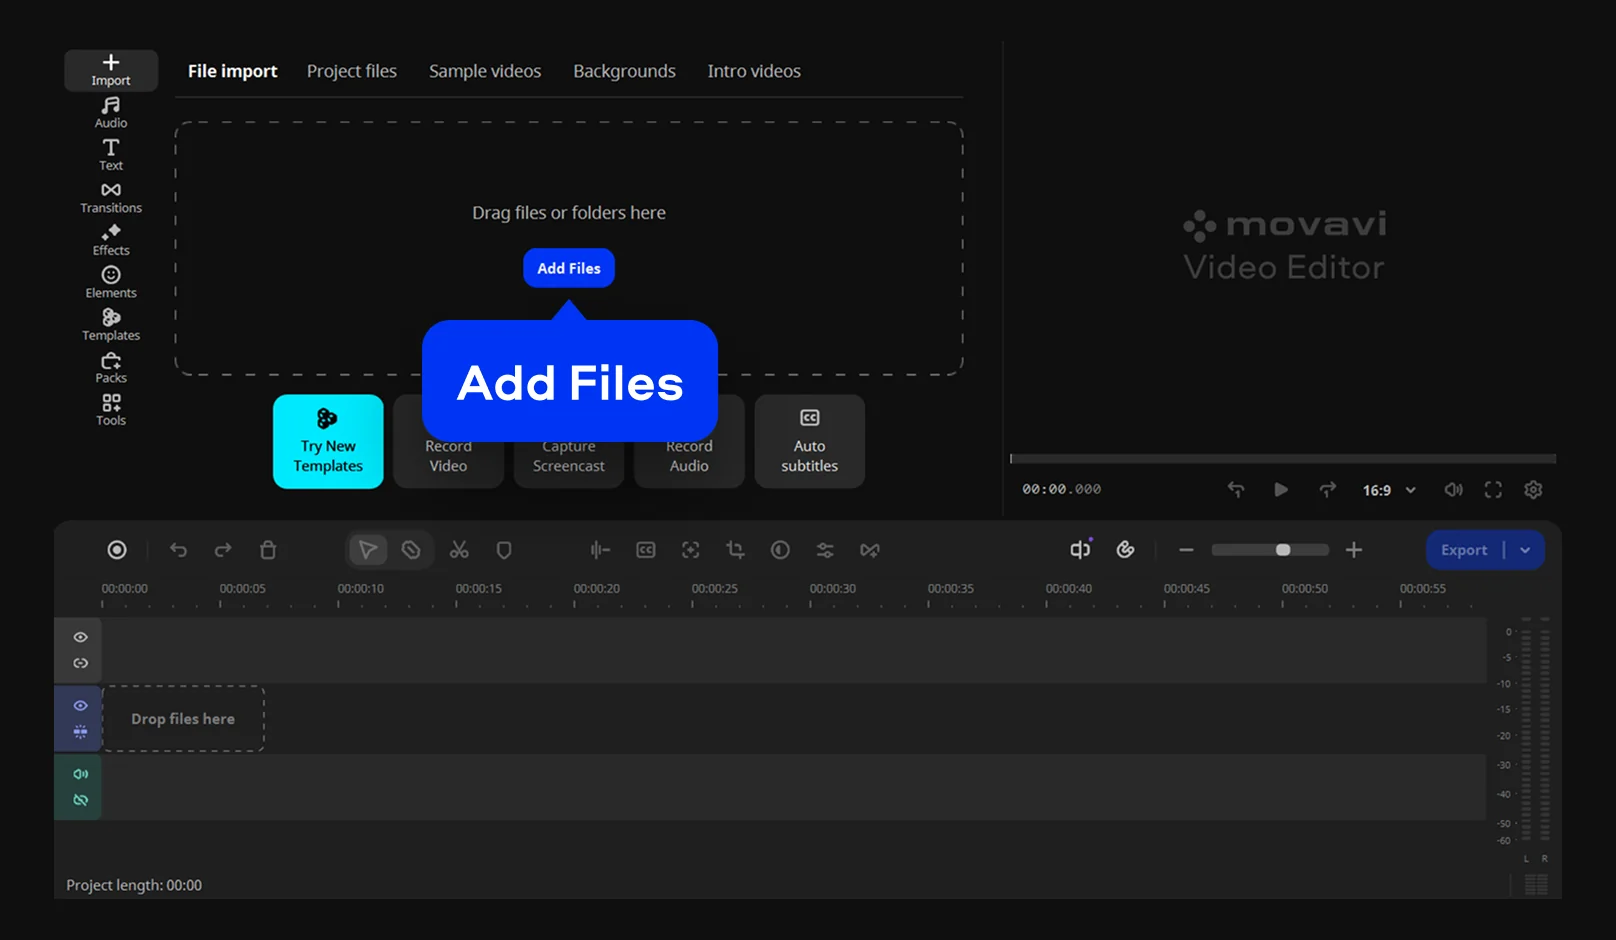
Movavi Video Editor is an intuitive video editor with customizable video templates, one-click AI tools, and hundreds of drag-and-drop effects. It's a desktop app for Windows and macOS, and every overlay option lives in one Position panel, so the first photo you drop in already sits where you want it. Templates come into play once you have lots of photos to show. Movavi Video Templates is a multi-style library of customizable, pro-looking, modular templates for any kind of video.

The drag-and-drop workflow keeps the whole job short: you hover over a clip or effect to preview it, then drag it onto the Timeline. Before you start, grab the highest-resolution version of your photo. If it's a logo, use a PNG with a transparent background so it doesn't bring a white box with it.

Key features

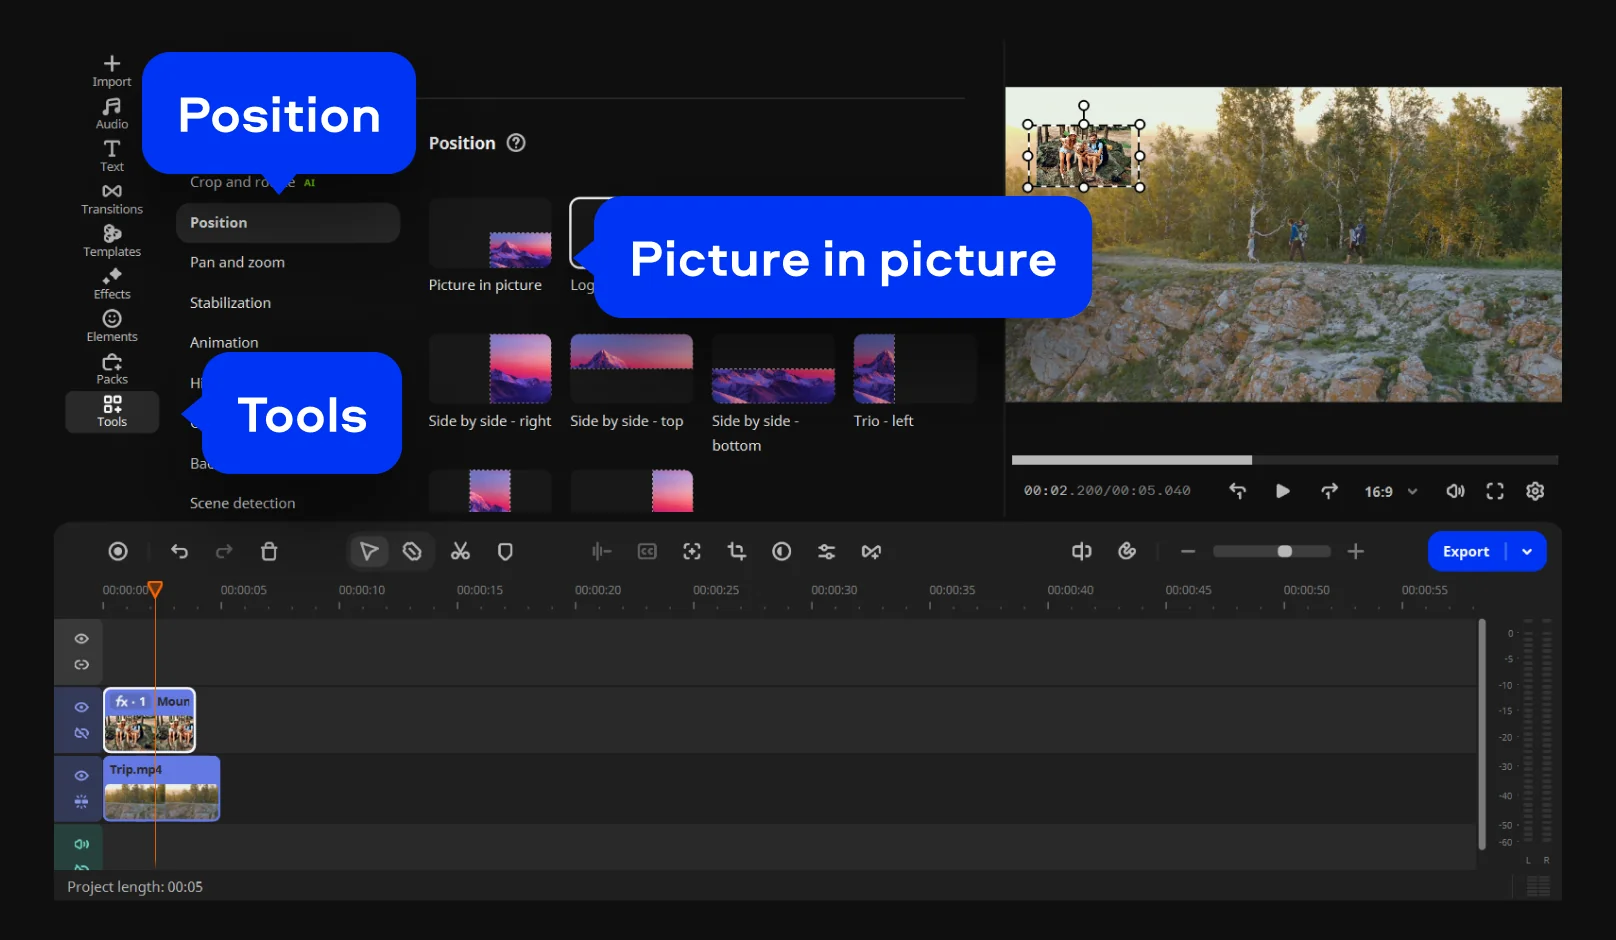
  • Five overlay modes: Picture-in-Picture, Logo, Side-by-side, Trio, and Overlap
  • AI Motion Tracking: attaches an image, video, or graphic to a moving subject in one click
  • Watermark and logo tool: image or text logo with adjustable position, size, opacity, and duration
  • Pan and Zoom: keyframe-based camera moves across a still photo
  • Movavi Video Templates: several templates included in the full version, with the whole library available through a separate Movavi Templates subscription
Pros:
  • Imports JPEG, PNG, BMP, and static GIF images, plus MP4, MOV, AVI, MKV, and WMV video

  • Works offline, with no account or cloud required

  • Hover previews show an effect or transition before you apply it

Cons:
  • No advanced, detailed controls for a professional workflow

  • No flexible interface customization

  • No web version or cloud integration

  • Although hundreds of effects and several templates are available in the full version, additional sets require separate subscriptions

Price and platforms: Movavi Video Editor is a desktop app for Windows and macOS. A free version is available (60-second export cap, watermark); the full version removes both. Plans start at $9.95/month

Step 1. Import your clips

Click Add Files and select your shaky clip. Drag it onto the TImeline, then click the clip there to select it.

Step 2. Add photo to your clip

Drag the photo onto the track above the video. The photo appears over your footage in the preview. Select Position on the Tools tab. Choose an overlay mode: Picture-in-Picture, Logo, Side-by-side, or Overlap. Drag the photo in the preview window to place and resize it.

Step 3. Export your video

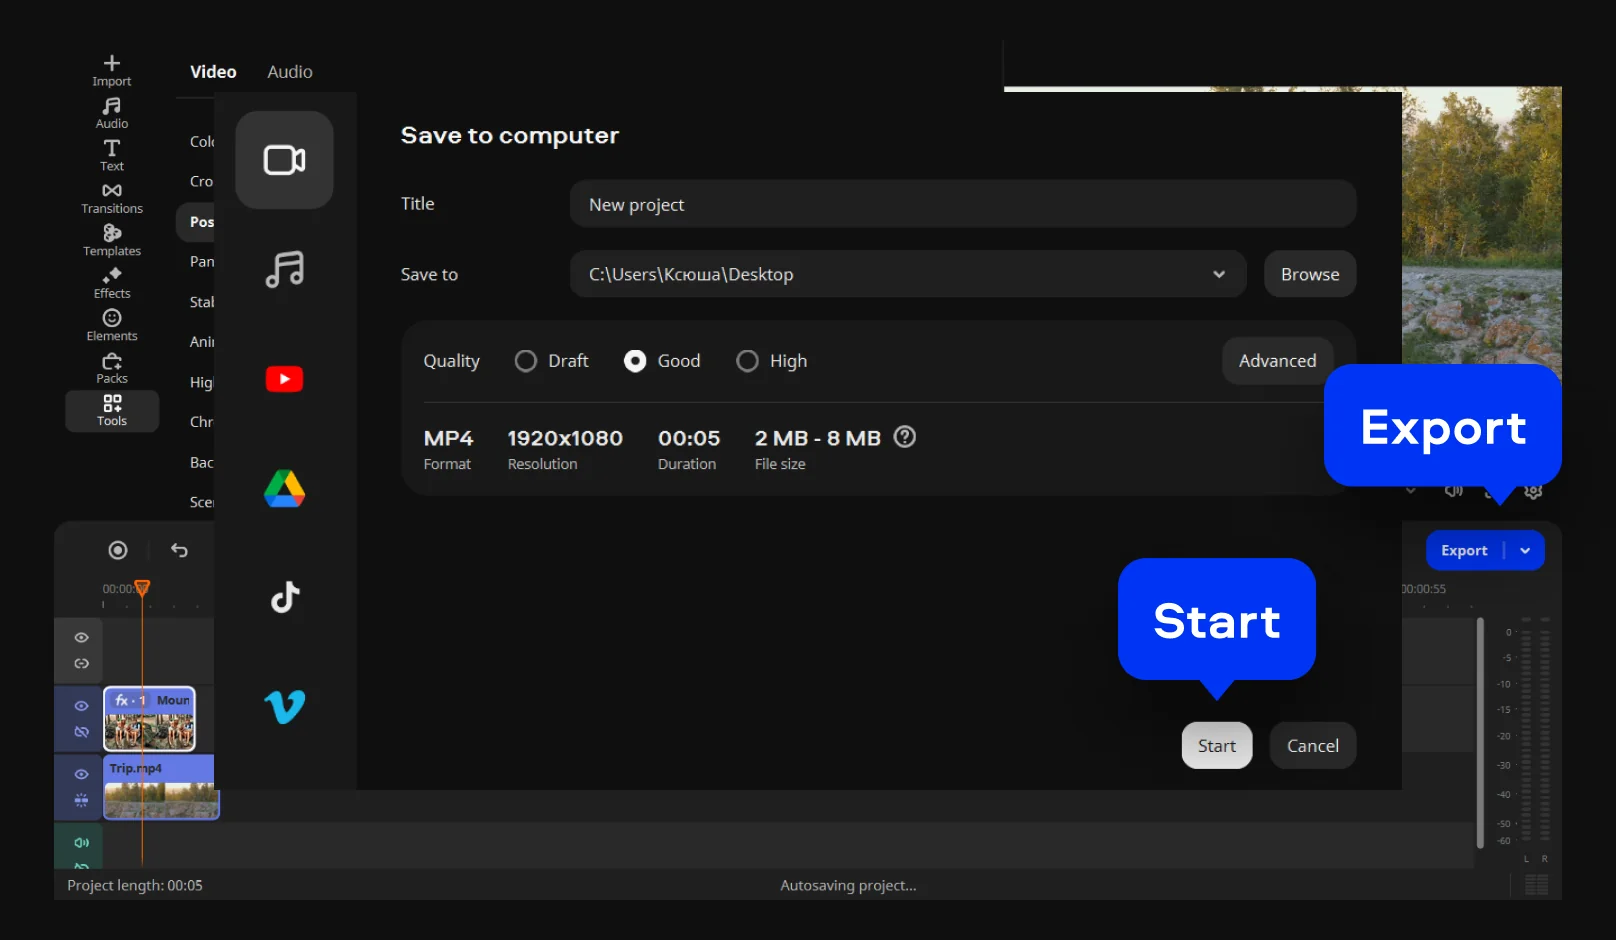
Click Export, then pick a format and resolution. Click Start.

2. Movavi Video Editor: add a photo as its own shot or a photo slideshow with video

Best for: family videos, like a birthday clip where baby photos play between this year's party footage.

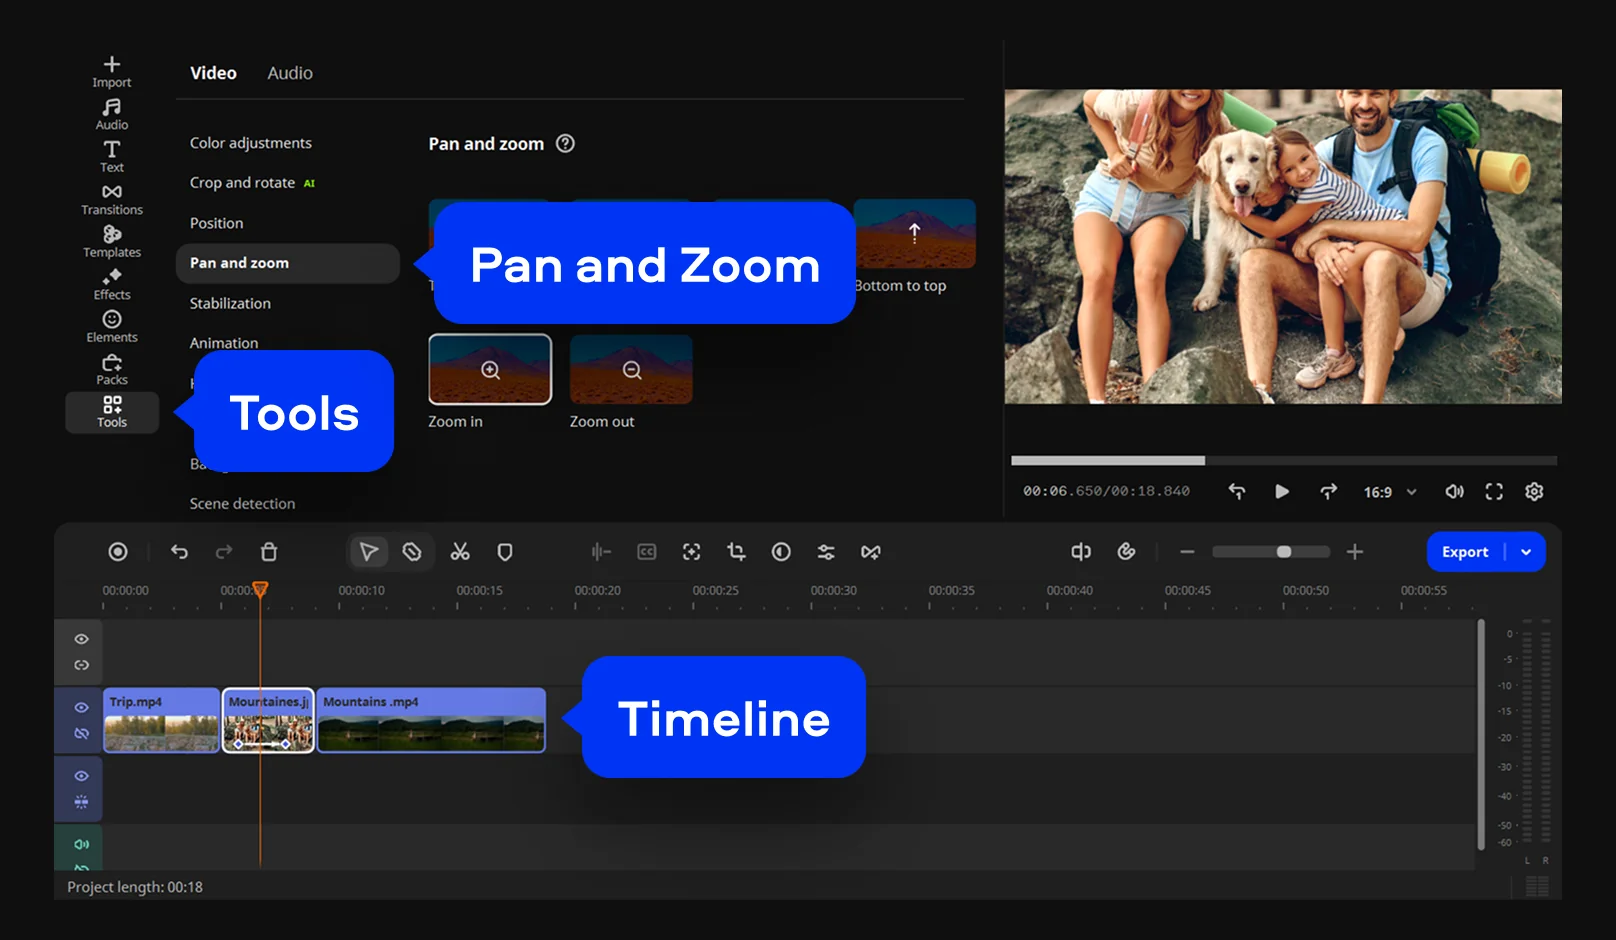
Here the photo isn't layered on top. It plays full screen between your clips. A still photo holds attention longer when it moves, which is what the Ken Burns effect does. Wikipedia describes it as slow panning and zooming across a still image, named after the documentary filmmaker Ken Burns. In Movavi Video Editor, the tool is called Pan and Zoom.

Step 1. Import your clips

Click Add Files and select your shaky clip. Drag it onto the TImeline, then click the clip there to select it.

Step 2. Zoom in or out on the photo

Drag a photo onto the Timeline between two video clips. Select the photo on the Timeline. Click Tools on the left sidebar and choose Pan and Zoom. Click a preset. The photo now zooms or pans as it plays.

Step 3. Export your video

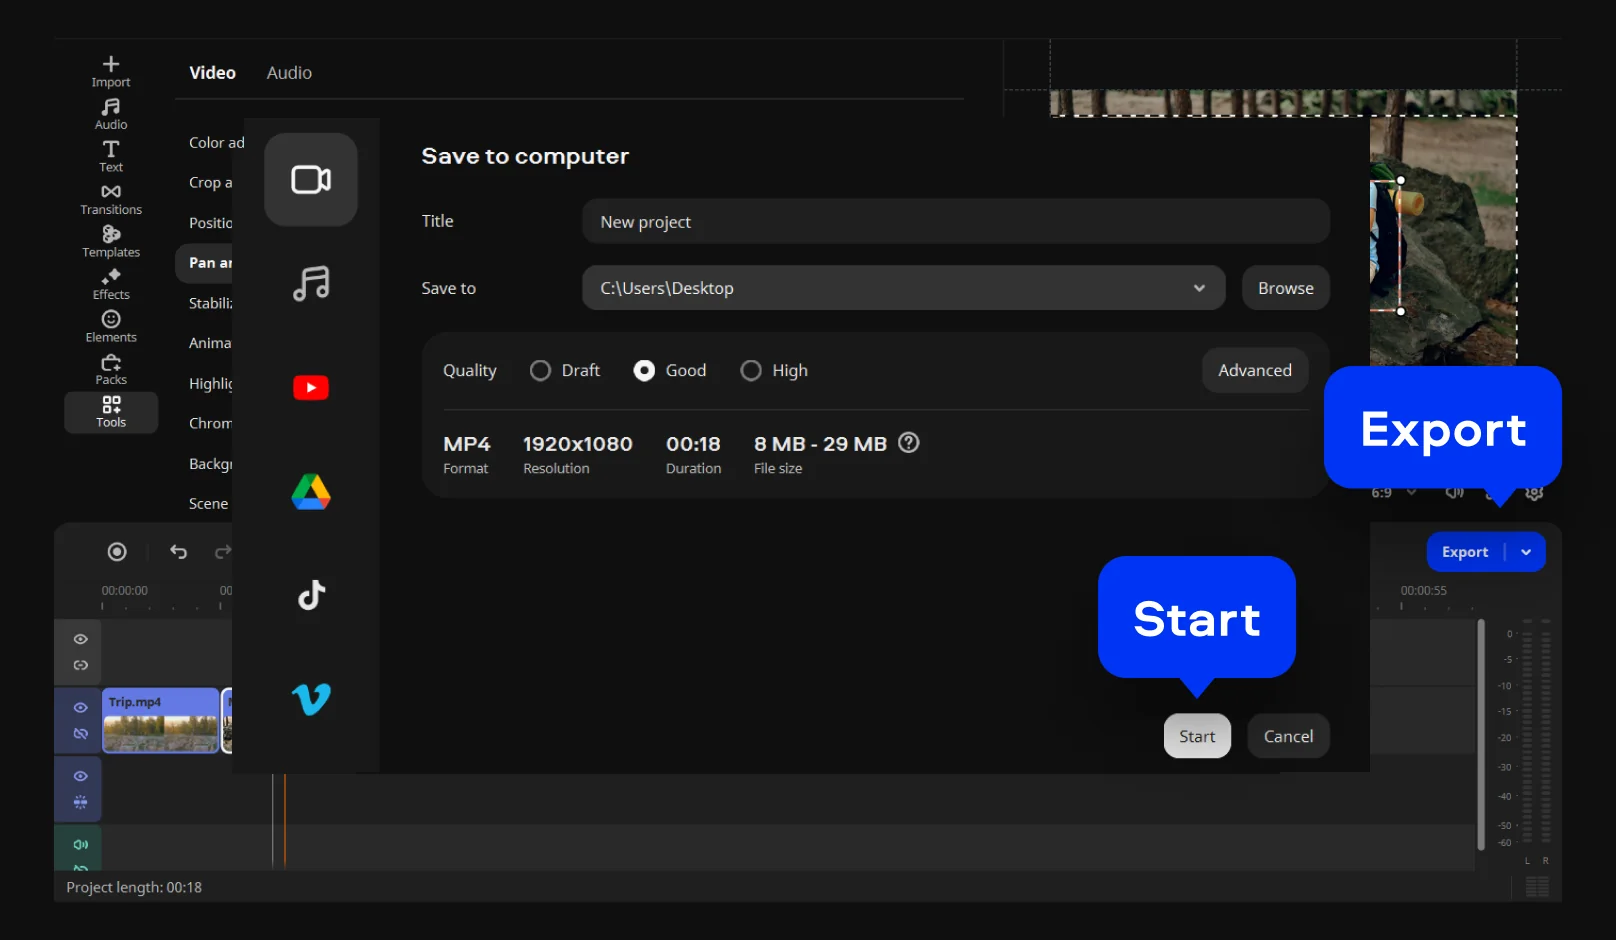
Click Export and choose MP4 for broad compatibility. Then click Start to save your finished video.

3. iMovie: Picture in Picture and Cutaway on a Mac

Best for: Mac owners making simple family videos, school projects, or a first edit.

Why we picked it:

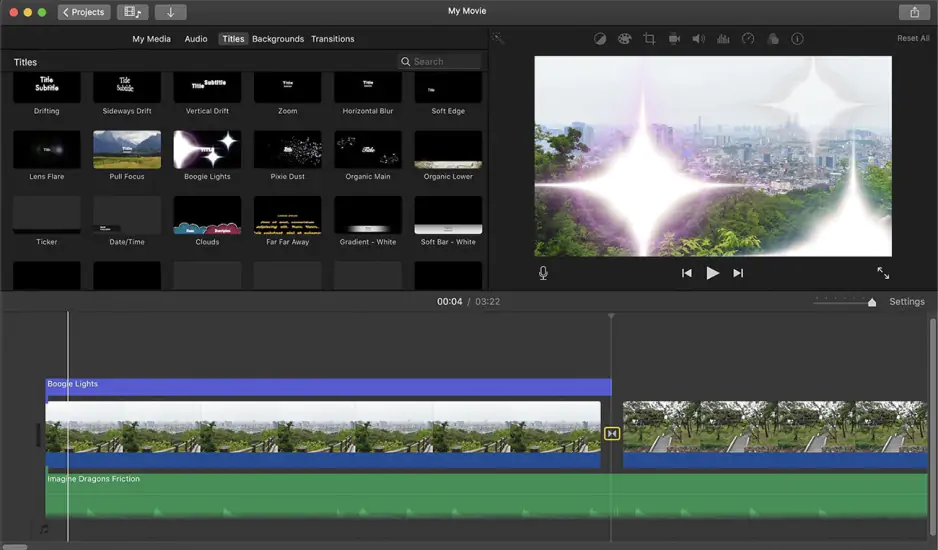
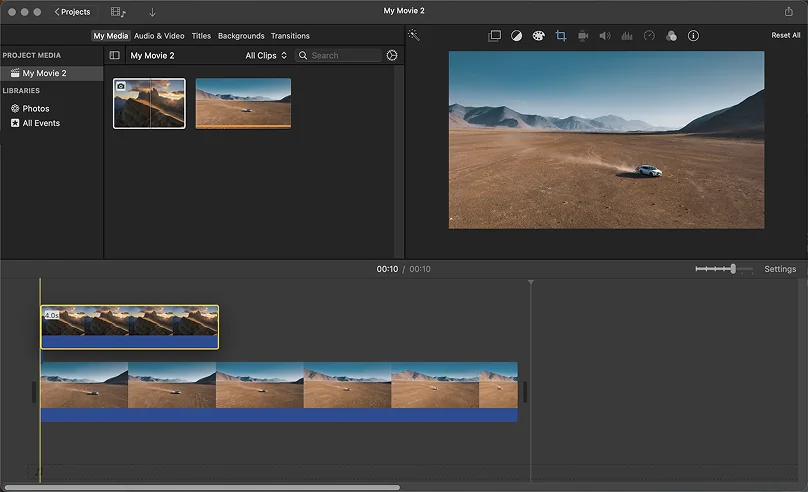
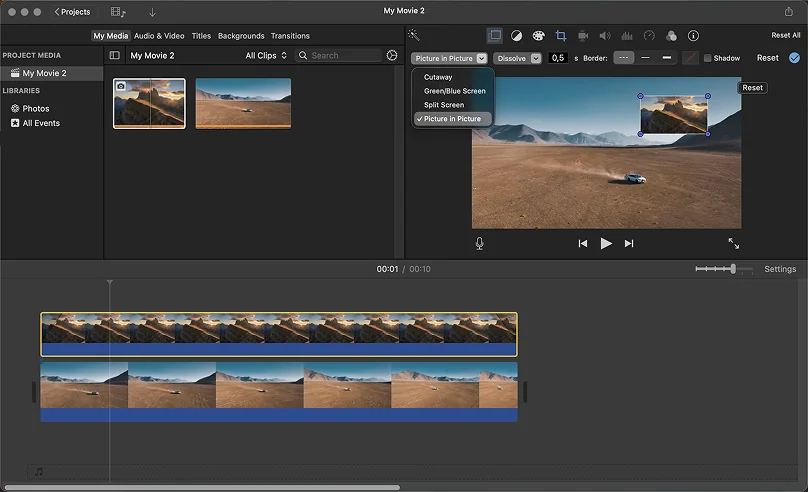
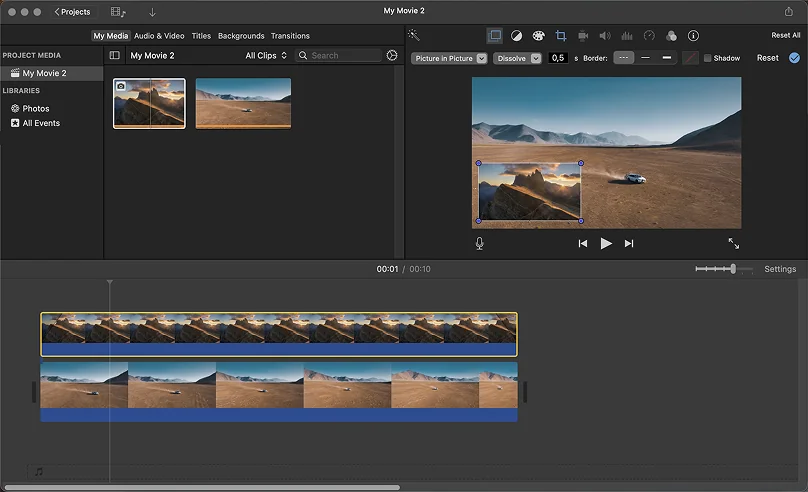
iMovie is Apple's free, simple editor, preinstalled on its devices. It has three overlay types: Picture in Picture for an inset window, Cutaway for a full-frame photo that briefly replaces the clip below it, and Split Screen. Photos you add get the Ken Burns effect automatically.

Key features

  • Picture in Picture with borders, a drop shadow, and a Dissolve, Zoom, or Swap entrance
  • Cutaway with an opacity slider and adjustable fades
  • Keyframes that move a picture-in-picture window along a path (Mac)
Pros:
  • Completely free, with no watermark or limits

  • Preinstalled on Apple devices

  • Ken Burns effect applied to photos by default

Cons:
  • Available only on Apple devices

  • Few effects and limited export control

  • Almost no AI features

Price and platforms: free on Mac, iPhone, and iPad.

4. Kapwing: add image to video online

Best for: teams and agencies editing short social clips together.

Why we picked it:

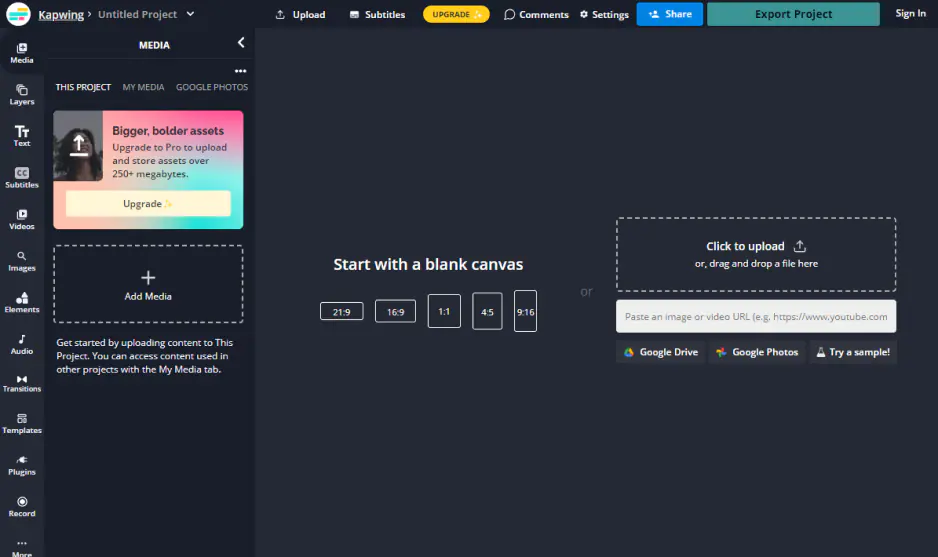
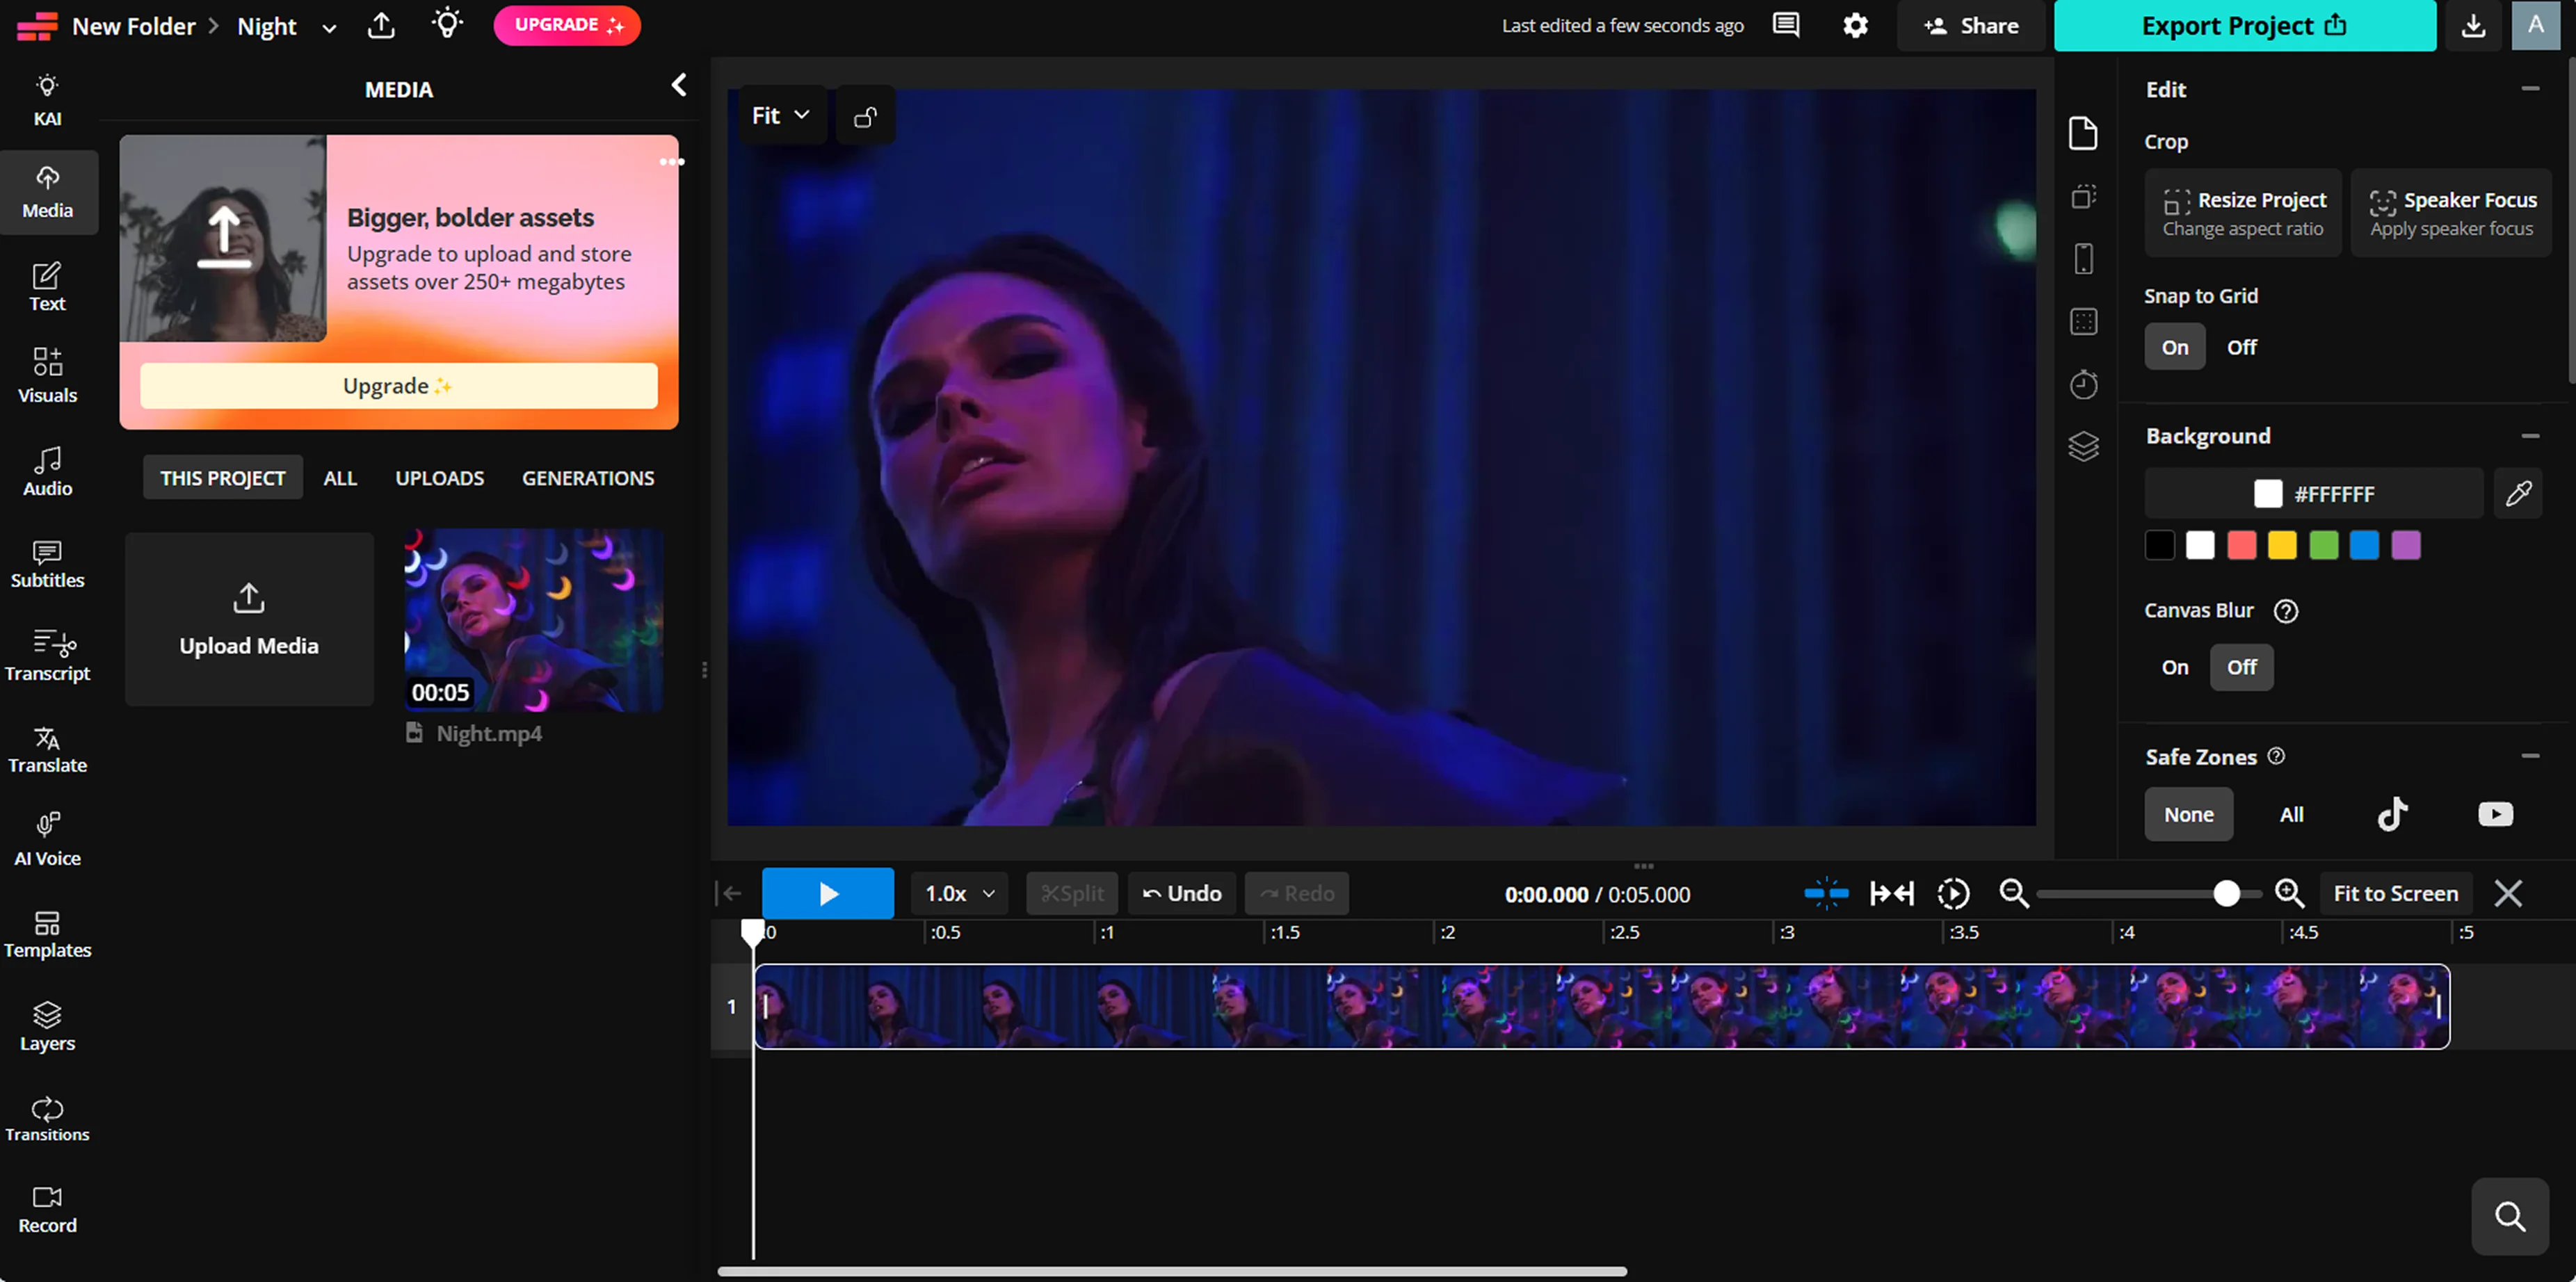
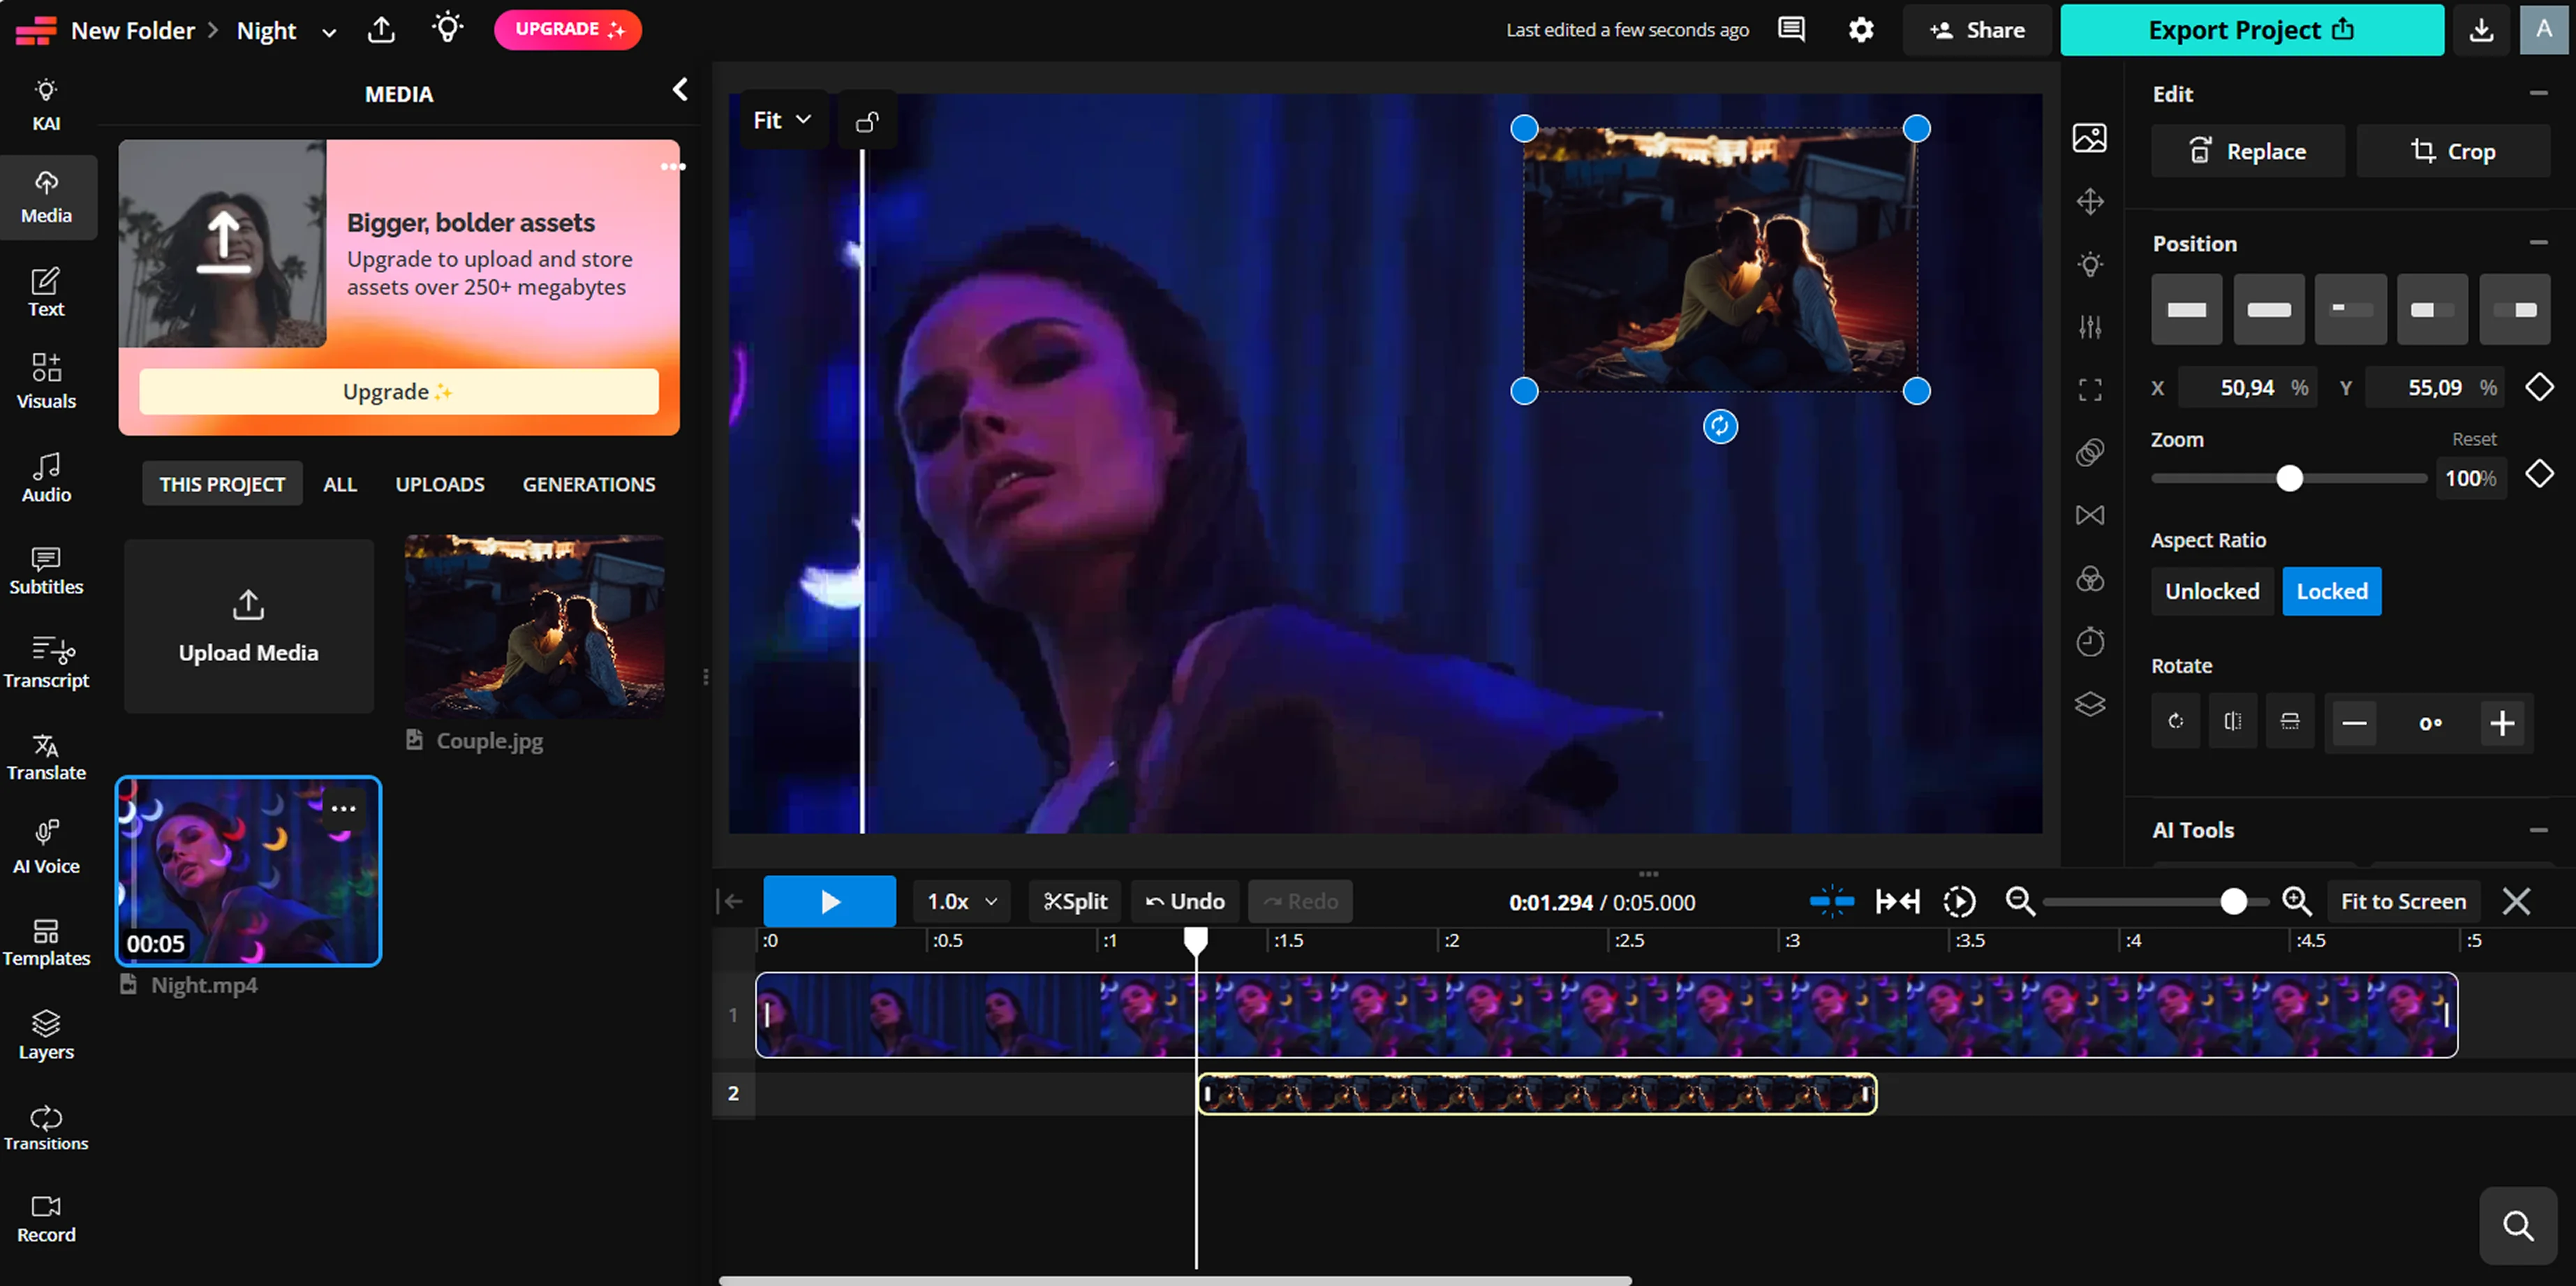
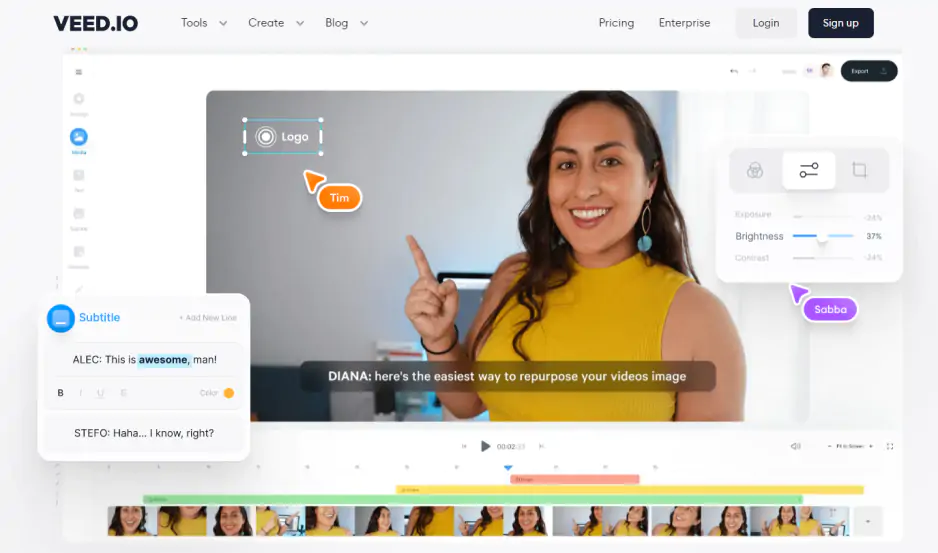
Kapwing is a browser-based editor with real-time collaboration, so two people can work on the same video. Adding an image takes a drag and drop..

Key features

  • Real-time collaborative editing and comments
  • Smart Cut, which removes pauses automatically
  • Auto subtitles and an AI Clip Maker
Pros:
  • Runs in any browser, with nothing to install

  • Built for teamwork on social clips

Cons:
  • AI features run on a monthly credit allowance

  • Premium stock and some templates need a paid plan

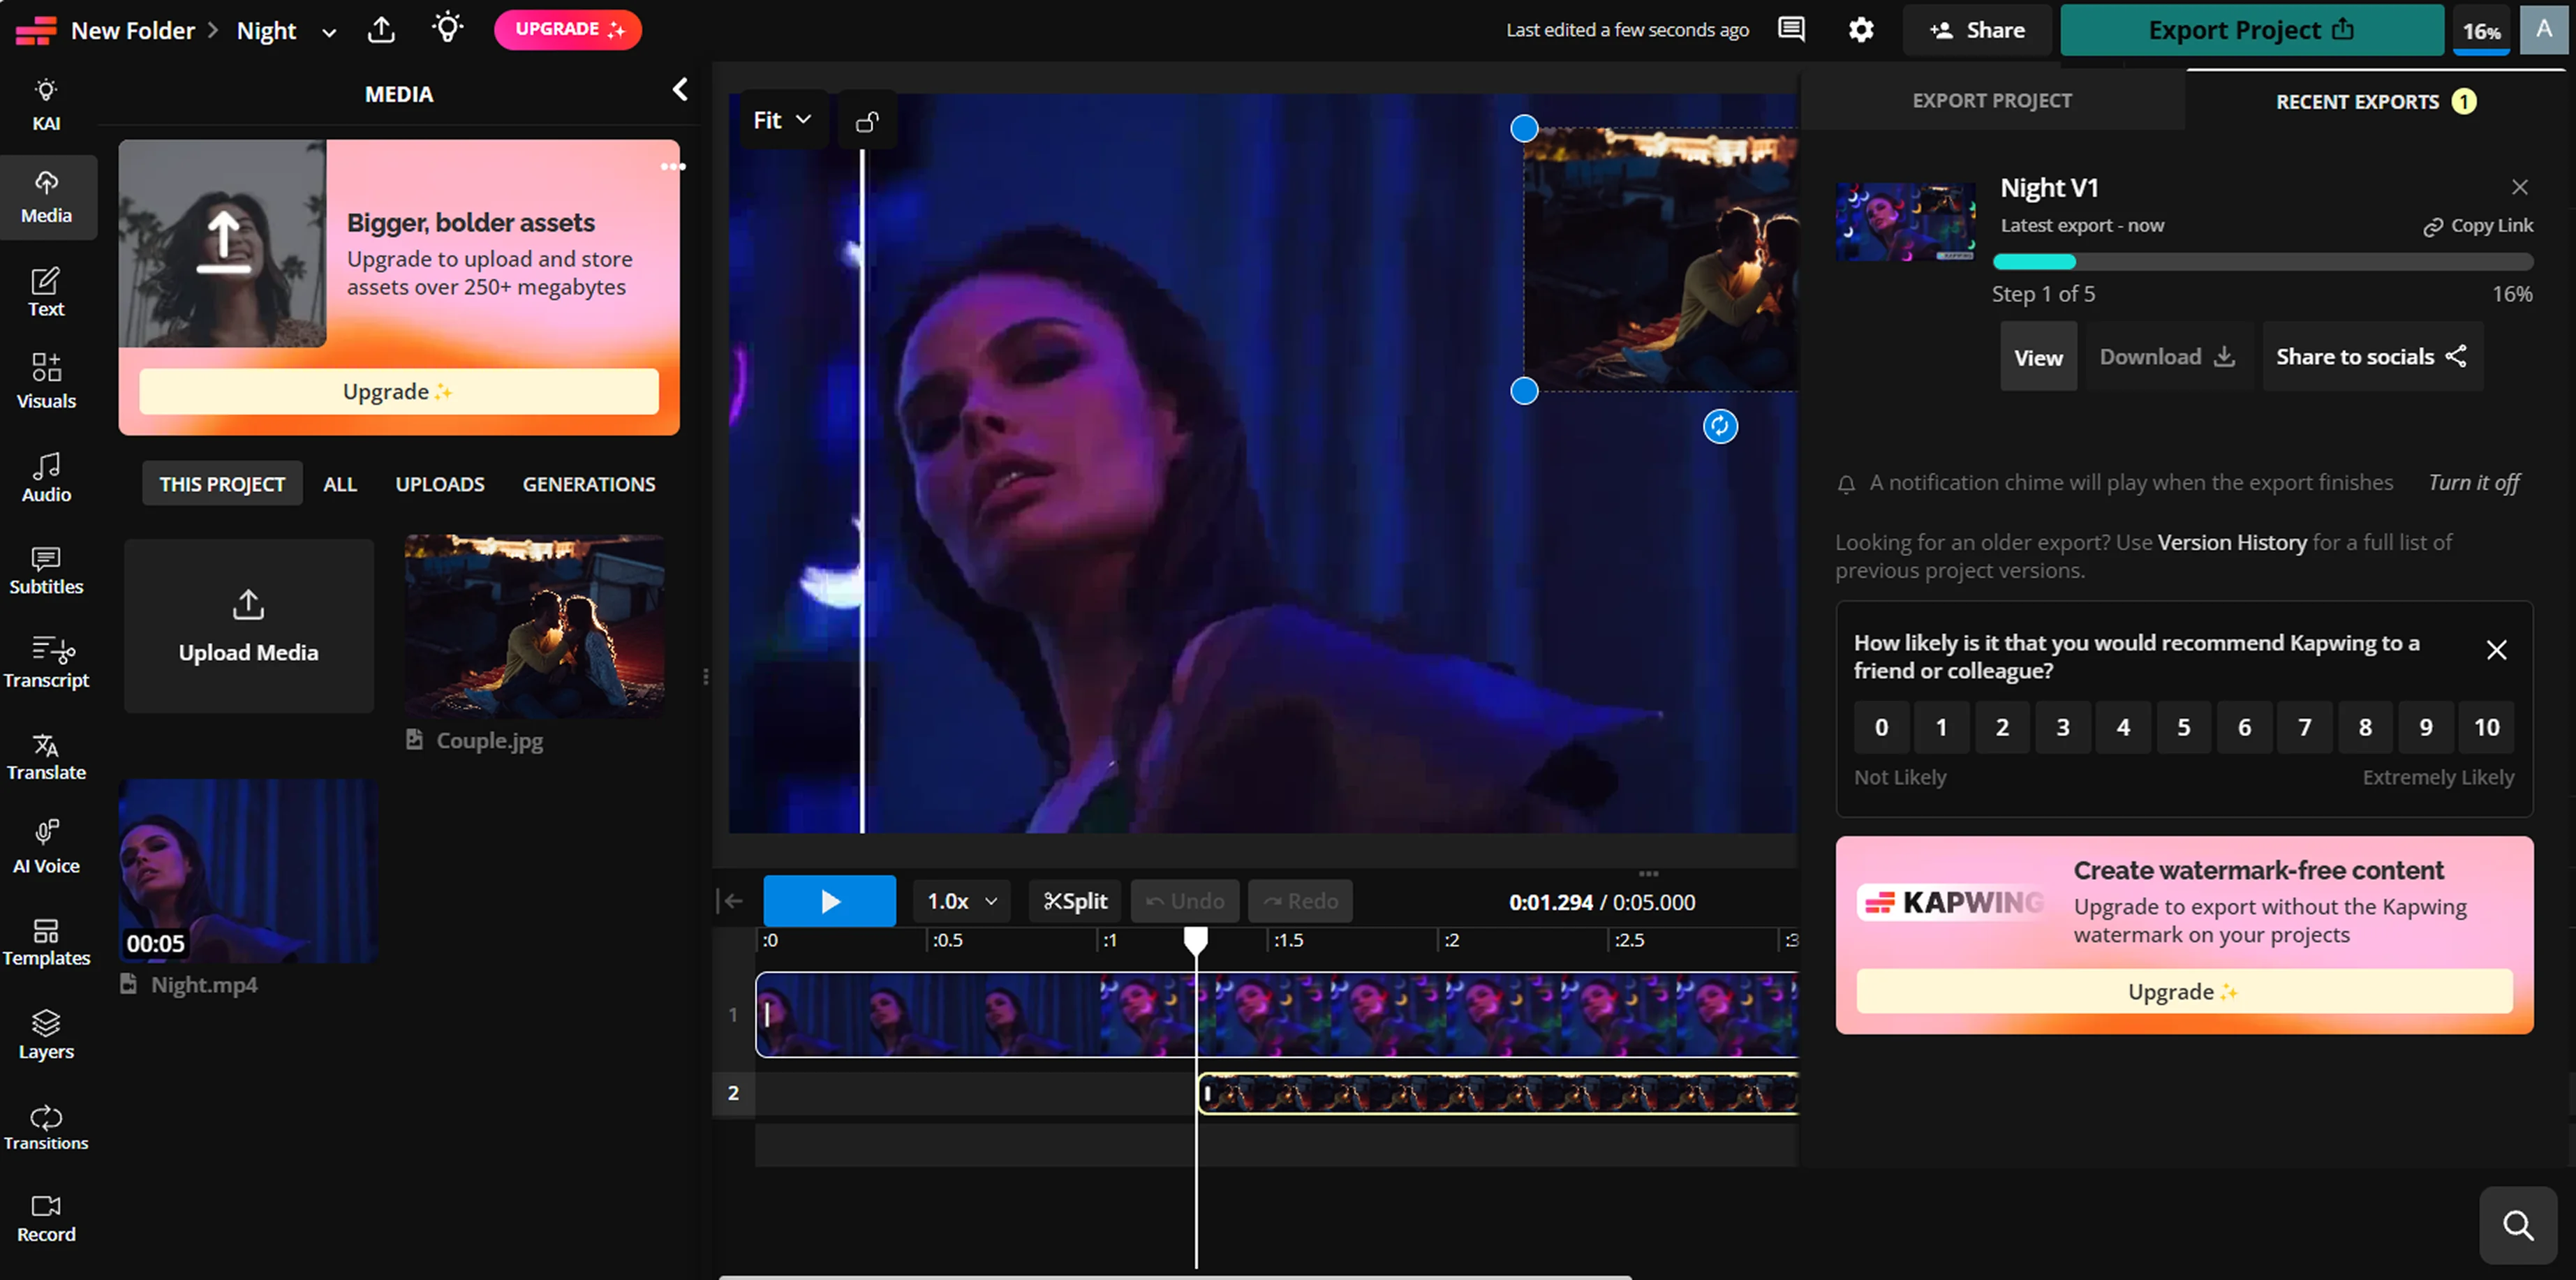
  • The free plan adds a watermark, caps exports at 1 to 4 minutes, and exports at 720p

Price and platforms: browser. Free with the limits above; Pro costs $24/month, or $16/month billed annually.

5. CapCut: add a picture to a video on your phone

Best for: creators making short vertical clips for TikTok, Reels, and Shorts.

Why we picked it:

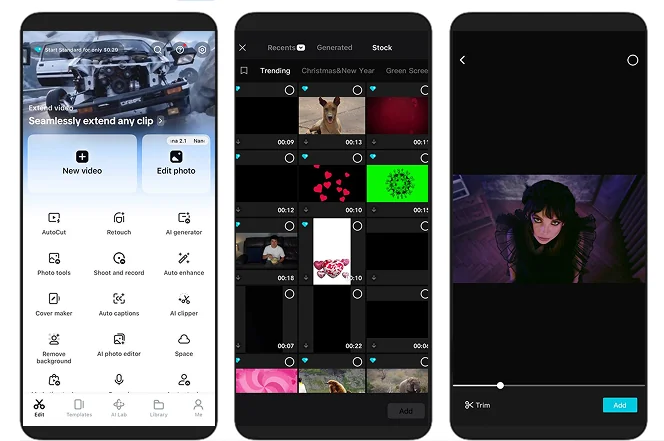
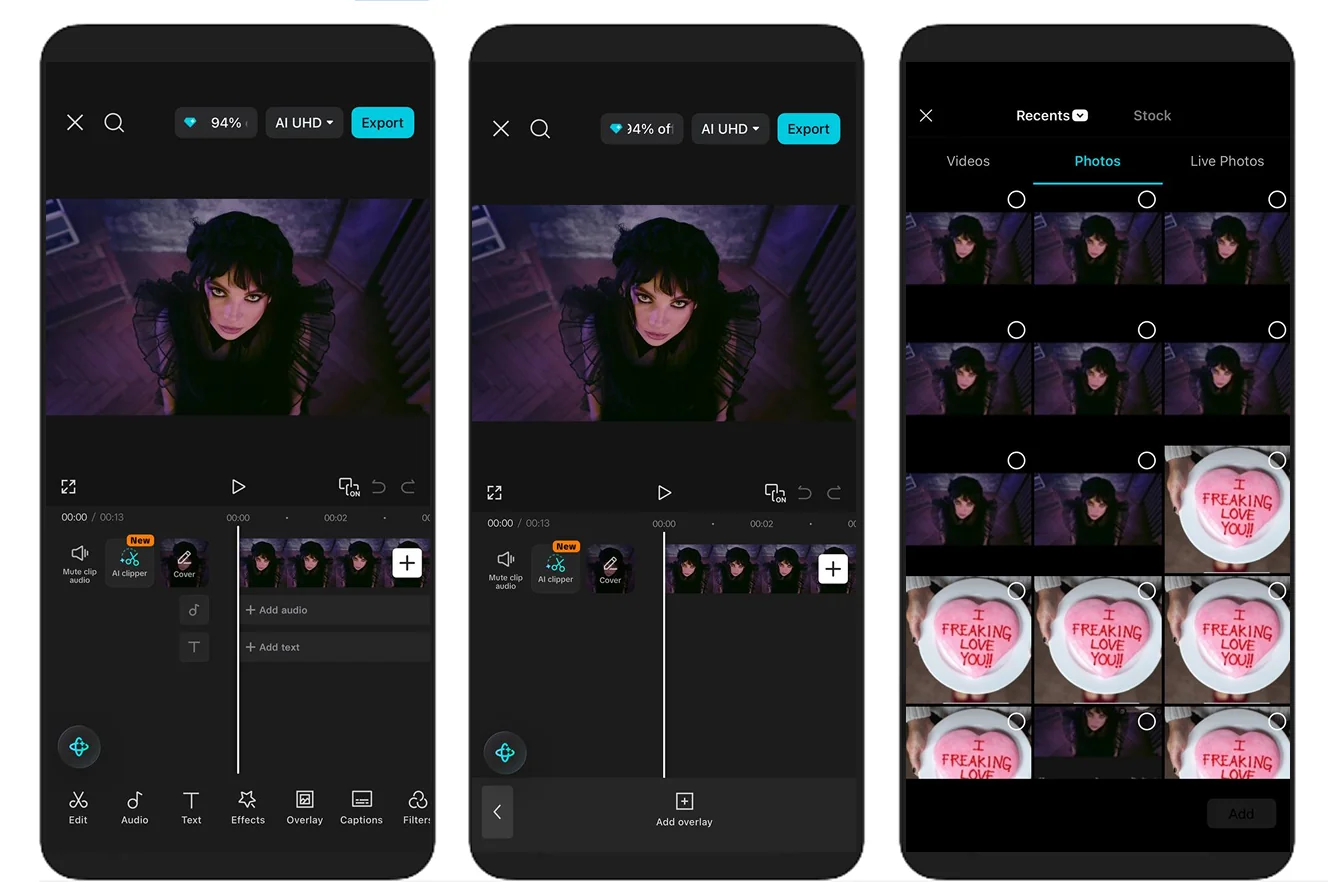
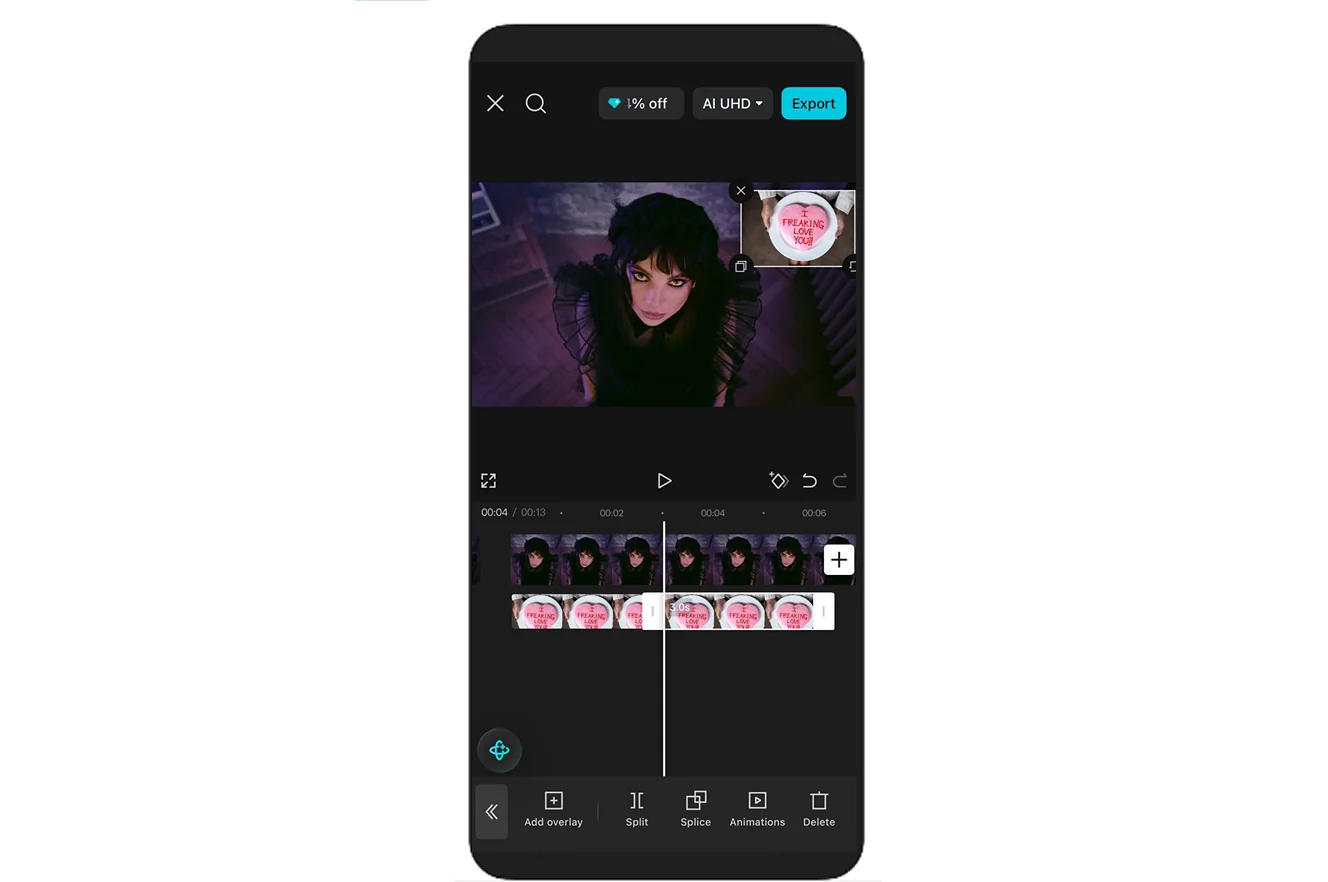
CapCut is a mobile-first editor from the TikTok ecosystem, with a large library of trending templates and effects. Its Overlay tool puts a photo on its own layer above the video.

Key features

  • Overlay layers for photos and video
  • Keyframe animation and chroma key
  • Speed ramping
Pros:
  • Huge library of trending templates and effects

  • Available on mobile, web, and desktop

Cons:
  • Free exports get a watermark when you use Pro assets or AI clips

  • Some previously free effects and templates now need a subscription

  • Some features and assets need an internet connection and an account

Price and platforms: mobile, web, and desktop. Free; Standard costs $9.99/month, and Pro costs $19.99/month or $179.99/year.

How to choose the right way for your video

Start from the video you're making, not the tool.

  • A product photo during an unboxing, or a logo on every review: Way 1. Use Movavi's Picture-in-Picture feature to cover the callout, or apply the Logo mode to keep your mark fixed for the whole video.
  • A birthday video with a stack of photos: Way 2. In Movavi, you can put single photos between clips using Pan and Zoom, or fill a template's Blocks when there are too many to place one by one.
  • Only Apple devices and a zero budget: iMovie handles a picture in picture video for free.
  • A shared project with a teammate: Kapwing, since you both edit the same video in the browser.
  • A vertical clip you'll finish on your phone: CapCut.

Once the photo is in place, there's usually one more thing to try: a subtitle style, a transition, a new look for the next clip. Movavi Ideas posts a fresh step-by-step video idea every week, free, so your next edit already has a starting point.

Have questions?
If you can’t find the answer to your question, please feel free to contact our Support Team.

Frequently asked questions

How do I add multiple photos to one video?

In Movavi Video Editor, each image gets its own overlay track, so you can place photos at different points along the Timeline. To show several at once, Trio mode fits up to three visuals in one frame. In CapCut, tap Overlay again for each extra photo.

How do I add a photo without losing quality?

Use the highest-resolution version of the photo you have, especially if it will fill the frame. The video itself keeps its original quality; a photo looks soft only when the source file was small. JPEG and PNG both work for overlays, and PNG is the one to pick when the image needs a transparent background.

How do I make a photo fill the whole frame?

Use Overlap mode in Movavi Video Editor, or place the photo on the main track as in Way 2. If the photo's shape doesn't match your video and leaves black bars, the crop tool removes them and fixes mismatched aspect ratios. In iMovie, Cutaway does the same full-frame job.

How do I add a logo to a video?

In Movavi Video Editor, pick Logo mode on the Position panel, or use the watermark and logo tool to add an image or text logo with set position, size, opacity, and duration. That logo can also be motion-tracked to follow an object on screen. When you export, you can upload straight to YouTube, Vimeo, Google Drive, or TikTok. To add logo to video online with nothing installed, Kapwing and Clipchamp both take an image layer in the browser.

What image format works best for a logo?

A PNG with a transparent background. A JPEG has no transparency, so a JPEG logo brings a solid white box along onto your footage. Movavi Video Editor imports PNG, JPEG, BMP, and static GIF images, and MP4 or MOV for the video itself. If the photo will fill the whole frame in Overlap mode, use the highest-resolution version you have.

Join us for discounts, editing tips, and content ideas

1.5M+ users already subscribed to our newsletter

By signing up, I agree to receive marketing emails from Movavi and agree to Movavi's Privacy Policy.