
How to Add Watermark to Video: 6 Best Ways

Movavi Video Editor
  • Trim, cut, crop, and rotate videos
  • Add titles, stickers, and transitions
  • Apply visual effects

By clicking the download button, you're downloading a free version of the program.*

Edited by
Ben Jacklin
13,847

If you’re wondering how to add watermark to video, the short answer is a logo or a line of text that sits in one corner of every frame. Movavi Video Editor puts one over a whole video on a desktop, YouTube Studio sets a channel-wide YouTube branding watermark, Clipchamp suits Windows, iMovie suits Mac, Canva works in a browser, and CapCut fits a phone.

This guide is for people who post lifestyle or beauty videos on YouTube, record tech tips from their screen, or teach with tutorials. A video watermark does two jobs for them: it makes a reposted clip point back to you, and it makes your channel easy to recognize. TV broadcasters rely on the same idea. A station logo in the corner builds brand recognition and asserts ownership of the video.

A logo watermark is an image, and a transparent PNG logo works best. A text watermark is a channel name or handle typed over the footage. Add text watermark to video when you don’t have a logo yet, and swap in the logo later.

The 6 video editors in detail

Tool

Best for

Platforms

Free version

Starting price

Long-form horizontal videos, vlogs, and tutorials edited offline on a desktop

Windows and macOS desktop app

Yes: 60-second exports, small watermark

$19.95/month

One branding watermark across a YouTube channel

Web, iOS, Android

Free

Free

How we picked these ways to add watermark to video

We looked at four things: whether the tool can put a logo or text over the whole video, whether it runs on the device you already own (a desktop, a browser, or a phone), whether there is a free version to try first, and whether a beginner can finish the job without a tutorial.

Six ways to add logo to video on a computer, in a browser or on a phone

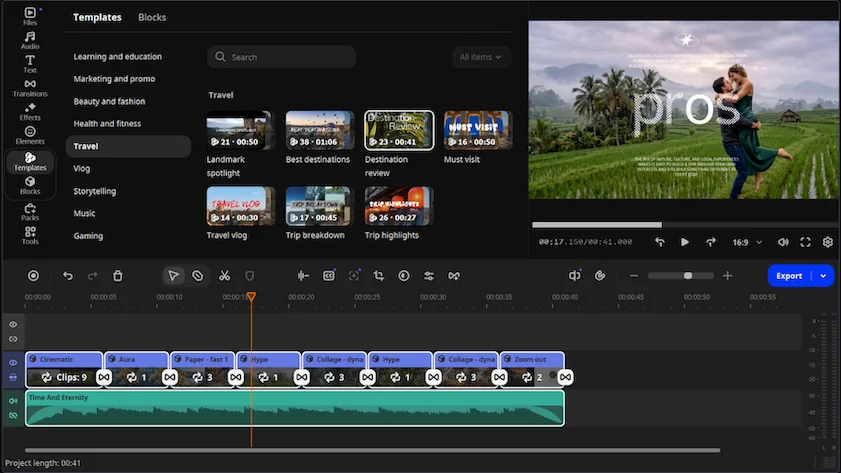
1. Movavi Video Editor
  • Best for

    putting a logo or text over a whole lifestyle vlog, unboxing, or screen-recorded tutorial on a desktop.

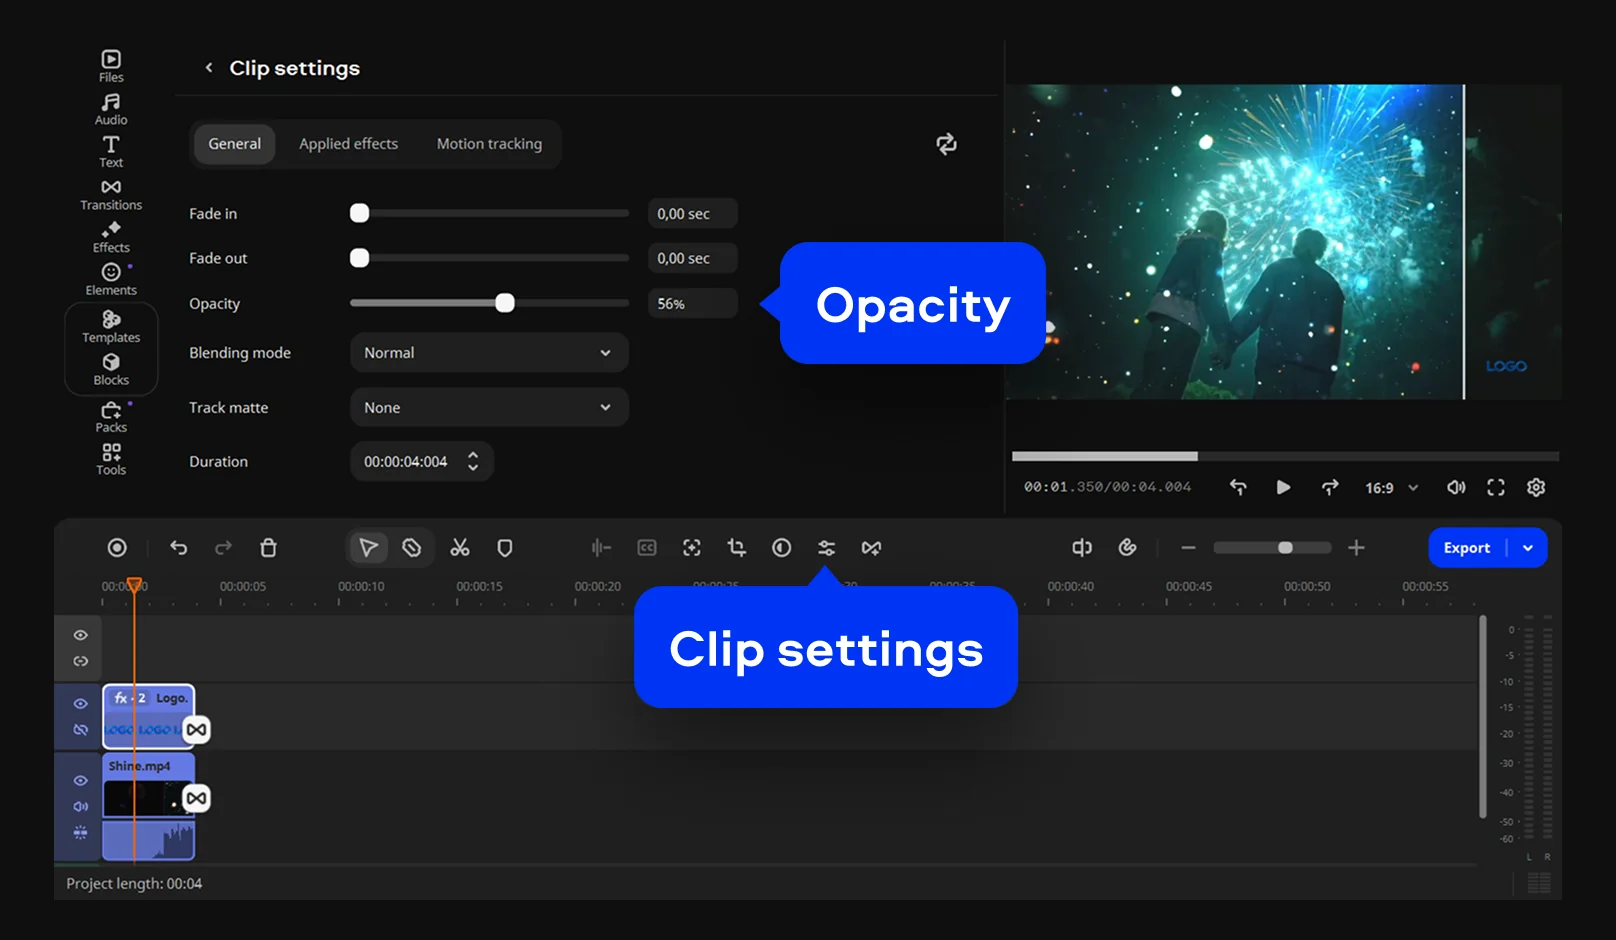
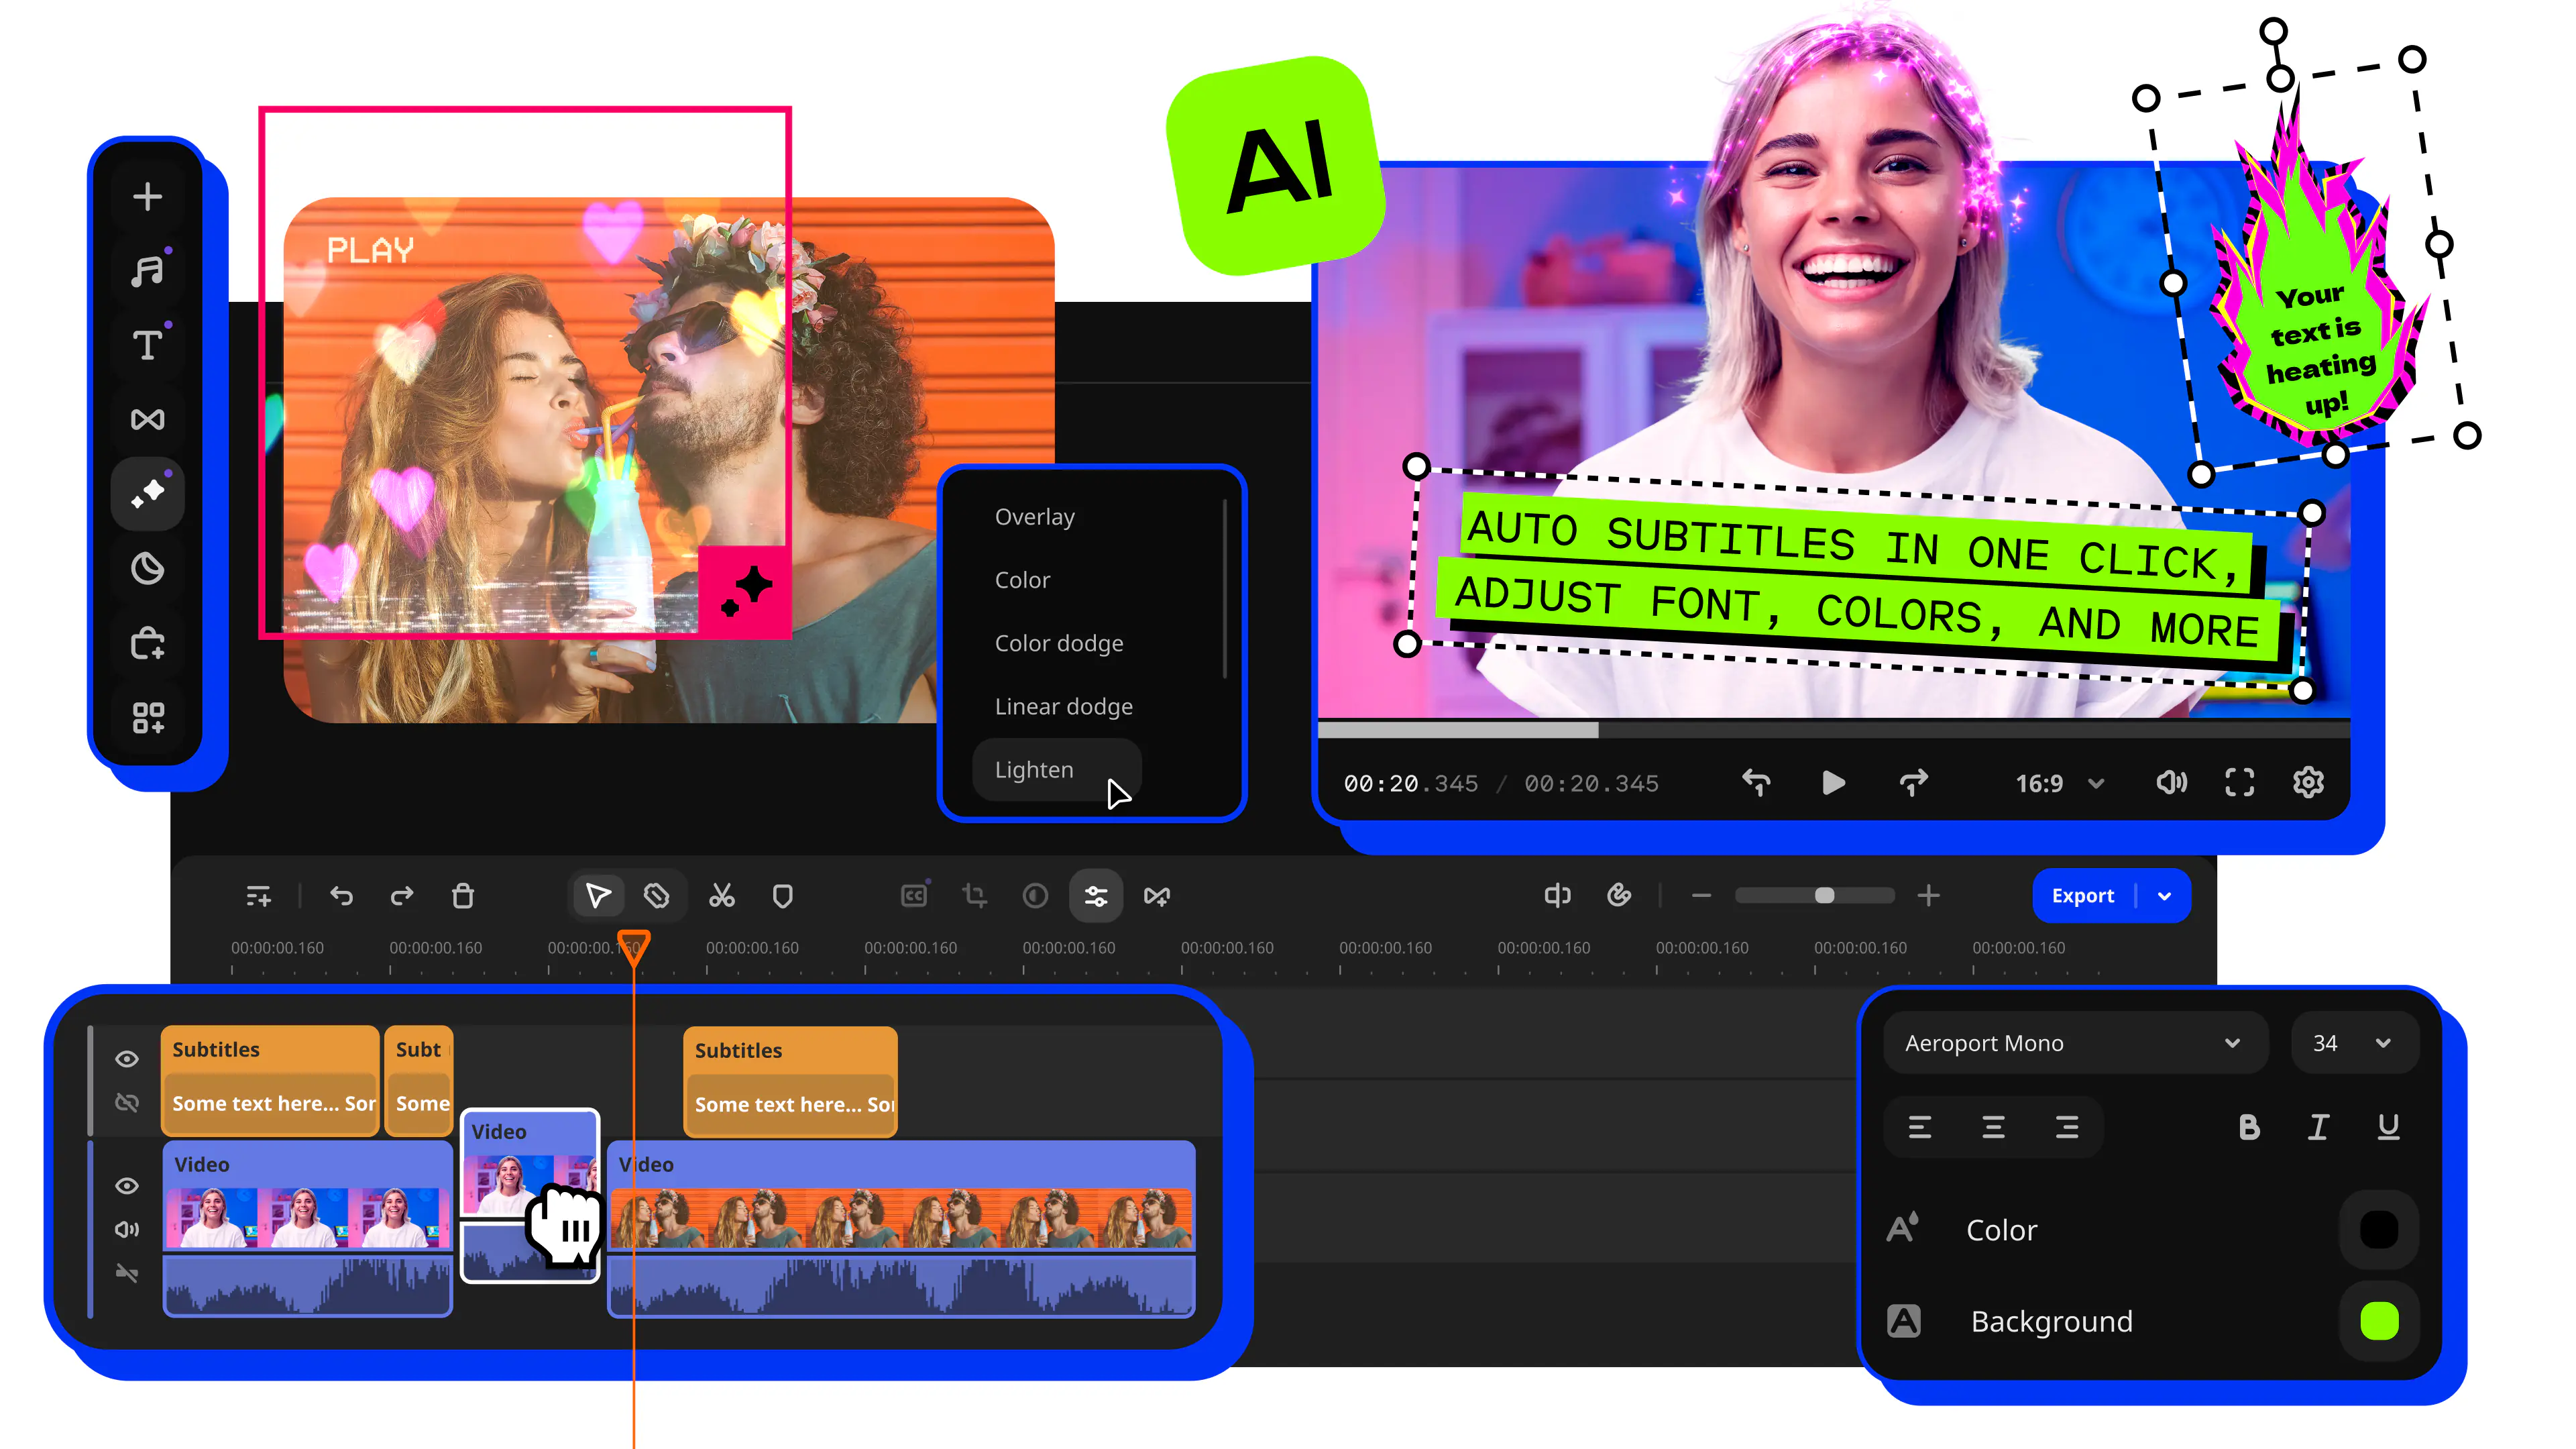
Why we picked it: Movavi Video Editor is an intuitive video editor with customizable video templates, one-click AI tools, and hundreds of drag-and-drop effects. It is a desktop app for Windows and macOS, and its Logo tool keeps the watermark job short: drop in a PNG, drag it into a corner of the preview, and slide the opacity down until the logo sits quietly over your footage. Hover previews and drag-and-drop mean your time goes into the video, not into hunting for the right panel. If editing is new to you, Movavi Ideas, a free tutorial hub, adds a fresh editing trick every week. If you record tutorials with Movavi Screen Recorder, the saved capture goes onto the timeline like any other clip, which is how you watermark screen recording tutorials in one place.

Key features:

  • Logo tool: adds an image or text with adjustable position, size, opacity, and duration.
  • Built-in text styles: craft a branded text watermark from scratch – no logo file needed – or add a custom caption to your existing icon
  • Image import: accepts PNG, JPEG, BMP, and static GIF, so a transparent PNG logo drops in as it is.
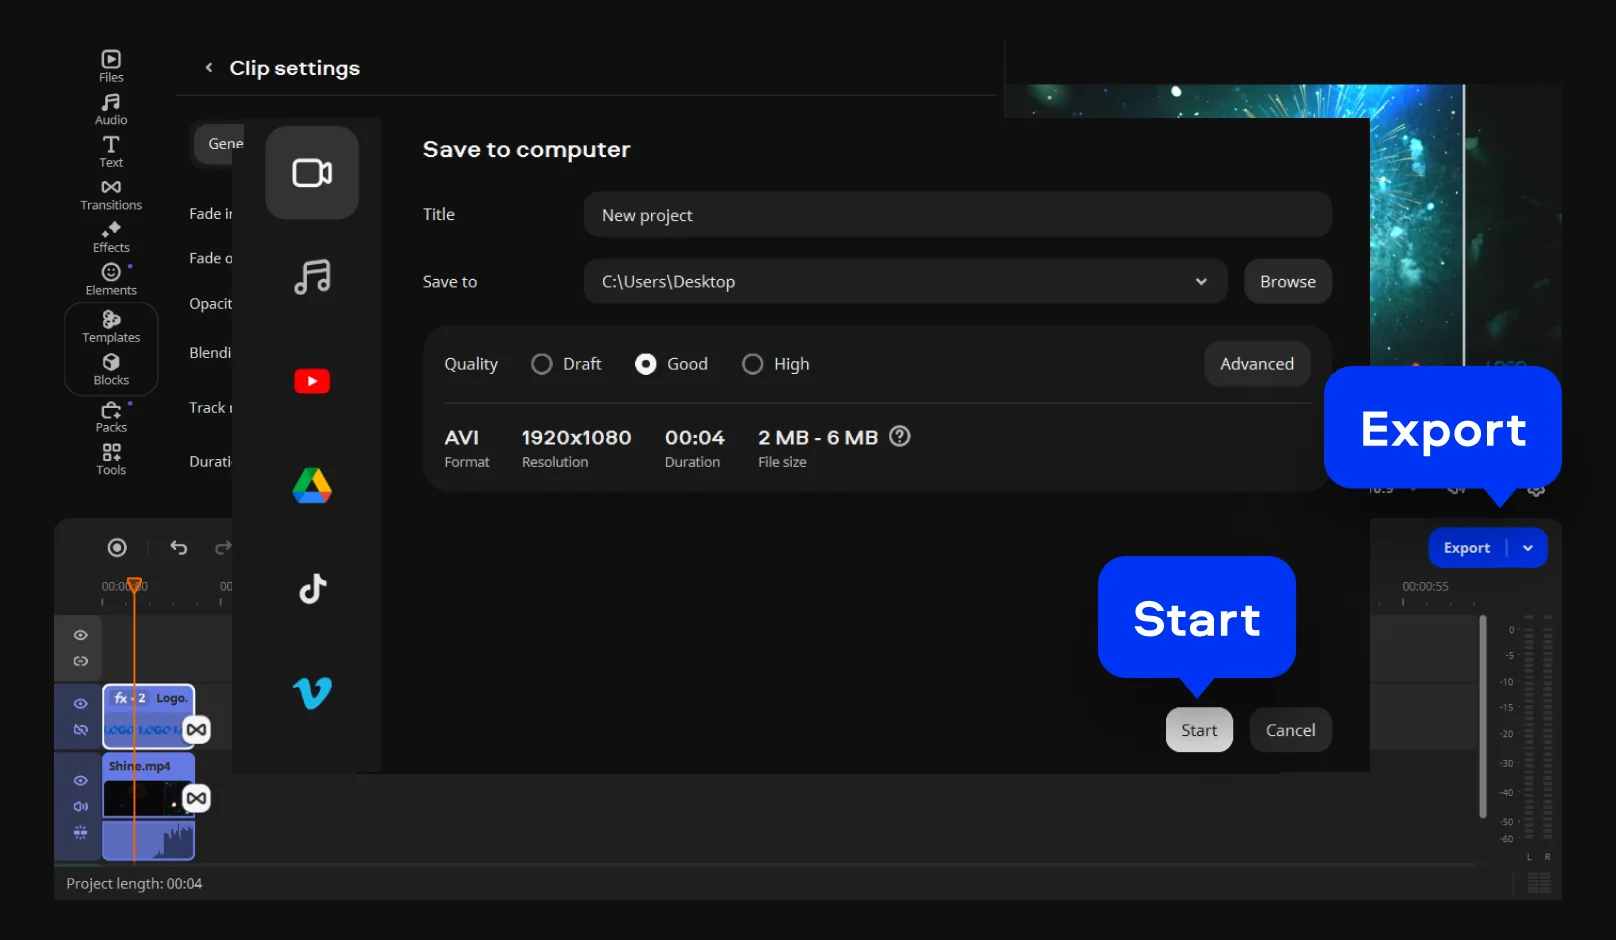
  • Export: saves to MP4, MOV, AVI, MKV, or WMV; the Full version exports up to 4K with no Movavi watermark.
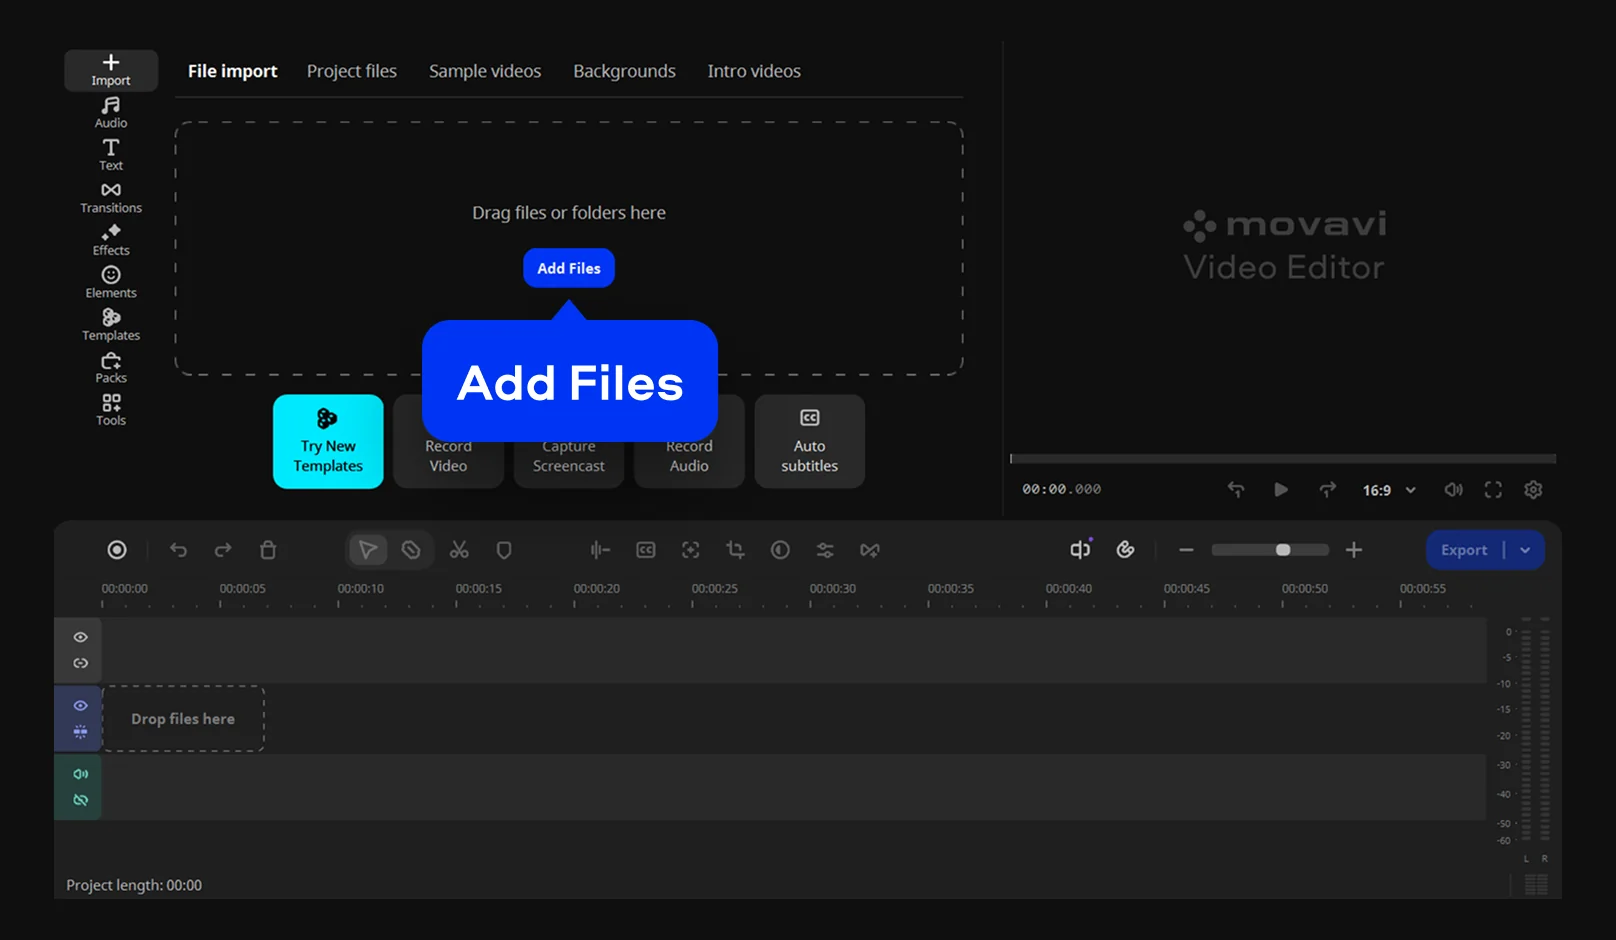
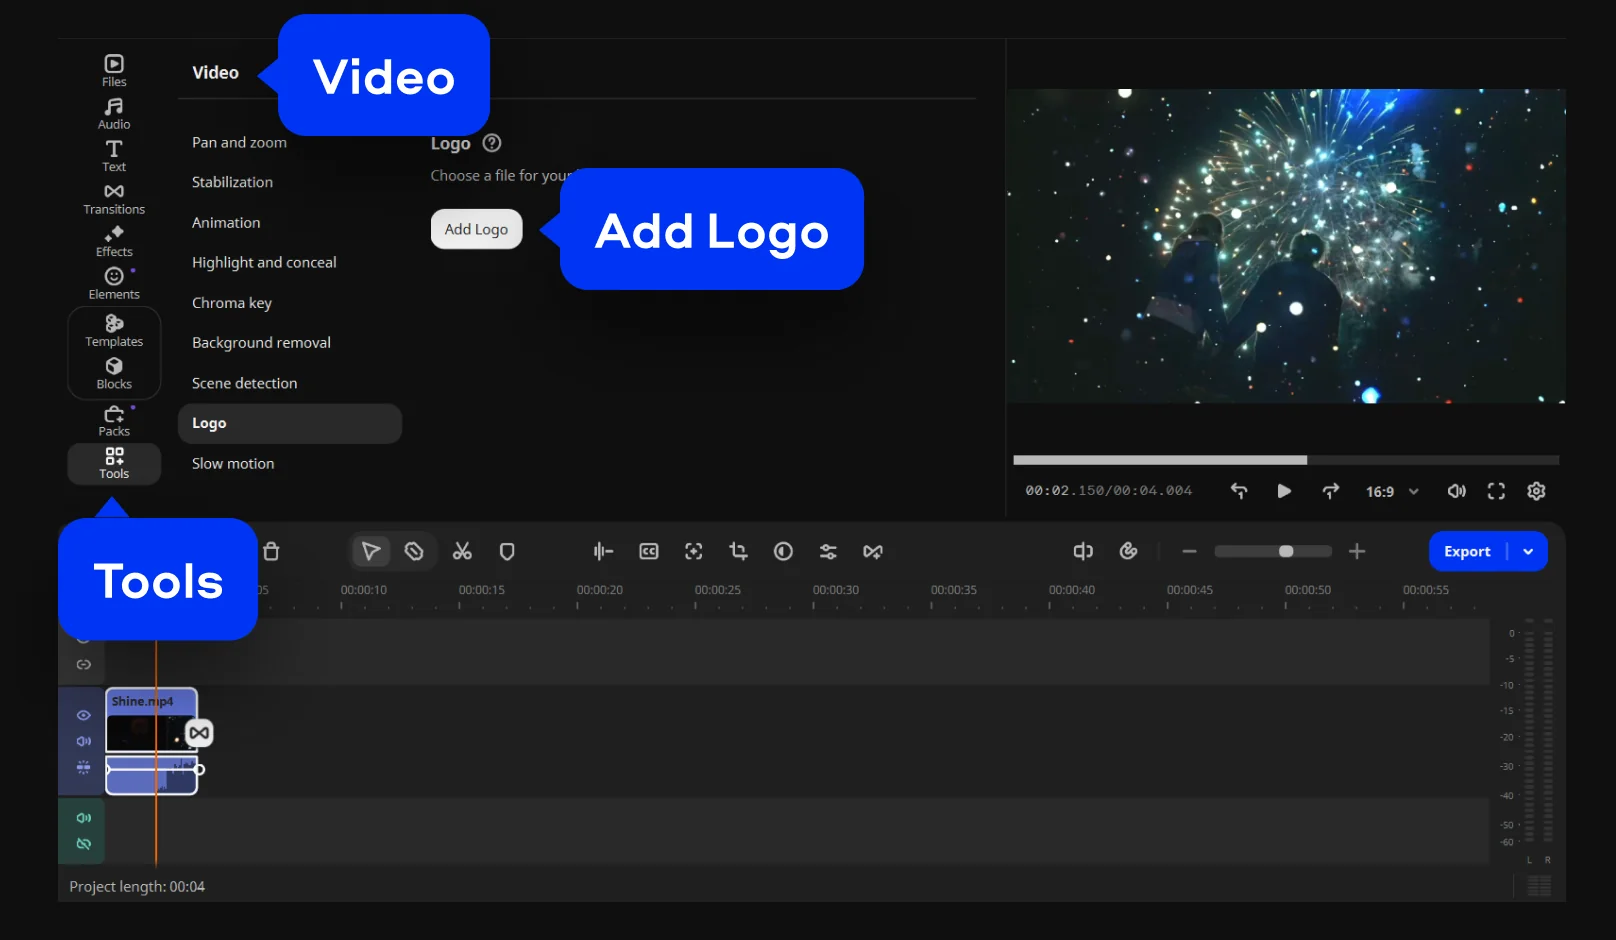
How to add a watermark in Movavi Video Editor

Step 1. Import your files

Launch Movavi Video Editor and click Add Files to import your video. Drag it onto the Timeline so you can start editing.

Step 2. Add logo

Click Tools, then choose Video and click Logo. Click Add Logo to import your logo image. Use the handles in the preview display to resize it and position it in your chosen corner.

Step 3. Fine-tune transparency

Open the logo's Clip settings to lower the Opacity slider, giving your watermark a clean, subtle look.

Step 4. Export video

Click Export, pick your preferred video format and quality settings, and save the final file.

For a text watermark, run the same steps and choose the text option in the Logo panel instead of adding an image.

Pros:
  • Image and text watermarks come from the same tool.

  • Motion tracking keeps a watermark on a moving subject.

  • Hover previews and drag-and-drop cut down the timeline work.

Cons:
  • Movavi Video Editor lacks advanced, detailed controls for a professional workflow.

  • There is no web version or cloud integration.

  • Although hundreds of effects and several templates are available in the full version, additional sets require separate subscriptions.

Price and platforms: Movavi Video Editor Free exports up to 60 seconds with a watermark; the full version starts at $19.95/month. A desktop app for Windows and macOS.

2. YouTube Studio

  • Best for

    YouTubers who want one branding watermark on every video of a channel.

Why we picked it: Unlike standard video editors that require you to burn a watermark into every individual clip before exporting, YouTube Studio acts as a global branding tool. You upload your logo once in the channel settings, and YouTube automatically overlays it across all your past and future videos. Just keep in mind that this is a player-level overlay, not a permanent part of the file. It is perfect for growing your YouTube audience, but for cross-platform protection against theft, you will still need a traditional editor to bake the logo into the pixels.

Key features:

  • Interactive subscribe button: The watermark doubles as a direct subscription link when viewers hover over it on a desktop.
  • Channel-wide application: Uploading the image once automatically applies it to all past and future video uploads.
  • Customizable display time: You can set the logo to appear for the entire video, at a custom start time, or just for the last 15 seconds.
  • Zero render time: Because the watermark is an overlay added by the YouTube player, it does not impact your original video's resolution or quality.

How to add the watermark in YouTube Studio:

  1. Sign in to YouTube Studio.
  2. From the left menu, select Customization and go to the Branding tab.
  3. In the Video watermark section, click UPLOAD and select your image.
  4. Choose your display time: End of video, Custom start time, or Entire video.
  5. Click PUBLISH to save the changes.
Pros:
  • Applies to your entire library of past and future videos automatically.

  • Functions as a clickable subscribe button to boost channel growth.

  • Can be changed or removed at any time without re-editing the original video file.

Cons:
  • The watermark disappears if someone downloads your video, as it is a player overlay rather than being burned into the file.

  • It is not clickable on mobile devices.

  • Placement is restricted to the bottom-right corner; you cannot reposition it.

Price and platforms: Free on Web, iOS, and Android.

3. Clipchamp

  • Best for

    daily-routine vlogs and other beginner-level edits on a Windows PC.

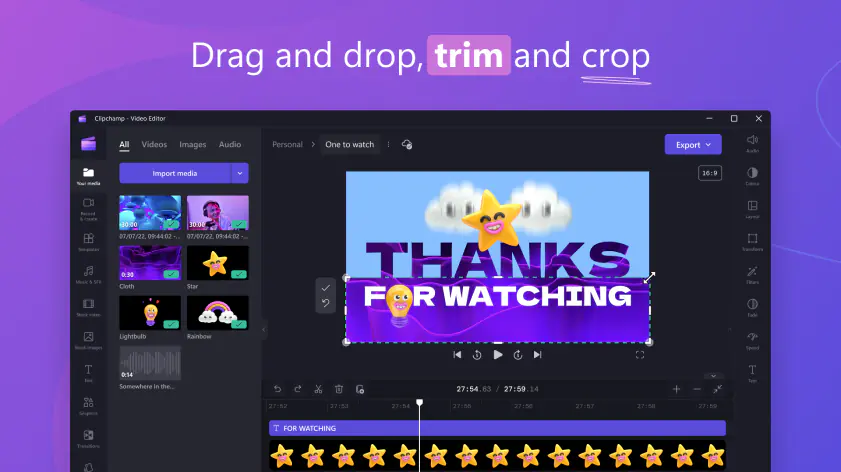
Why we picked it: Clipchamp opens in a browser (Edge or Chrome) and also comes as an app in Windows 11, so a Windows user can brand a video without hunting for new software. Its timeline is simple enough for a first project, and Free exports reach 1080p with no Clipchamp watermark.

Key features:

  • Screen and webcam recording: captures both, so a tutorial can be recorded and branded in one place.
  • Ready-made templates: quick starting points for short videos.
  • Brand kit: included in the Premium plan.

How to add a watermark in Clipchamp

  1. Import your video.
  2. Add, resize, and position your logo.
  3. Lower the opacity.
  4. Choose the quality and export.
Pros:
  • A simple timeline that beginners read at a glance.

  • Screen and webcam recording sit in the same editor.

Cons:
  • The toolset is limited, so anything beyond basic tasks hits a ceiling.

  • Large files can cause lag and export freezes, and a Microsoft account is required.

Price and platforms: browser (Edge or Chrome) and a Windows 11 app, plus an iOS app; a Microsoft account is required. Free exports at 1080p with no watermark; 4K, premium assets, and brand tools need a Premium subscription or come with Microsoft 365. Starting price – $9.99/month.

4. iMovie

  • Best for

    beauty and fashion tips cut on a Mac.

Why we picked it: iMovie is available only on Apple devices, which suits creators who already edit on a Mac.

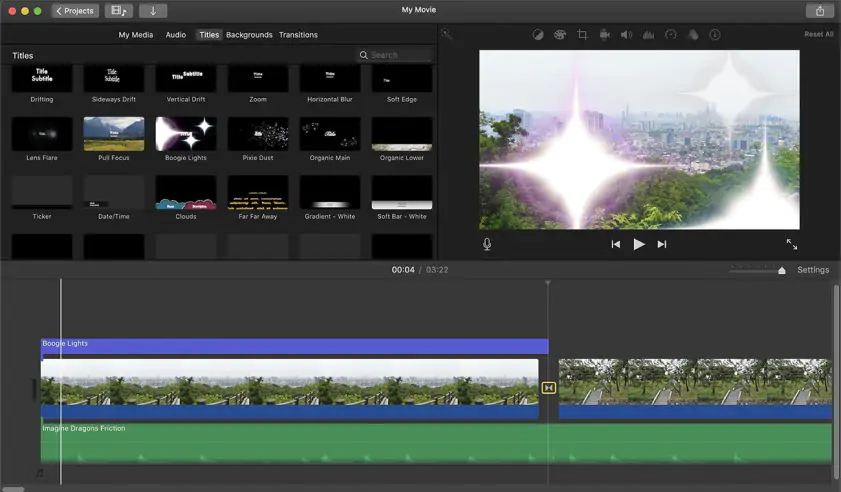
Key features: iMovie is Apple's free, simple editor, preinstalled on its devices, which makes it the easiest starting point for Apple owners. On a Mac, its Picture in Picture feature lets you easily overlay, resize, and position a custom logo across your footage.

How to add a watermark in iMovie

  1. Import your video.
  2. Add your logo image to the project.
  3. Resize and position the logo.
  4. Lower the logo’s opacity.
  5. Export the video.
Pros:
  • It runs on Apple devices, so Mac owners need no extra platform.

Cons:
  • iMovie has few effects.

  • Export control is weak, and there are no AI tools.

Price and platforms: free. Mac, iPhone, and iPad.

5. Canva

  • Best for

    tech tips and app recommendations assembled in a browser.

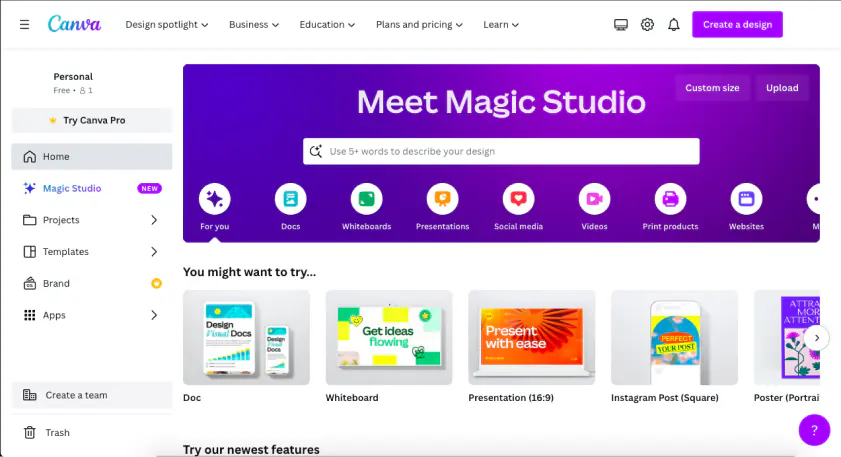
Why we picked it: Canva uses a familiar drag-and-drop layout in the browser, so you can add watermark to video online without installing an editor. It also offers a huge selection of fonts and text animations, which helps a text watermark look like part of your brand.

Key features:

  • Drag-and-drop canvas: you place the logo directly on the layout.
  • Fonts and text animations: a wide selection for styling a channel name.
  • Apps beyond the browser: desktop and mobile apps are available.

How to add a watermark in Canva

  1. Start a video project and upload your video.
  2. Upload your logo image.
  3. Resize and drag it into a corner.
  4. Lower the transparency.
  5. Download the finished video.
Pros:
  • The drag-and-drop interface is familiar to most beginners.

  • A huge selection of fonts and text animations.

Cons:
  • Canva is not designed for long videos and large files.

  • It works online and requires an account.

Price and platforms: Browser, desktop, and mobile apps. Free version available with limits on paid content and AI features; Pro and Teams subscriptions start at $18/month.

6. CapCut

  • Best for

    travel videos shot and posted from a phone.

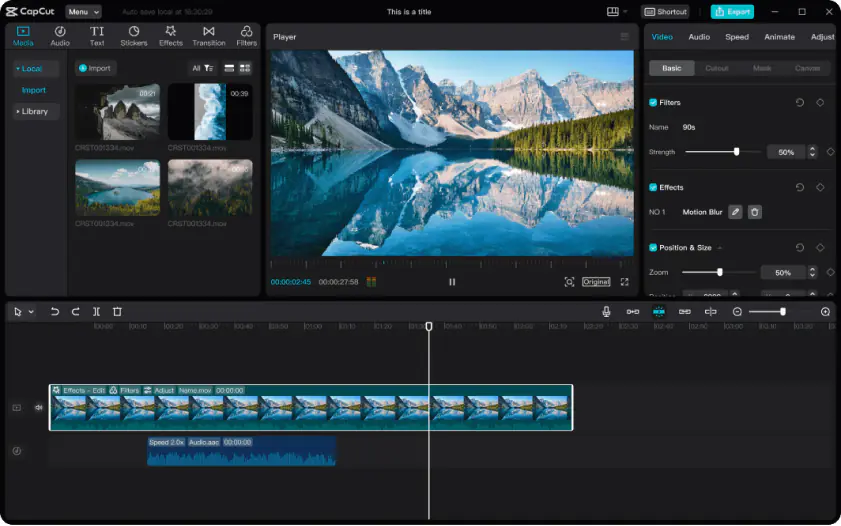
Why we picked it: CapCut runs on mobile, web, and desktop, which covers the phone-first creator. Its creator templates and large AI toolkit are built around short social videos.

Key features:

  • Creator templates: ready-made starting points for trending short videos.
  • AI toolkit: large, with a credit system on the Pro plan.
  • Free export: 1080p on the Free plan.

How to add a watermark in CapCut

  1. Open a new project and import your video.
  2. Add your logo image.
  3. Resize and position it.
  4. Lower the logo’s opacity.
  5. Export the video.
Pros:
  • One editor across mobile, web, and desktop.

  • Creator templates for short, trending videos.

Cons:
  • The Free plan adds a watermark when Pro content or AI clips are used.

  • Some features and content need an internet connection and an account.

Price and platforms: free version; Pro, the plan that covers desktop, costs $19.99/month or $179.99/year, while the $9.99/month Standard plan is aimed mainly at mobile. Windows, macOS, web, and mobile.

Tips for a video watermark that looks planned

  • Start with a transparent PNG logo. It is the best format because the footage shows through around the artwork.
  • Keep watermark opacity moderate. Aim for 30% to 50%: higher distracts, lower disappears. Check the preview on both a bright and a dark scene.
  • Pick the corner with care. YouTube places subscribe buttons and cards on the right side, so the top-left or bottom-left corner usually stays clear.
  • Leave the important parts alone. Keep the logo off faces, product labels, and on-screen menus in a screen recording.
  • Use the same spot every time. One corner, one size, and one opacity across every upload makes a channel look consistent.

A corner mark discourages casual reposting and helps show who made the video, but a determined person can still crop it. For copyright protection beyond a visible mark, keep a clean copy of the original.

How to choose between the six ways

  • A whole video on a desktop, including a screen recording: Movavi Video Editor, for either a logo or a line of text.
  • One watermark for an entire YouTube channel: YouTube Studio
  • A Windows PC: Clipchamp.
  • A Mac: iMovie.
  • A browser with nothing to install: Canva.
  • A phone: CapCut.

Several of these tools have a free plan, so you can add watermark to video free while you test your logo. Movavi Video Editor scales from Free to Lite to the Full version, so you pay for the setup you need and add more only when a project asks for it.

Pick a corner, set the opacity, and reuse both on your next upload. Once the logo is in place, the same Movavi Video Editor timeline can add auto subtitles in 100+ languages with one click.

Movavi Video Editor
Create awesome videos easily

*The free version of Movavi Video Editor may have the following restrictions depending on the build: watermark on exported clips, 60-second video or 1/2 audio length limit, and/or some advanced features unavailable when exporting videos.

Frequently asked questions

Can I add a watermark to a video free?

Yes. Movavi Video Editor Free is a free download for trying the editor, and its 60-second cap fits a short reel. Free exports carry a Movavi watermark next to yours, so move to the Full version for a clean file. For the other tools, check the free plans in the table above.

Which logo format is best?

A PNG with a transparent background. Movavi’s watermark guide says it avoids a visible box around the logo. Movavi Video Editor also imports JPEG, BMP, and static GIF files.

How do I make a watermark semi-transparent?

Lower the opacity in your editor. In Movavi Video Editor, open the logo’s Clip settings and drag the Opacity slider. White logos with a slight shadow, stay readable on both dark and light footage.

How do I add watermark to video from start to end?

Set the logo’s duration to match the video length.

How do I watermark screen recording tutorials?

Add the saved capture to the timeline as your video, then follow Steps 2 to 4 above. Movavi Screen Recorder is a desktop capture program for recording screens and audio. Keep the logo away from menus and buttons your viewers need to follow.

Can a watermark protect my video from being reposted?

It makes reposting traceable and easy to spot. Broadcasters use a station logo to reduce off-the-air copyright infringement. A corner logo does not prevent cropping, so treat it as a signature.

Have questions?
If you can’t find the answer to your question, please feel free to contact our Support Team.
Join us for discounts, editing tips, and content ideas

1.5M+ users already subscribed to our newsletter

By signing up, I agree to receive marketing emails from Movavi and agree to Movavi's Privacy Policy.