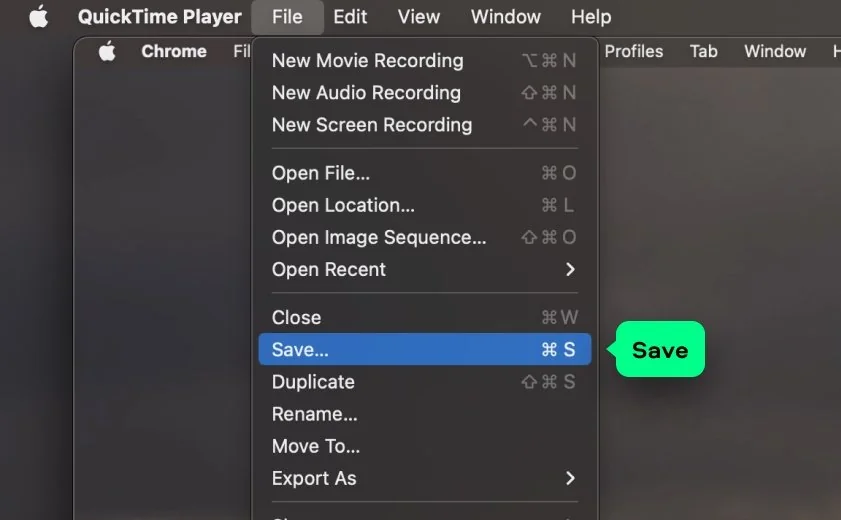
Once you’ve stopped your QuickTime capture, the real magic happens in the edit. Over the years, I’ve ruined enough “perfect” takes with rambling intros and messy desktops to know that a little cleanup goes a long way. Here’s how I polish my QuickTime clips, and the tools I reach for when QuickTime’s basic trimming isn’t enough.
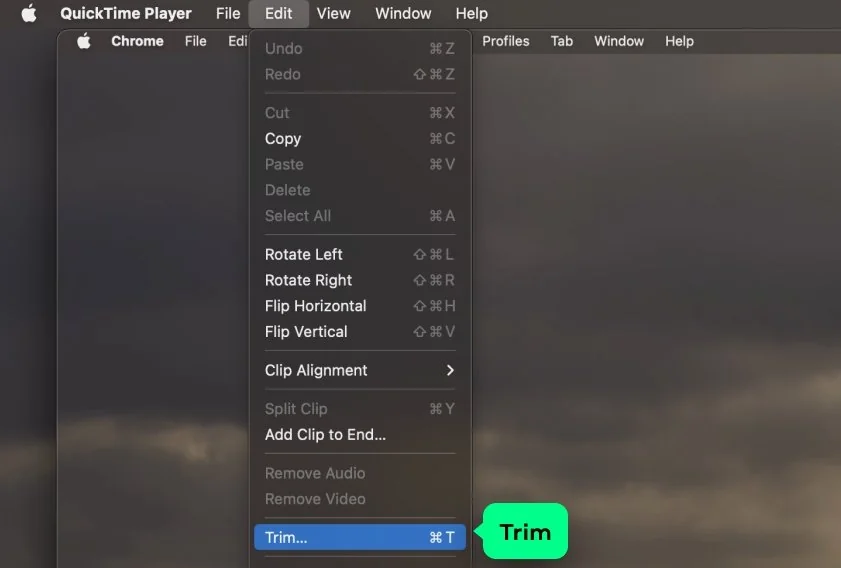
Trim the noise right away
QuickTime gives you a simple trimming tool, and honestly, it’s surprisingly handy for cutting out the awkward “Is this thing recording?” moments at the start or those trailing seconds when you forgot to stop the capture. Just drag the yellow handles until the clip feels more purposeful. I always do this before anything else – it keeps the rest of the workflow cleaner.
Remove dead air and tightens pacing
If your recording has long pauses, scrolling, or moments where nothing useful happens, cut them. A tighter recording feels more professional and is easier for viewers to follow. QuickTime can only trim from the start or end, but you can break the clip into smaller segments and stitch them together if needed. It’s a little clunky, but it works in a pinch.
Highlight what matters
QuickTime won’t let you annotate or zoom in on important elements, but you do can re-record short segments or overlay additional explanations later. When I need quick annotations, or if the original recording doesn’t show exactly what I want, I’ll sometimes grab a fast supplementary clip using Screencapture.com. It’s perfect when you just need a small portion re-recorded without setting up a full app.
Upgrade your edit when QuickTime isn’t enough
There’s a limit to how far QuickTime can take you. If you want clean cuts, smooth transitions, cursor effects, scheduled re-recordings, or proper audio cleanup, this is where Movavi Screen Recorder steps in. I use it when I know I’ll need to produce something polished, like a walkthrough for colleagues or a short tutorial. Exporting from QuickTime into Movavi gives you room to actually edit, not just snip.
Keep your audio in check
QuickTime captures whatever mic you selected, but background hum and keyboard clacks often sneak in. If the audio really bothers me, I either re-record small voiceover portions or run the audio through a lightweight cleanup tool. For more advanced work, Movavi’s built-in noise reduction is genuinely useful and saves you from juggling too many apps.
Organize your final output
Once everything is trimmed and polished, export your final clip to a clear, consistent folder. It sounds trivial, but the future-you will thank the past-you when you’re not digging through your Downloads folder at midnight trying to find “Screen Recording 2025-01-14 at 22.58.03.mov.”