If you spend any time on a PC, you know how essential it is to grab a screenshot quickly. Whether I’m documenting a system error for support, grabbing part of a webpage, or saving something I want to reference later, screenshots are part of my daily workflow. Thankfully, Windows 11 makes this easier than any previous version by combining the old Snipping Tool and the newer Screen Sketch app into a single, streamlined utility.
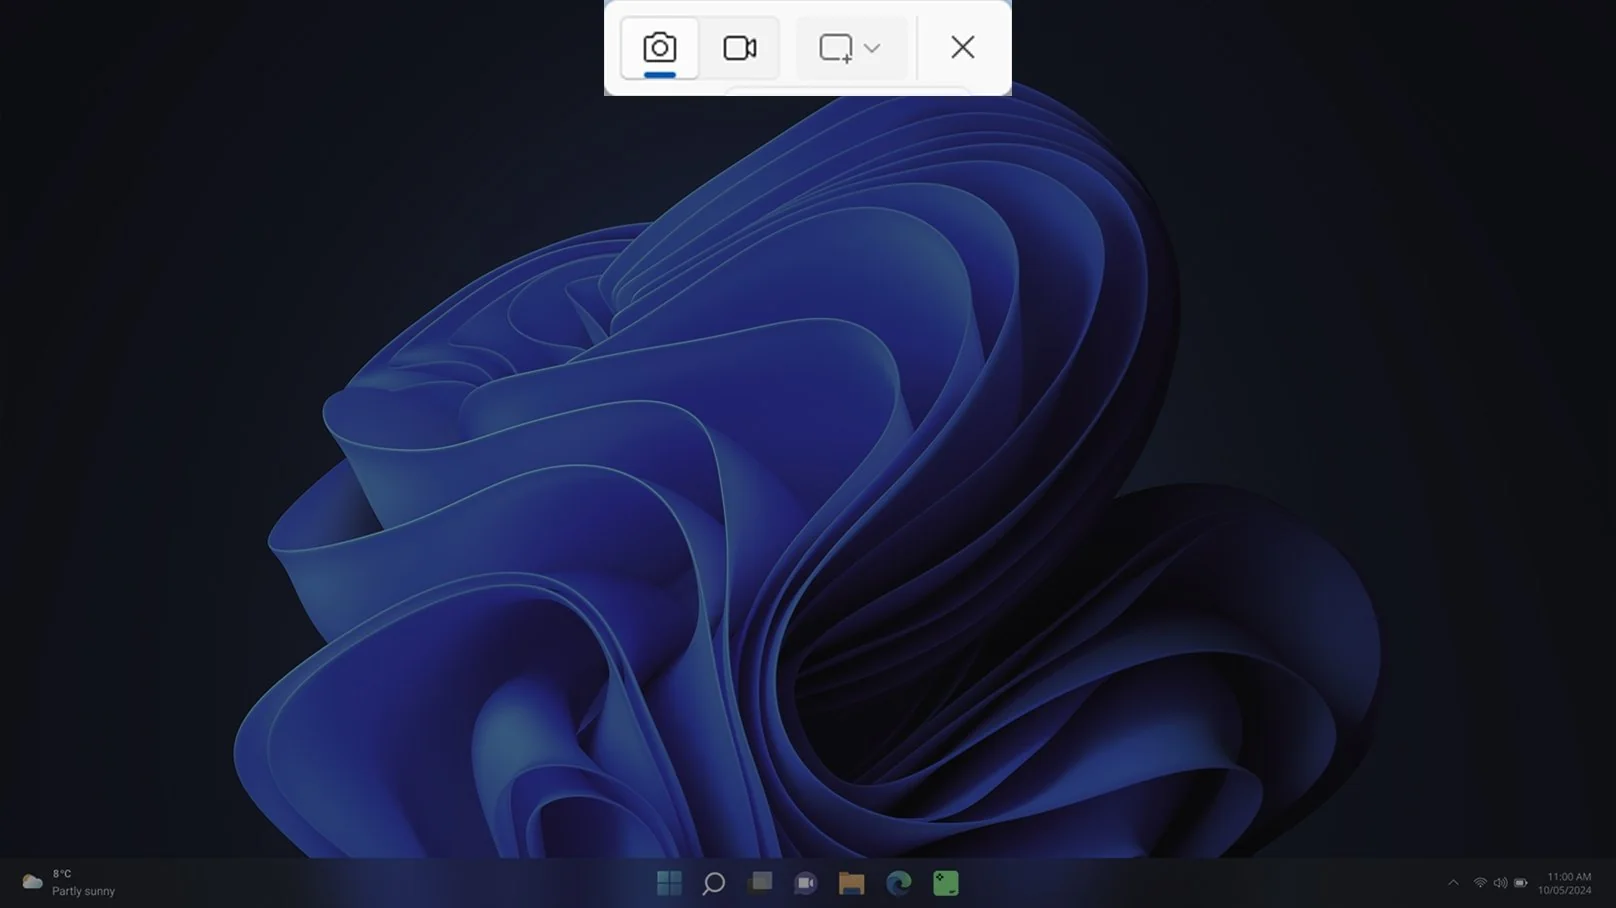
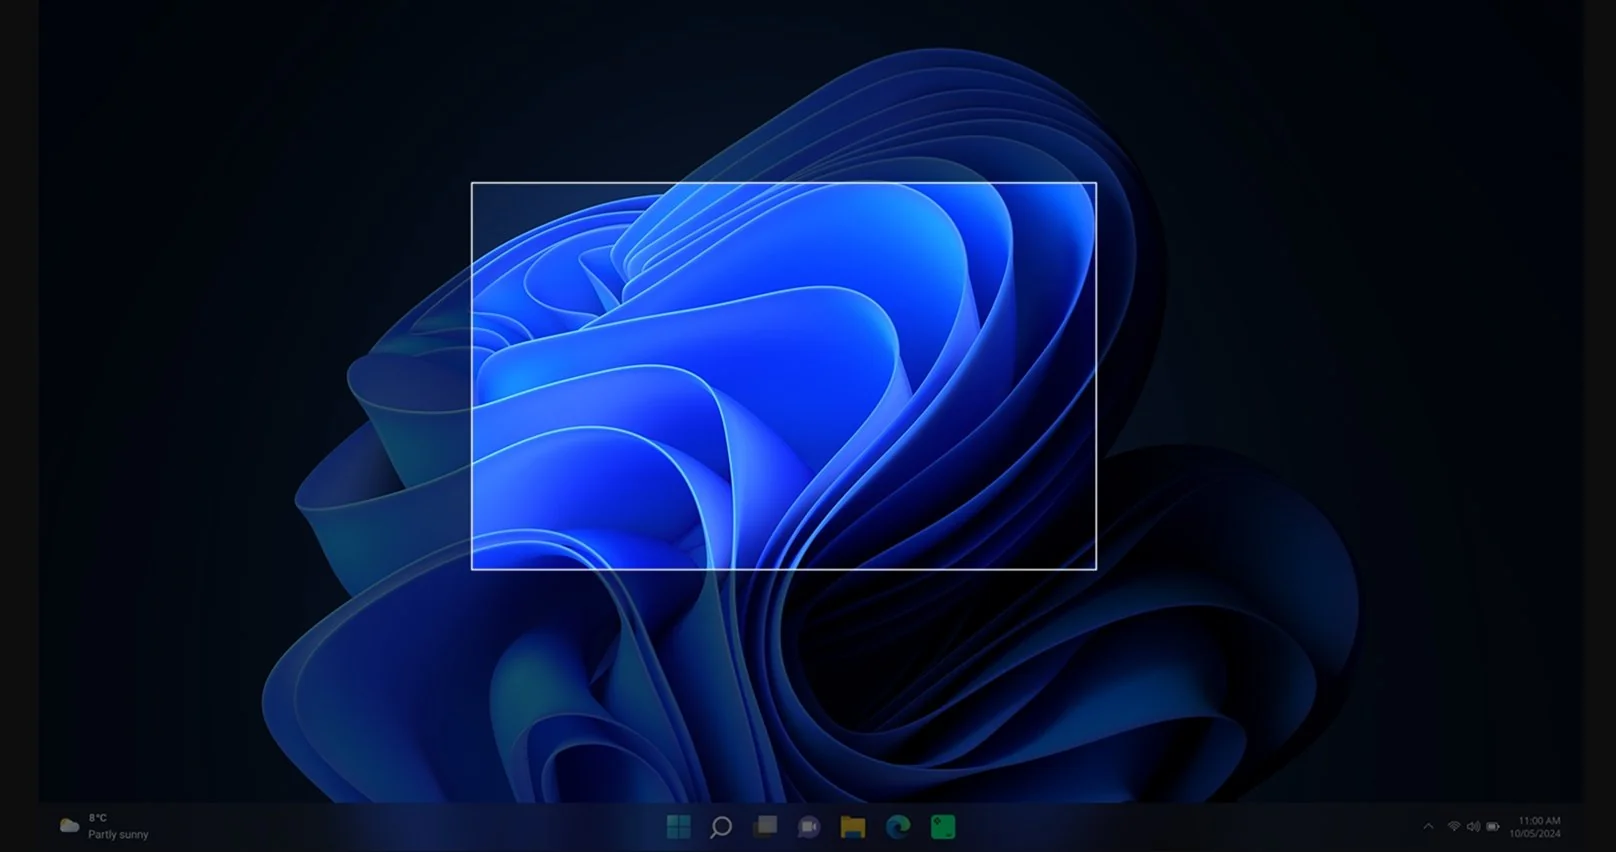
So, what is the Snipping Tool in Windows 11? The updated Snipping Tool gives you immediate access to four capture modes and a faster, more intuitive workflow. For me, the real upgrade is in the execution speed. By pressing a combination of Win + Shift + S keys, I can open the overlay instantly without digging through menus or searching the Start button, and it has now become second nature due to its convenience.
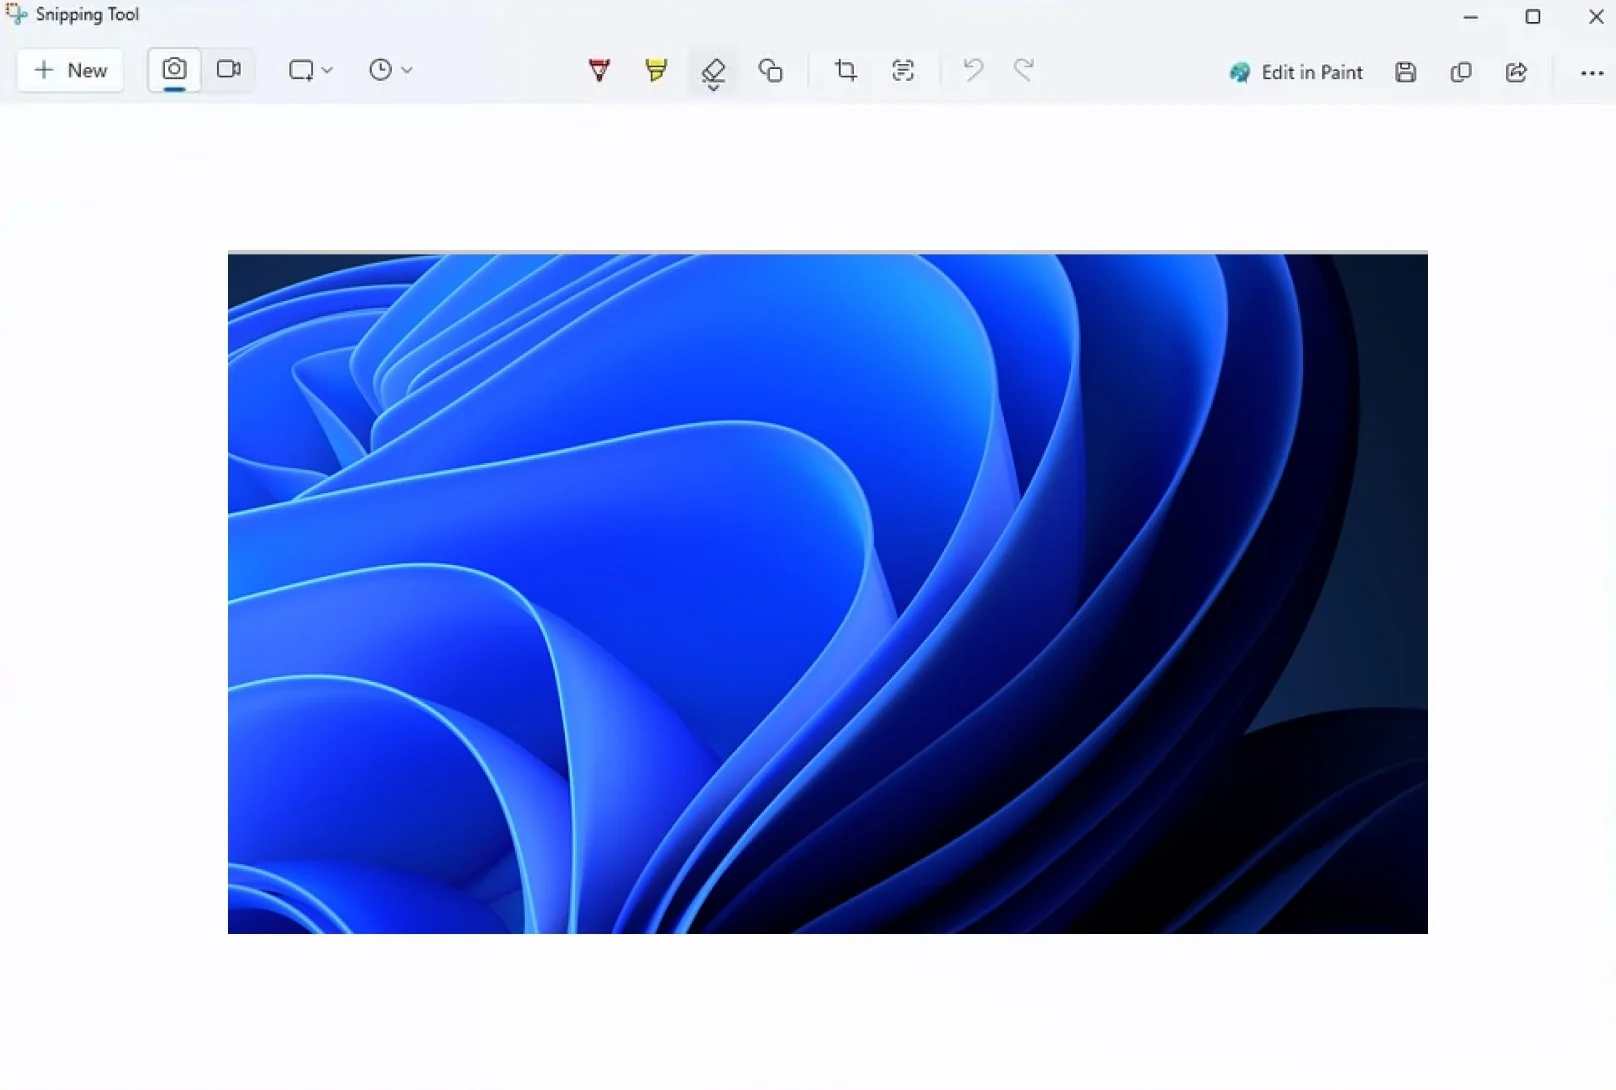
If you are also looking to achieve this level of convenience with the Windows 11 built-in tool, then you have just struck a gem. This guide breaks down exactly how to use Snipping Tool, from the quickest keyboard shortcuts to what each mode does and how to edit or save your captures. If you rely on screenshots for work, study, or everyday tasks, mastering these steps makes the process faster, cleaner, and far more efficient.