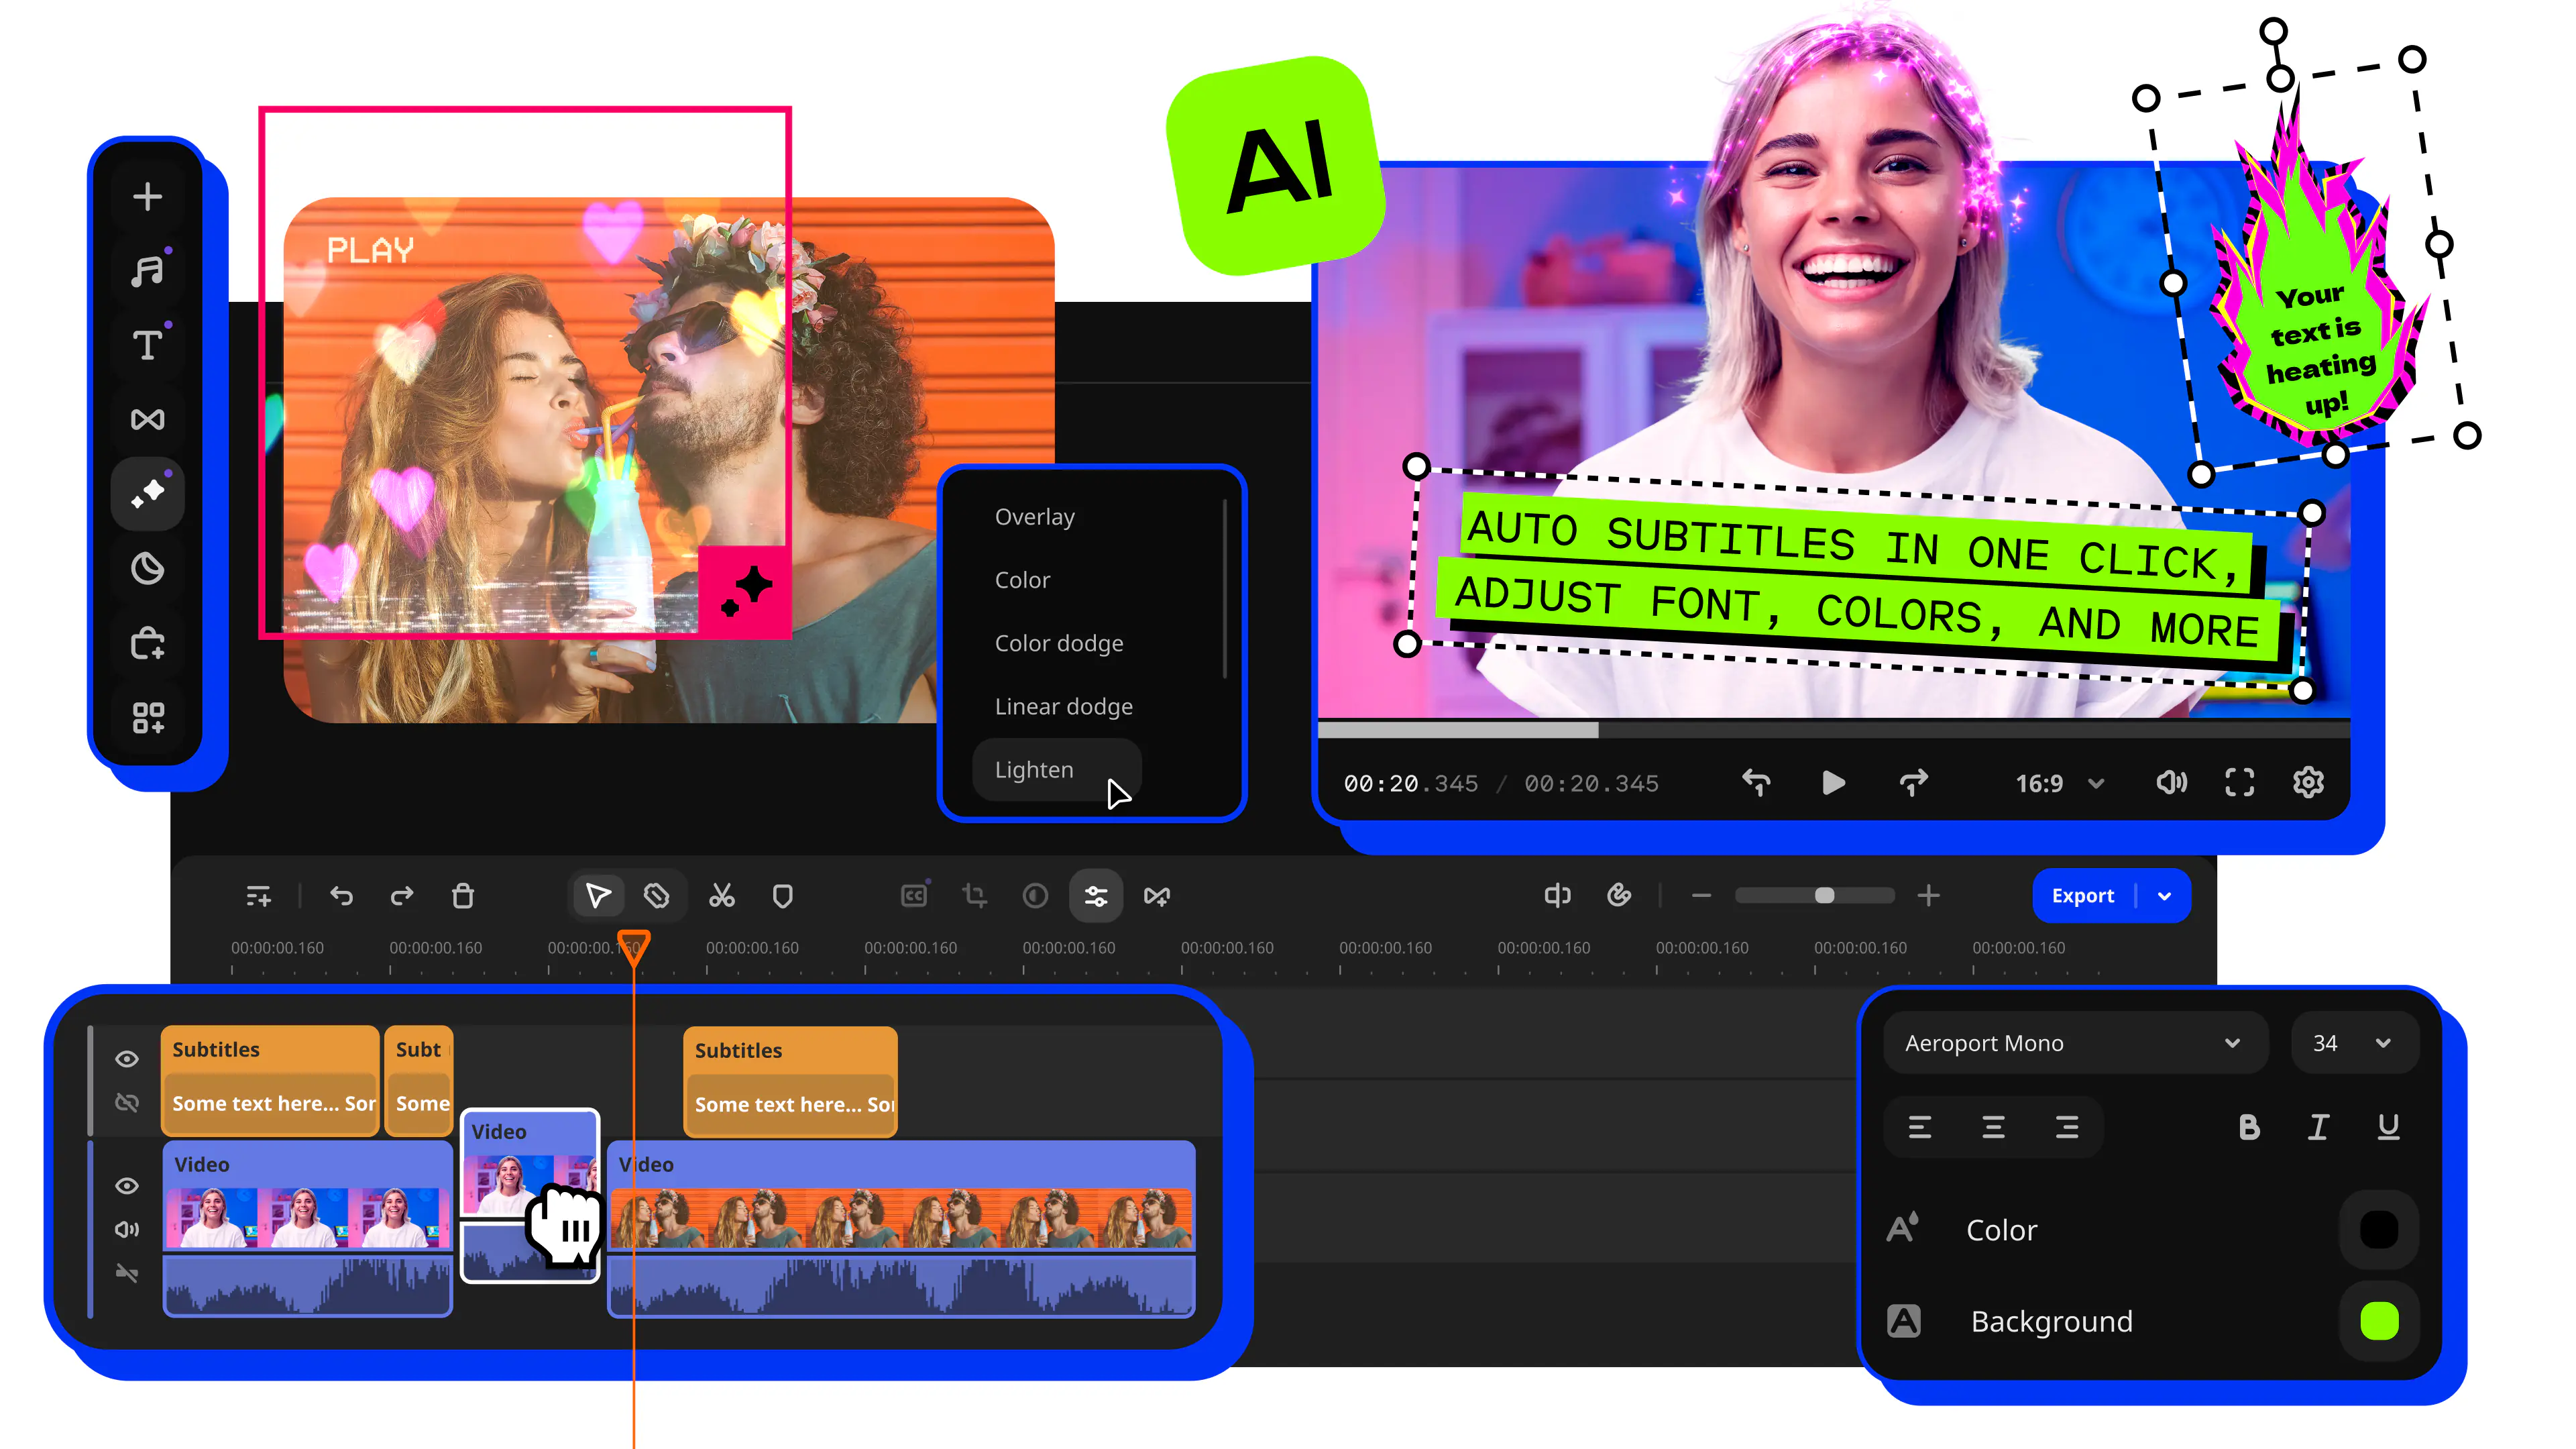
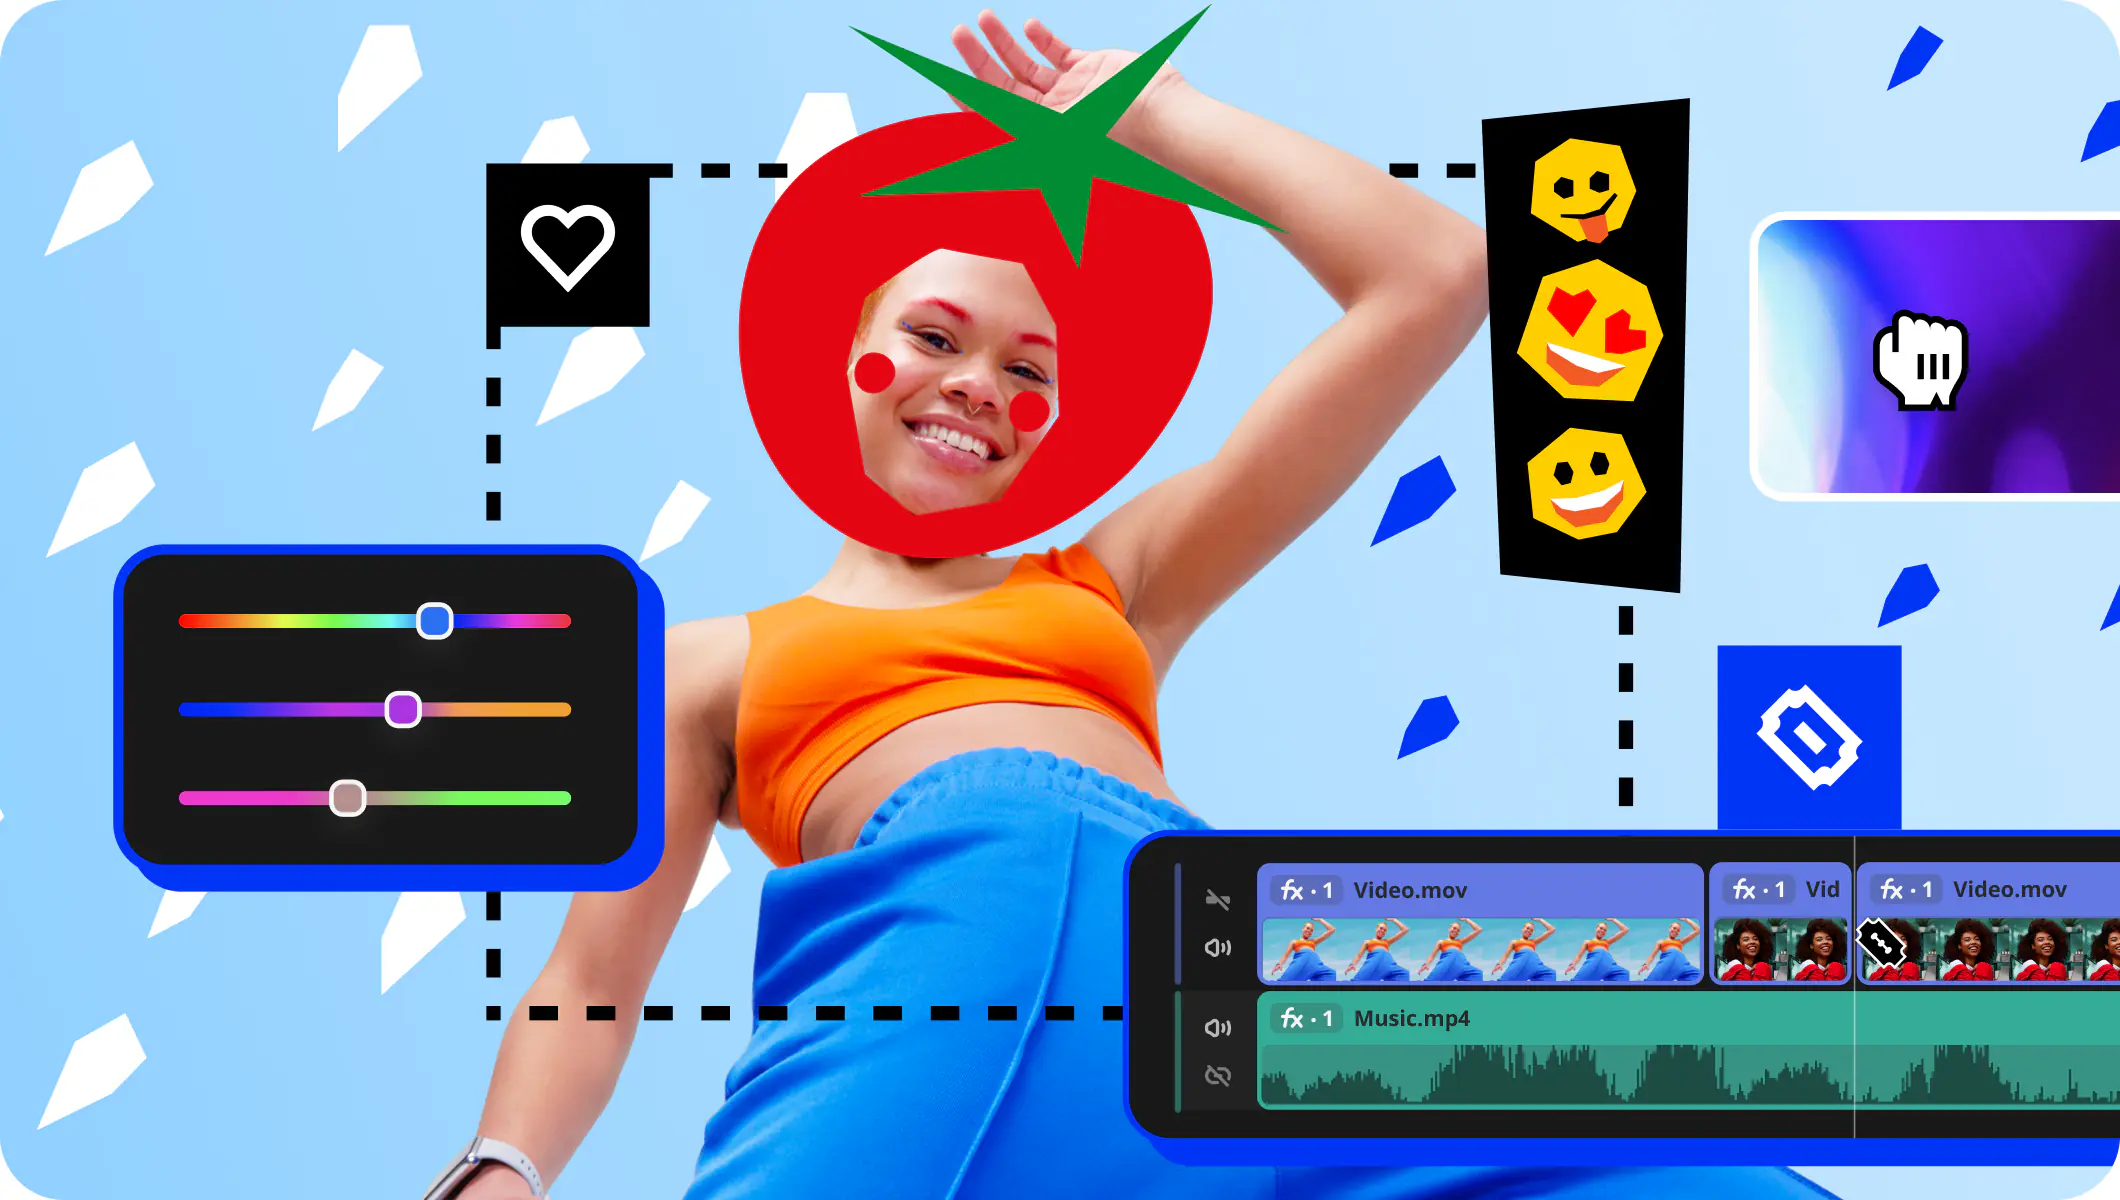
Movavi Video Editor is an intuitive video editor with customizable video templates, one-click AI tools, and hundreds of drag-and-drop effects. It is a desktop app for Windows 10 and 11 and for macOS 12.0 and newer, including Apple M1 and later chips. You save projects as .mepj files on your own computer. If you want to edit on a phone, Movavi App for iOS is a separate mobile editor with pre-designed templates and trending effects.
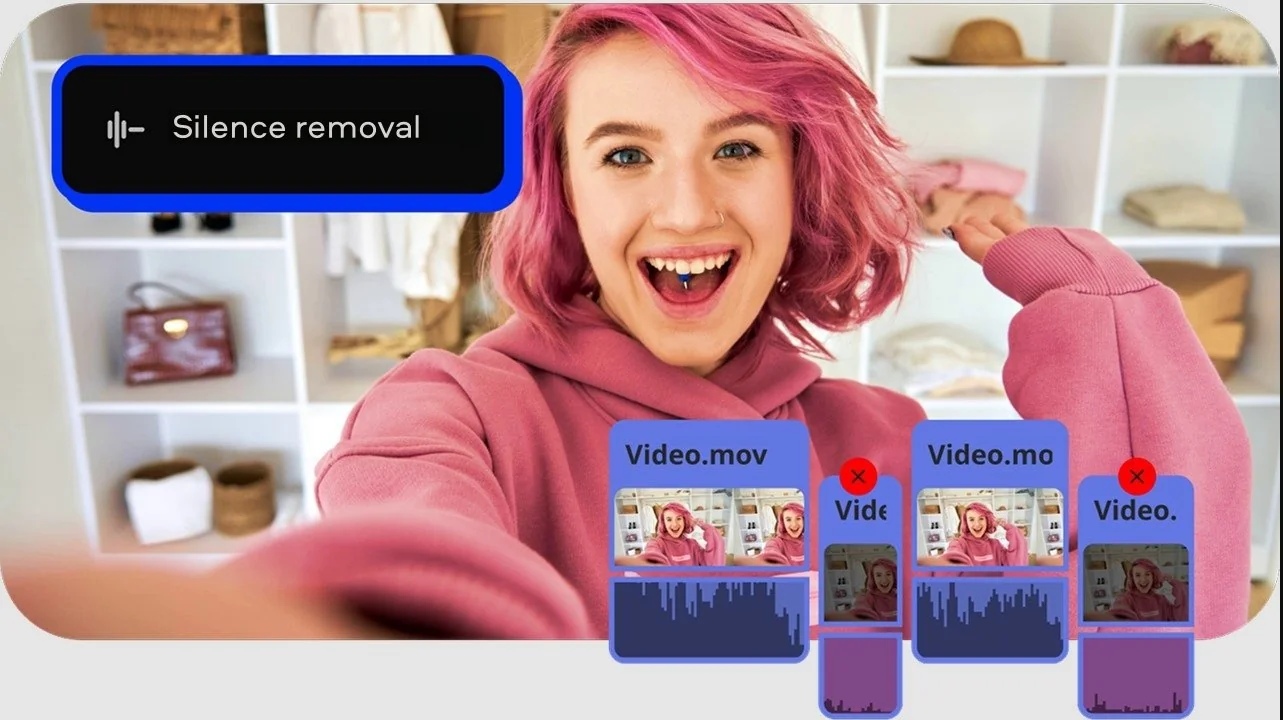
Say you shot a travel vlog on a windy pier. Drop the clips on the timeline, run AI audio noise removal in one click, and the wind hum fades while your voice stays sharp. Add auto subtitles in a design you like, and the vlog has clean audio and on-screen captions after a handful of clicks. New to editing? Movavi Ideas gives you a free step-by-step tutorial every week, short enough to follow in under a minute.
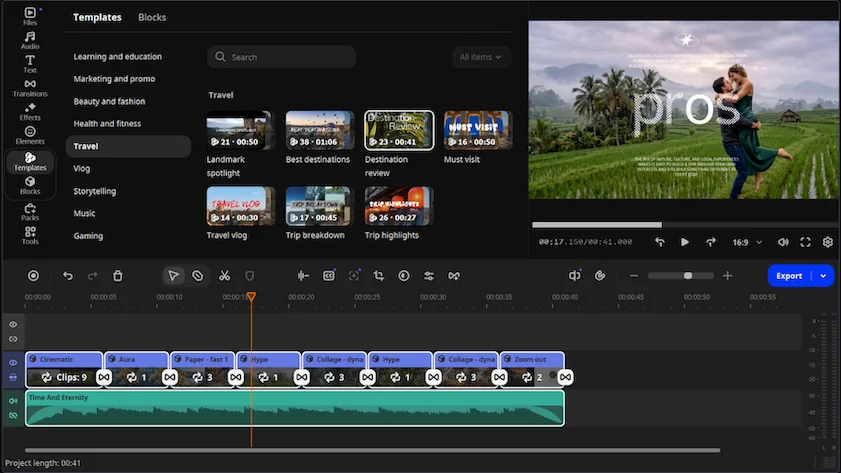
Got a team event recap to cut together? Templates earn their place there. Movavi Video Templates is a multi-style library of customizable, pro-looking, modular templates for any kind of video. Each template is a ready-made project built from Blocks, short pre-edited segments of the video, for example an intro, a countdown, a quick cut, or an animated collage. You drop your own clips, photos, and text into the Blocks. The pre-set editing, music, transitions, and text come with the template, and you can keep, change, or remove any of them. Several templates ship with the full version at no extra charge, while the whole library is a separate Movavi Video Templates subscription.
Clipchamp is Microsoft’s editor, built into Windows 11 and Microsoft 365. It is browser-based, runs in a browser such as Chrome or Edge, and also comes as an app for Windows 10 and 11 from the Microsoft Store. There is no macOS app, so Mac users edit in the browser. The iOS app was retired on 9 June 2026, which leaves the web and Windows. You sign in with a Microsoft account, and projects back up to OneDrive. The editing screen splits into three panels: preview and timeline in the middle, elements and templates on the left, and settings for the selected element on the right, according to TechRadar’s reviewer.