How to Automatically Add Subtitles to Video: 5 Best Ways

Try Movavi Video Editor!

  • Fast and easy editing: cut, crop, adjust colors and speed

  • One-click AI tools: auto subtitles, noise removal, and more

  • Hundreds of filters, transitions, titles, overlays

By clicking the download button, you're downloading a free version of the program.*

Edited by
Ben Jacklin
9,465

Most people scroll with the sound off, whether they're on the bus, at a desk, or half-watching between other apps. Post a vlog, a get-ready-with-me, a haul, or a reaction video without captions, and a good chunk of your audience either scrolls past muted or never gives it the attention it deserves. On top of that, subtitles give search engines and social platforms actual text to crawl, which is part of why a captioned video tends to get found and watched longer than one without.

So, if you’re going to post a video and hope it will reach a large audience, adding captions is a must. The good news is you don’t have to type out every line by hand – simply use an AI auto caption generator, and it will build a synced transcript in a fraction of the time. Here are five of the most common ways to add subtitles automatically, each with a quick walkthrough: two full video editors (Movavi Video Editor and Filmora), a mobile-first app (CapCut), a browser-based tool (VEED), and the auto-caption feature YouTube Studio already has built in.

Tool

Type

Accuracy and language support

Free tier limits

Desktop software

99%+ across 100+ languages

Watermark and 60-sec cap on the free version

Desktop software

Up to 99%, 45 languages

Watermark on exports

Mobile & desktop app

Depends on how clear the speech is

Limited access to premium effects, fonts, music tracks, etc.

Online / website

Up to 99.9% claimed, 125+ languages

Limited video length, watermark

Native platform captions

Roughly 60–85% out of the box

Free, but stays on YouTube only

5 best auto caption generators for video: how to automatically add subtitles to video

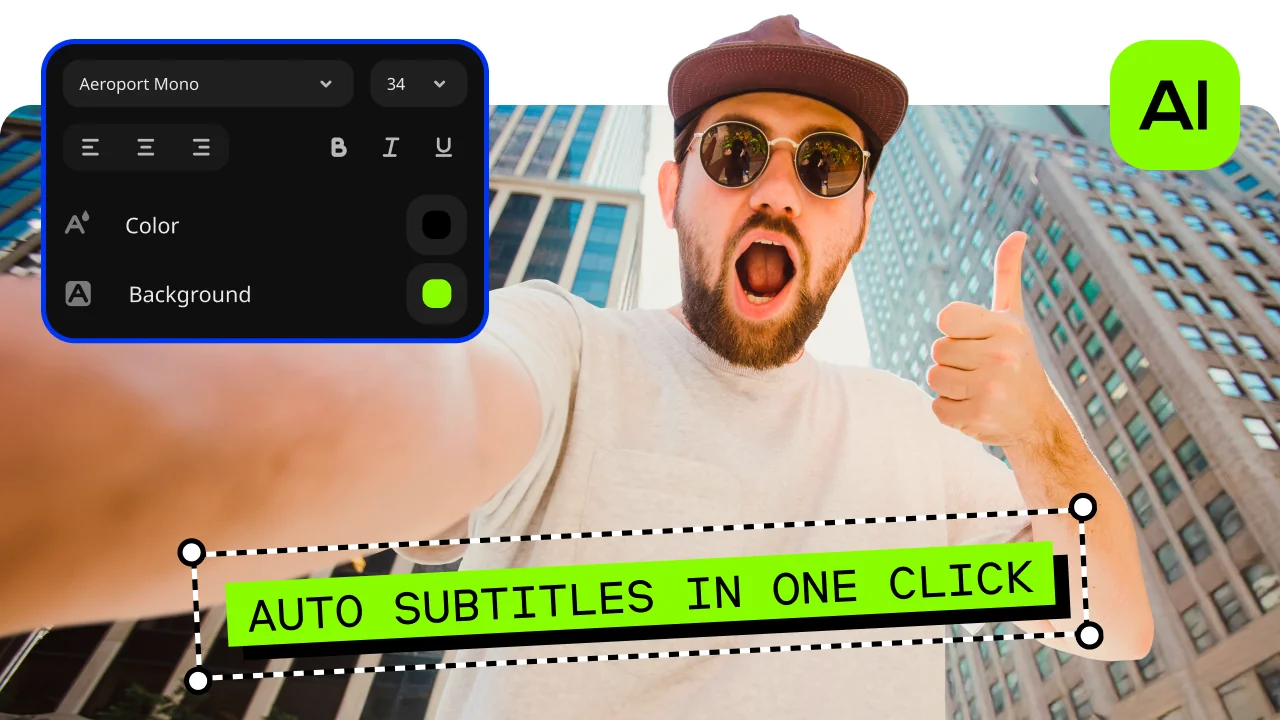
Movavi’s auto subtitle tool uses AI to quickly turn speech into text – it transcribes spoken audio at over 99% accuracy across more than 100 recognized languages. Users can easily customize the screen position and choose from over 60 designs and font styles. The app also offers active word highlighting: each word lights up in real time as it's spoken, the same effect you've probably noticed on popular Reels and TikToks.

How to automatically add subtitles to video in Movavi Video Editor

  1. Click Add Files to upload your video or drag and drop the clip straight onto the timeline.
  2. Click Tools, open the Audio tab, and select Auto subtitles to generate a transcript automatically. 
  3. Choose from a wide range of customizable designs: from strict and minimalistic to bold and punchy.
  4. Click Export, choose your output settings, and save the video with the subtitles embedded.

Designed for beginners and everyday creators, Movavi helps you reach high-quality results from the first try. AI tools handle the tedious parts in just one click and let users focus on creating content.

So, instead of pausing every few seconds to type out what someone just said, you're proofreading a transcript that's already mostly right. And it isn't limited to talking-head footage. A travel vlogger can caption a full day of narration, then run auto-silence removal to tighten the gaps between sentences, all without leaving the timeline. A beauty creator captioning a ten-step makeup tutorial gets the same transcription accuracy whether the clip runs two minutes or twelve. 

One thing worth clearing up, since it comes up constantly in searches for an auto caption generator: the free version caps clips at 60 seconds and adds a watermark, and the full version lets you save videos without a watermark and length cap, so exports are effectively unlimited.
2. Filmora

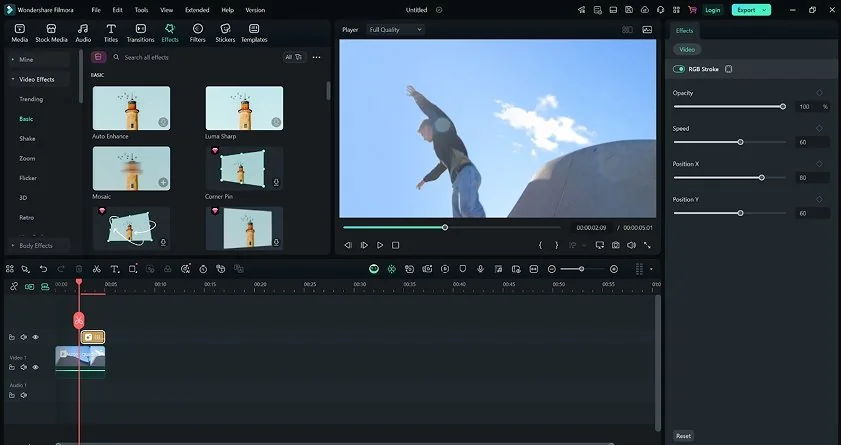
Filmora is another popular video auto caption generator. Its speech-to-text feature is accurate up to 99%, supports 45 languages, and includes a karaoke-style word highlight the company calls Active Words.

How to add subtitles automatically in Filmora

  1. Open Filmora and start a new project, then import your video and drag it onto the timeline.
  2. Go to the Title menu and select Speech to Text.
  3. Choose your spoken language and output format, then click Generate.
  4. Review the auto generated captions on screen, adjusting any words the AI misheard, and apply animation or font settings from there.
  5. Export your video, or save the generated captions as a separate SRT file to reuse.

Beyond captions, the core toolset covers a multi-track timeline, trimming and speed changes, transitions, titles, and a large built-in library of stock templates, music, and sound effects, alongside AI features like auto-reframe for vertical video, background removal, motion tracking, and audio noise cleanup.


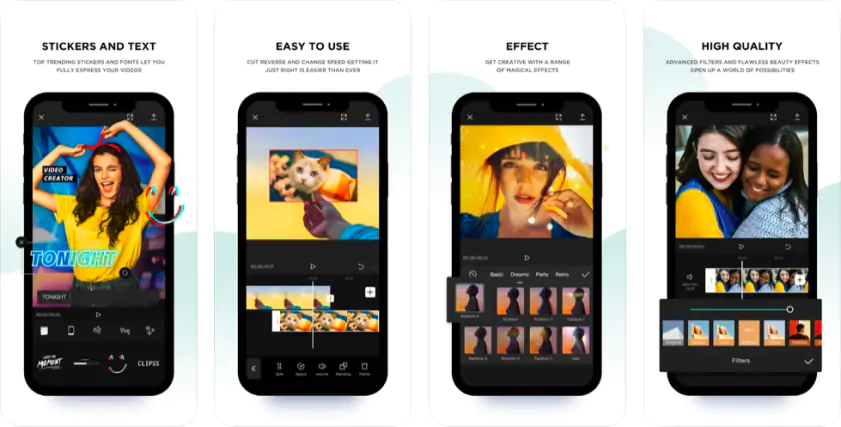
3. CapCut

Short-form video is CapCut's whole reason for existing, so its approach to auto-generated captions is built for exactly what casual creators tend to need most: fast, styled text for TikTok and Instagram Reels, without a laptop anywhere in the process.

How to auto generate captions for video in CapCut

  1. Open the app and tap Auto Captions.
  2. Import your clip into CapCut.
  3. Pick the language for subtitle generation, then choose the template style, and hit Generate
  4. Tap Edit captions to fix any wrong words and customize the font, size, and animation, using Apply to All to push one look across every caption clip.
  5. Export the video. In CapCut's standard free workflow, captions burn directly into the frame as a permanent text overlay rather than exporting as a separate SRT file.

Clean audio matters more here than almost anywhere else on this list – background music, heavy accents, or overlapping speakers all mean a longer manual correction pass afterward. For a single Reel shot and posted in one sitting, that's usually a fine trade, since the whole loop from filming to publishing can wrap up in minutes.

4. VEED

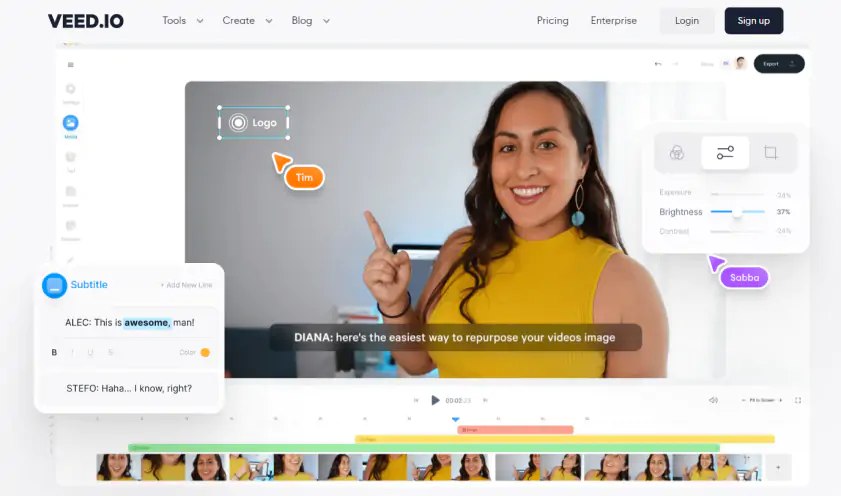
If you'd rather not install anything, VEED is a solid auto caption generator that’s free and runs entirely in the browser. It's a good pick for a one-off clip or for anyone who edits from a shared or work computer rather than their own desktop app.

How to add subtitles in VEED

  1. Upload your video to VEED's online editor.
  2. Choose the appropriate language from the drop-down list and click Auto Subtitle. Let the tool auto-generate a synced caption track.
  3. Edit any line that came through wrong, and customize the font, color, and animation style.
  4. Export the video with the captions burned in, or download the subtitle file as SRT, VTT, or TXT (subtitle file downloads are a paid-plan feature).

Because it's fully online, VEED works the same whether you're on a laptop or a shared computer, with nothing to update or reinstall between projects. The trade-off is the usual one for free web tools: a slower upload depending on the internet connection. Plus, heavier styling options and file exports tend to sit behind a subscription once you go past the basics.

5. YouTube Studio

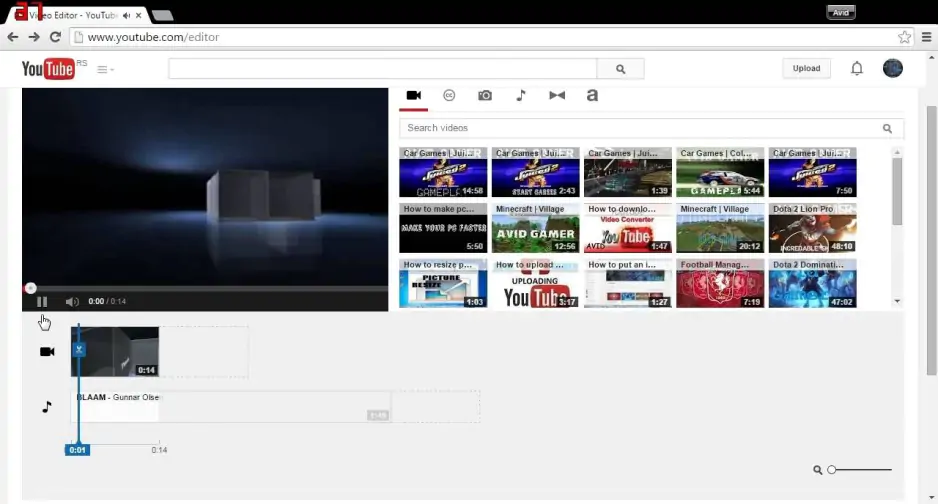
If a video is going straight to YouTube anyway, a separate captioning tool isn't strictly necessary. YouTube runs its own speech recognition on most uploads and publishes automatic captions the moment processing finishes, with nothing to send to a third-party app.

How to add subtitles on YouTube

  1. Sign in to YouTube Studio and open Content.
  2. Select the video, then click Subtitles in the left-side menu.
  3. Wait for the row labeled Automatic to appear once YouTube finishes processing the audio.
  4. Select Duplicate and Edit next to that row to open the caption editor.
  5. Play through the transcript, correct any misheard lines, and click Publish.

Automatic captions here are genuinely free and require no setup, but they're rougher than a dedicated tool's output, commonly landing somewhere around 60–85% accurate depending on audio quality. And they're limited to YouTube itself: there's no reusable SRT export or custom font styling built in. It's a convenient option for YouTube uploads, but you’ll still need a dedicated video editor with customizable designs for captions if the look matters to your channel or your brand.

Don't forget music videos and podcasts

Everything above assumes someone talking to a camera, but the same subtitle sync works on other audio, too. Feed a song into any of these tools, and you'll get a rough transcript of the lyrics – vocals layered under instrumentals are harder for any speech recognition engine to catch cleanly than plain speech, so budget a manual pass to fix ad-libs and fast verses before the captions go live. Podcasts cut into video clips bring their own complication: overlapping speakers, which means setting aside extra time to sort out who said what before publishing the episode.

Picking the right auto caption generator

Which one to use really comes down to how often you post and how much the finished look matters to you. For a single Reel today, VEED, CapCut, or YouTube's own captions get the job done for free, with nothing new to learn. If subtitles are turning into a regular part of your editing routine – a weekly vlog, a podcast turned into video, a music video you want to look deliberate rather than thrown together – a dedicated caption tool built into a full editor, like Movavi Video Editor or Filmora, starts paying off by the second or third time you use it, since your styling and export settings carry over instead of resetting with every new clip.

Movavi Video Editor
Create awesome videos easily

*The free version of Movavi Video Editor may have the following restrictions depending on the build: watermark on exported clips, 60-second video or 1/2 audio length limit, and/or some advanced features unavailable when exporting videos.

Frequently asked questions

How do I add subtitles automatically to a video?

Run your video through an auto caption generator – inside video editing software like Movavi Video Editor or Filmora, a website like VEED, a mobile app like CapCut, or your platform's own native captions on YouTube. The tool transcribes your audio automatically, and you review and correct the result before exporting or posting.

What's the best automatic subtitle generator?

Depends what you're optimizing for. Movavi Video Editor pairs high transcription accuracy with the broadest language support on this list, at over 100 languages, plus a full editor for fixing or styling captions afterward. Filmora is a solid option with similar accuracy and a shorter language list. CapCut, VEED, and YouTube are the faster, free options for a single clip.

Can I add auto captions without a watermark?

Depends on the tool and the plan. Movavi Video Editor's full version removes the watermark and the length cap entirely. Free tiers elsewhere, Movavi's included, keep some combination of watermark or export limit until you upgrade.

Is there a free auto caption generator for video?

Yes – VEED, CapCut, and YouTube's native captions are all free, usually in exchange for some mix of length caps, watermarks, or limited export and styling options compared with paid software.

Can auto-generated captions be translated into other languages? 

Most of the tools here support it. Movavi Video Editor's transcription can be translated into several languages, including English, Spanish, and Korean. VEED offers translation across its 125+ supported languages. It's an AI voice-to-text pass first, then a separate translation step – worth reviewing the same way you'd review the original transcript.

Have questions?
If you can’t find the answer to your question, please feel free to contact our Support Team.
Join us for discounts, editing tips, and content ideas

1.5M+ users already subscribed to our newsletter

By signing up, I agree to receive marketing emails from Movavi and agree to Movavi's Privacy Policy.