Movavi Screen Recorder
The perfect way to record anything from your screen
Disclaimer: Please be aware that Movavi Screen Recorder does not allow capture of copy-protected video and audio streams.

Singing along in the bedroom feels great. Listening to a recording helps you hear what you can improve. It shows you where you go flat, where you run out of breath, and which songs really suit your voice. Recording yourself is also a good first step if you want to share song covers online.
You don’t need a studio for this. A computer, a microphone and headphones are enough for a basic recording. You can use free software for audio recording, while browser-based video tools may have limits or watermarks.
Below, we'll cover two approaches: recording yourself on camera with the lyrics on screen, or recording your voice separately so you can mix it with the music later.
Start with YouTube. Search for the song title plus “karaoke” and you’ll usually find a version with the lyrics on screen, especially for popular songs.
If you can't find a suitable karaoke version, use a tool like MyKaraoke Video to turn any song into a karaoke track. The service allows you to upload the song or paste a YouTube link, and AI removes the vocals and syncs the lyrics. You can download just the instrumental as an audio file, or export a karaoke video with the words lighting up as you sing. Free credits are available, but they are limited.
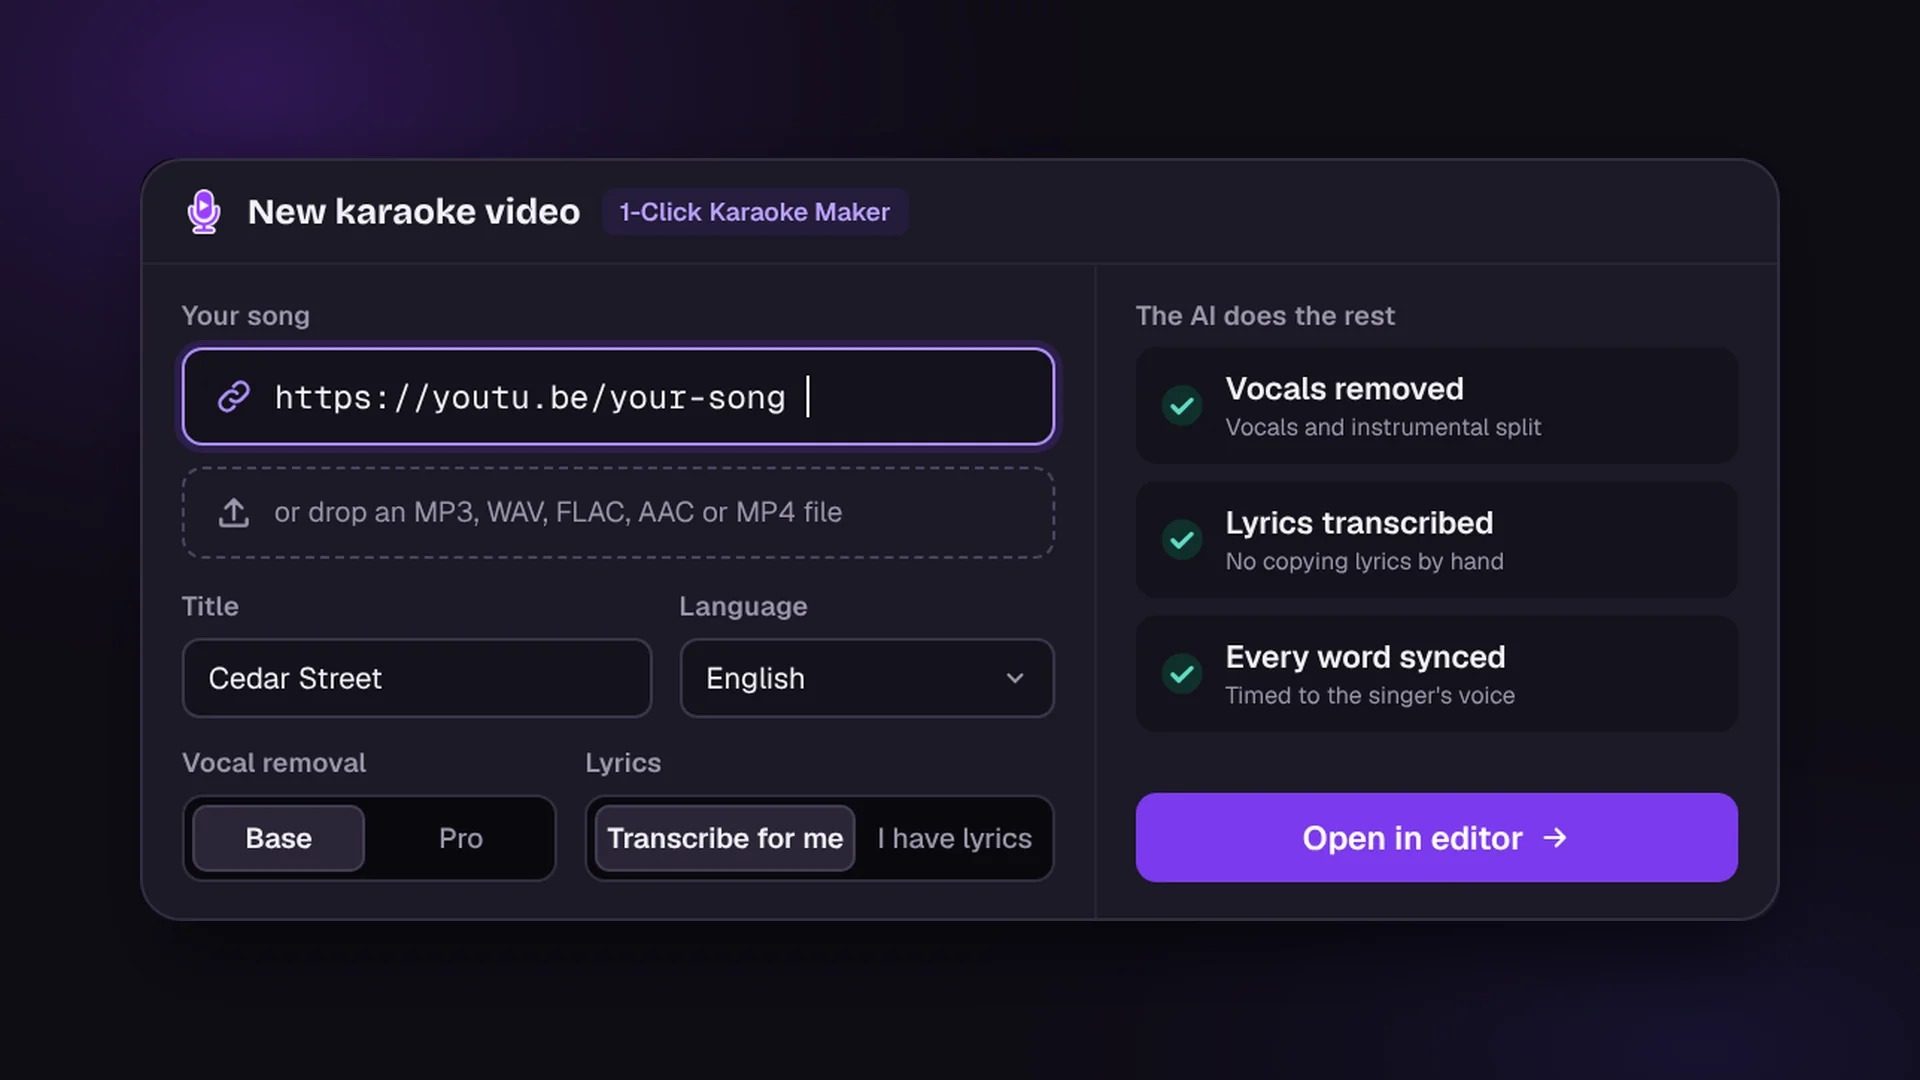
Paste a YouTube link or upload a song to start.
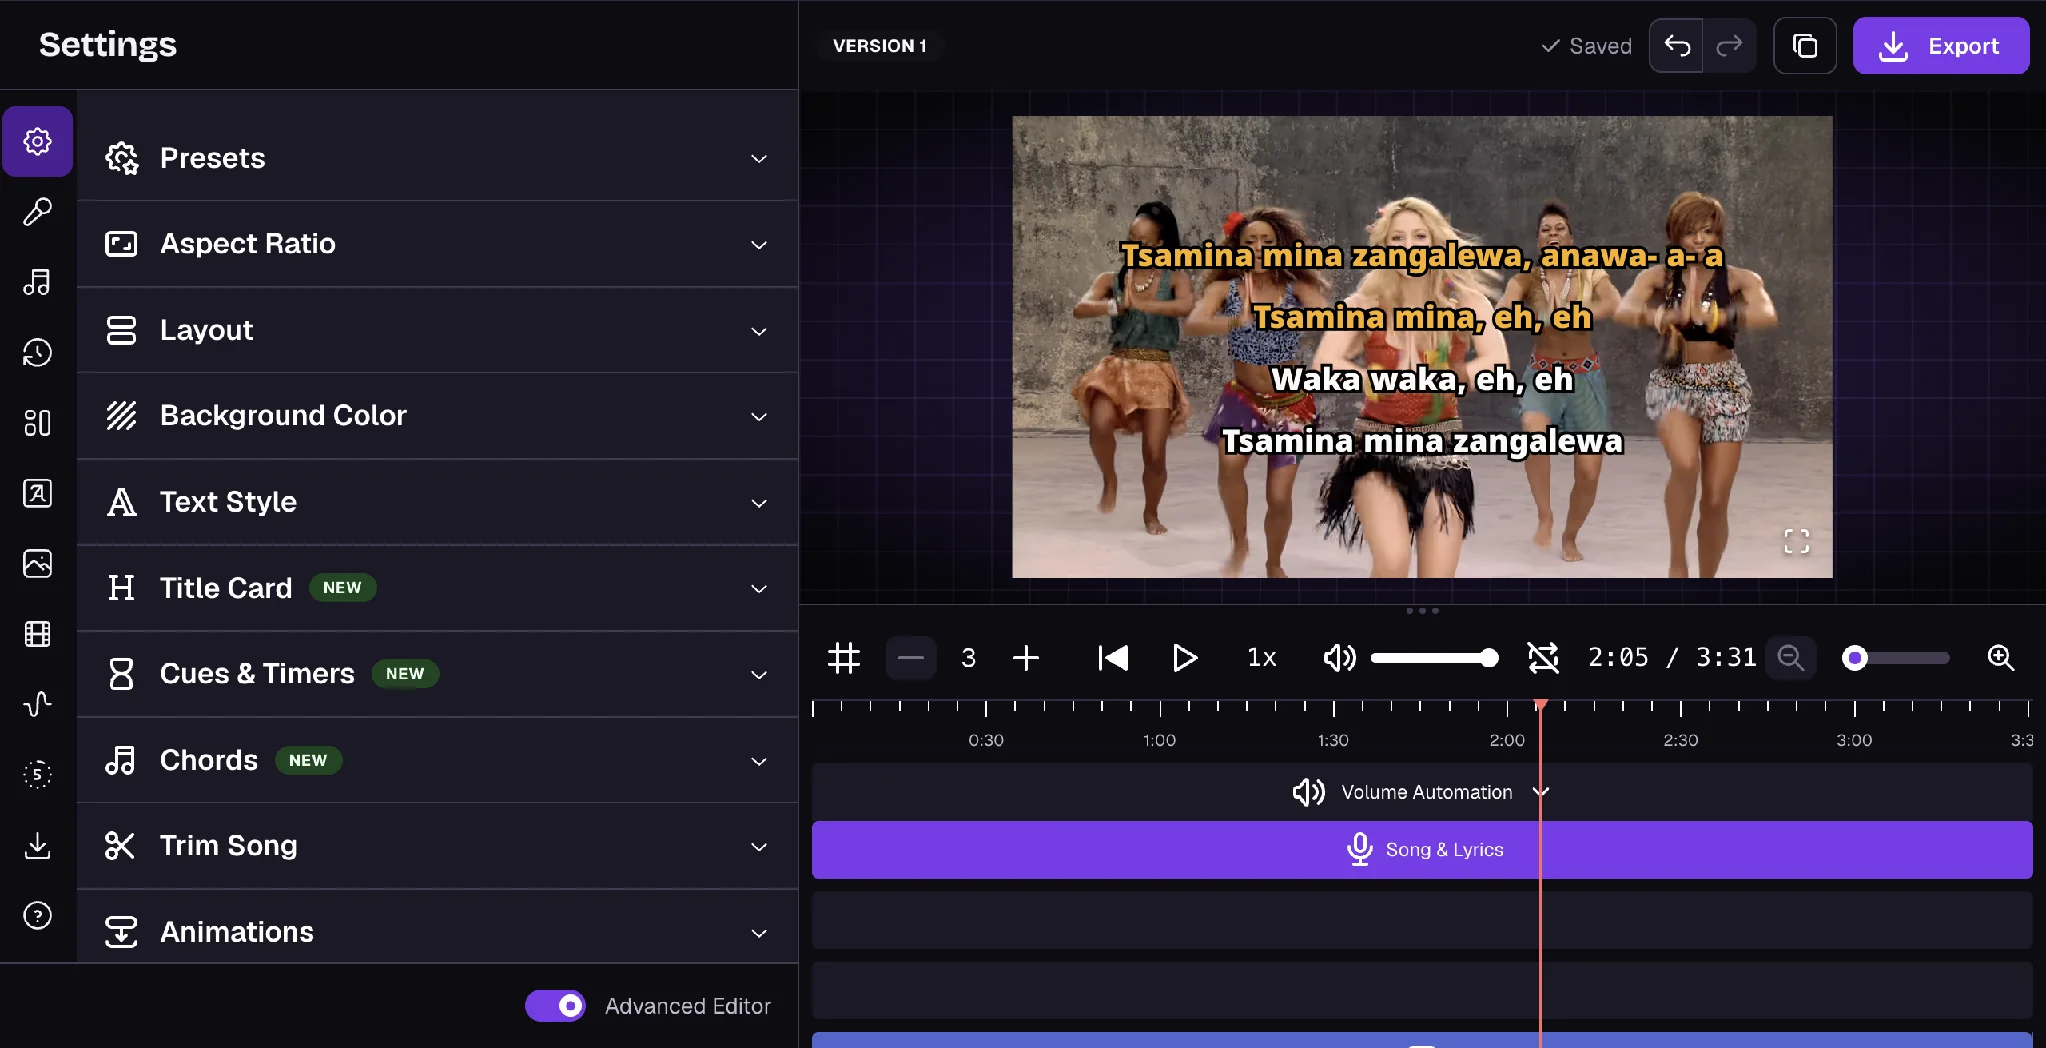
MyKaraoke Video turns any song into a karaoke video, with the vocals removed and the lyrics synced to the music.
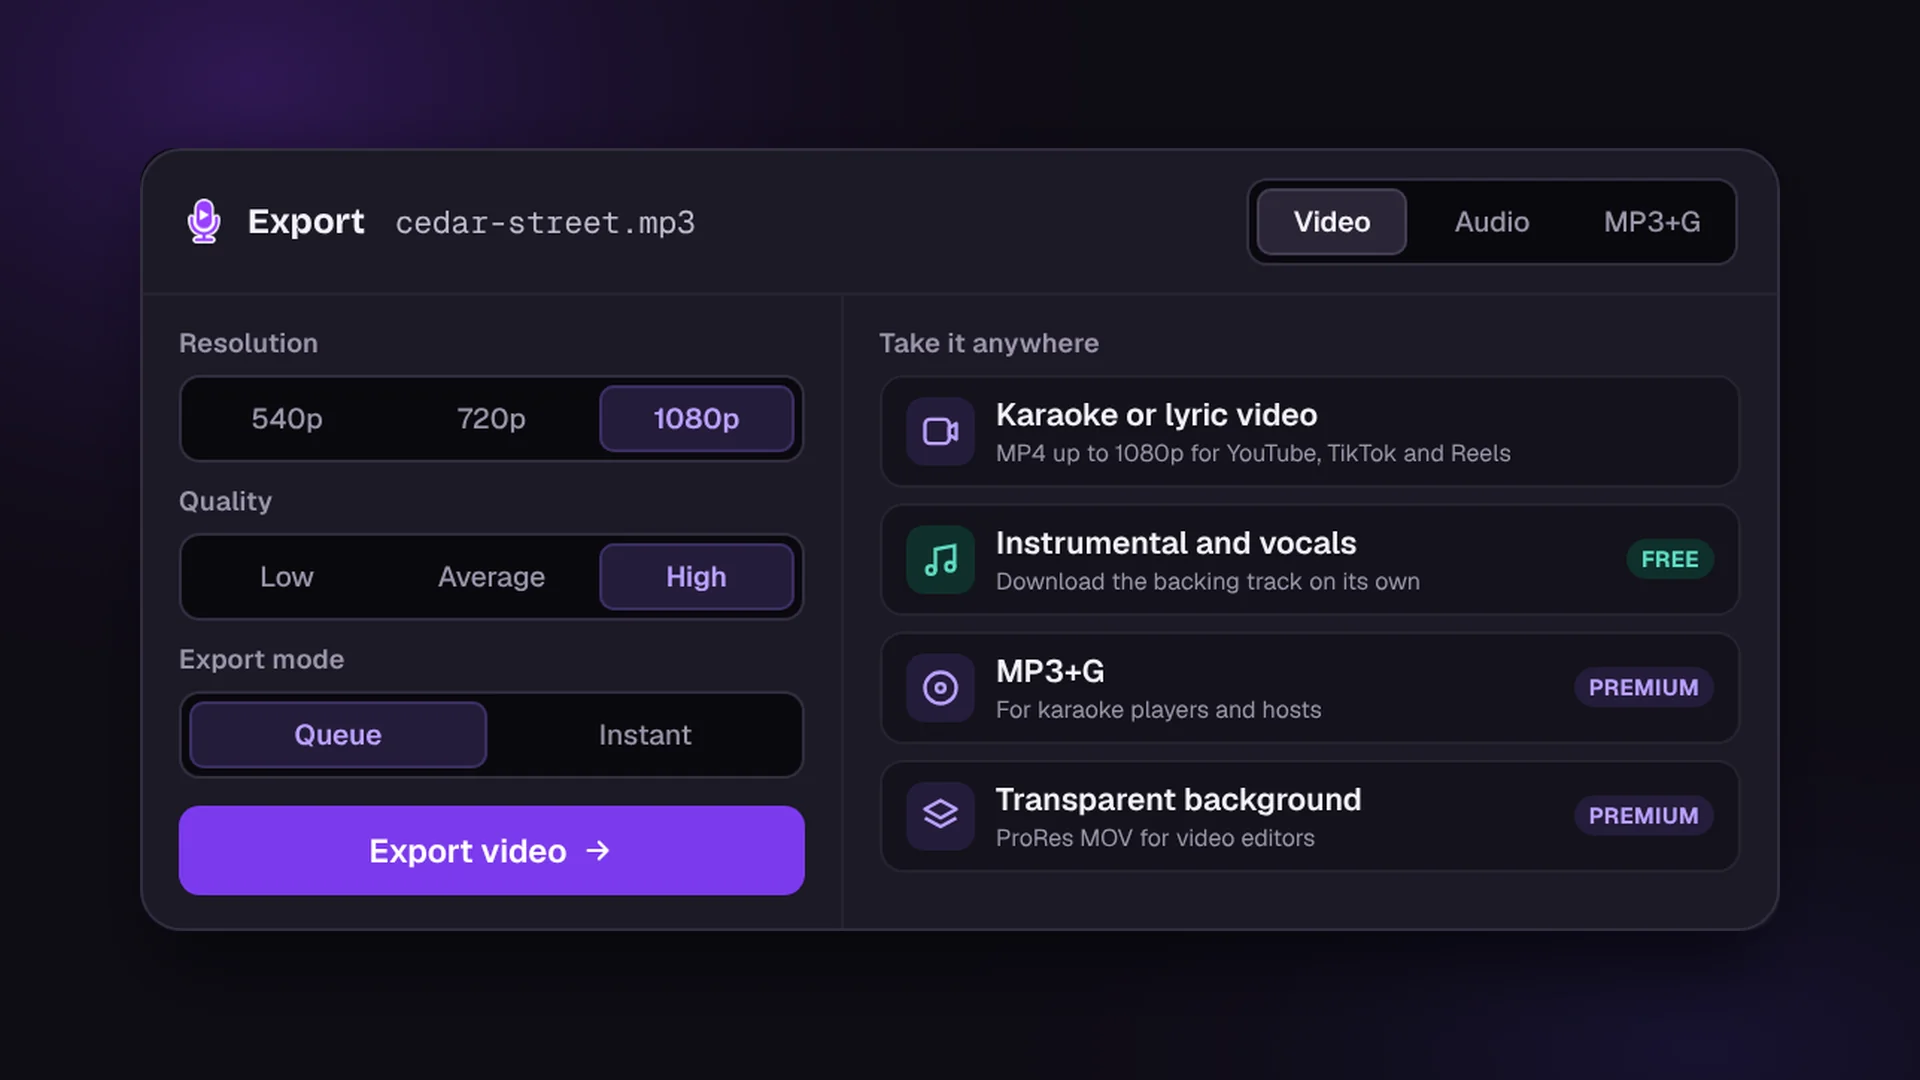
Export a karaoke video, or download just the instrumental to sing over.
Whichever route you take, use the cleanest version you can find. A low-quality backing track can make the final recording sound worse, even if your vocals are clear. Before using a karaoke track in a video you plan to publish, check whether you have permission to use both the song and the backing recording.
Play the music through your headphones, never through speakers. If the track comes out of speakers, your mic records it a second time, a fraction of a second late. This can cause echo or make the recording harder to clean up later.
Then set up the mic:
Choose the recording method based on what you want to save. The browser option captures a video of your performance, while Audacity gives you separate audio tracks for editing.
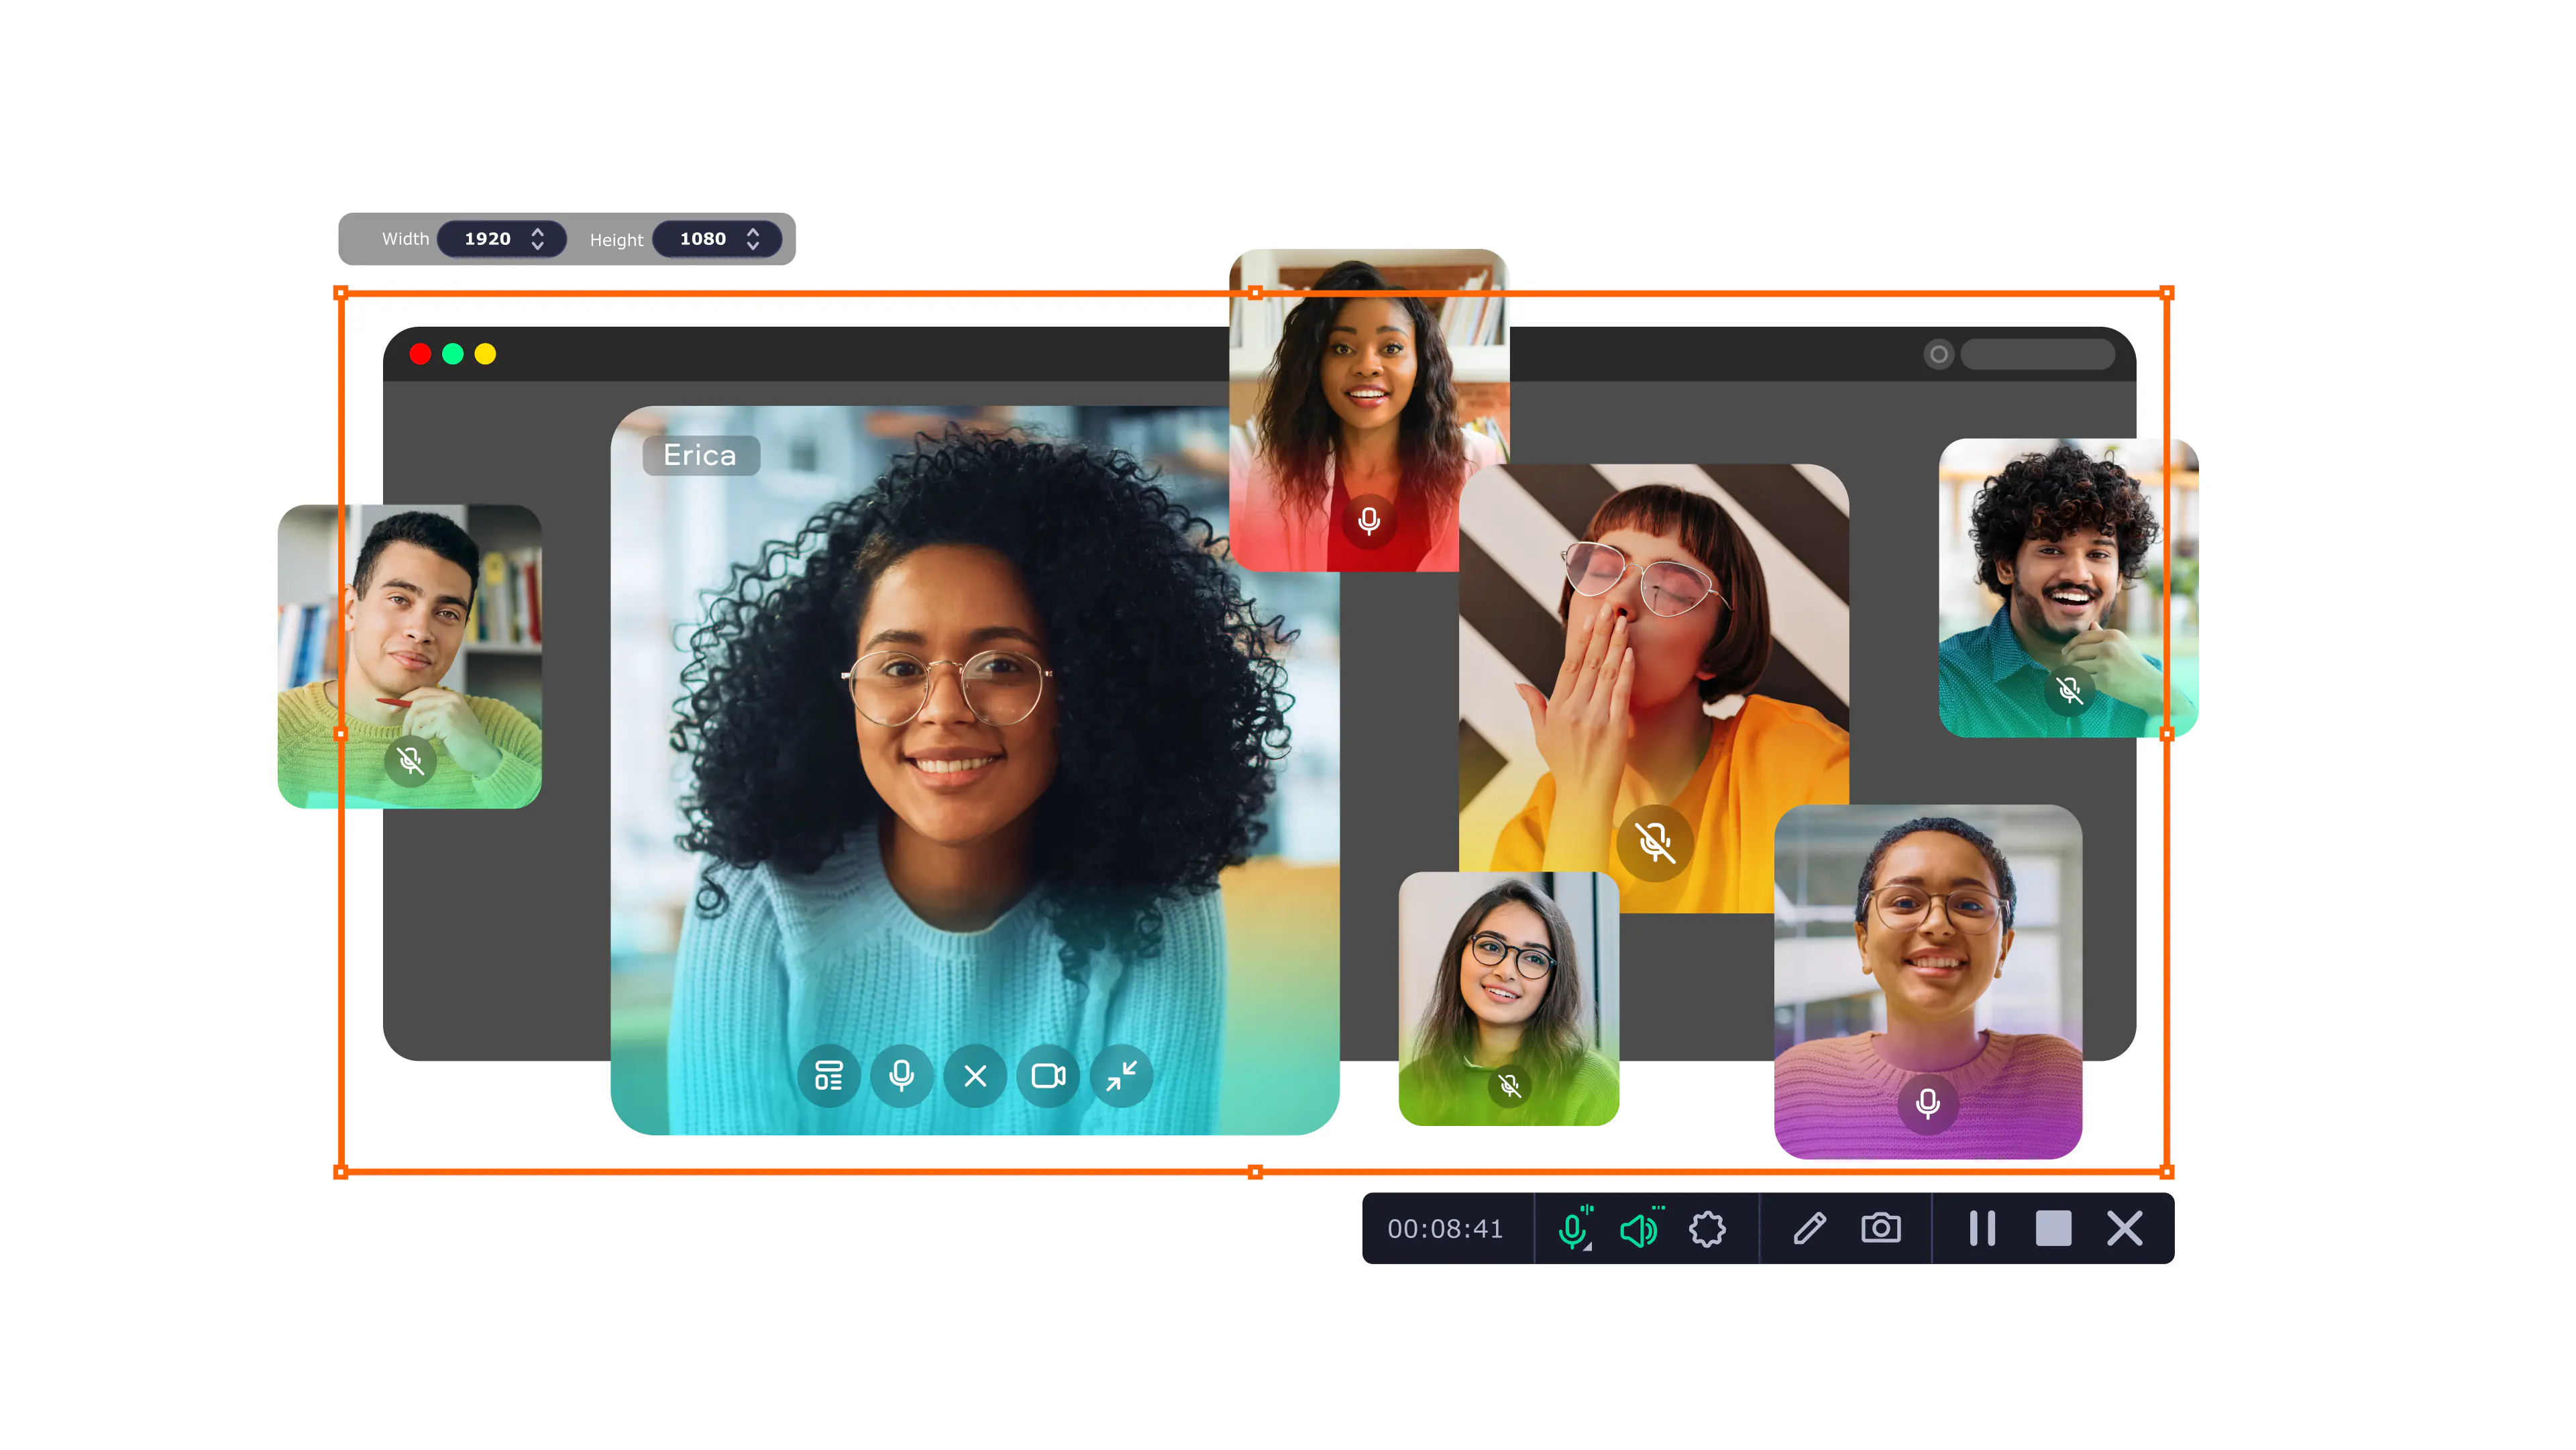
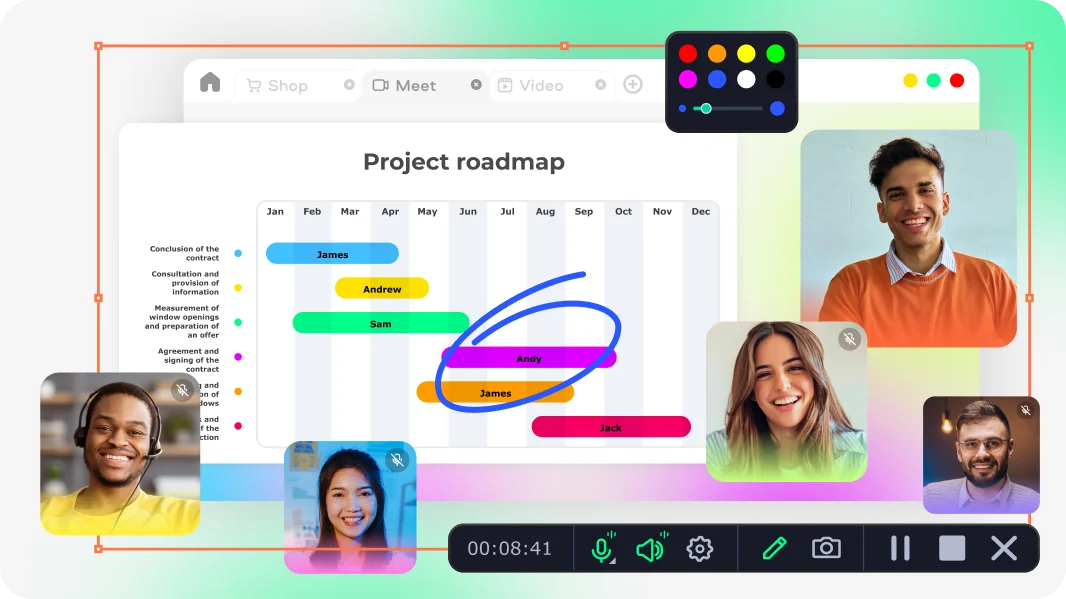
Choose this option if you want to record yourself on camera too. A screen recorder captures the karaoke video on your screen, your webcam, your voice and the music, all in one file.
Screencapture.com lets you record your screen, webcam and microphone in a browser. The available audio-sharing options depend on your browser and operating system, so check them before you start recording.
Do a 20-second test before the full take and play it back. Check that both your voice and the backing music are audible. Since they're captured together in the finished video, you won't be able to adjust their volumes independently afterward. If the music drowns you out, lower the volume slider on the karaoke video and try again.
For more recording and editing tools, try Movavi Screen Recorder. It works on desktop and lets you trim unwanted sections, while the paid version removes the trial watermark.
Choose this if you want your voice and the music on separate tracks, so you can adjust the balance and add effects later. Audacity is free for Windows, Mac and Linux, though if you want to try something different, there is more music recording software that can handle multitrack recording too.
Tip: If you want to experiment with more advanced effects or mixing options, you can try other free audio-mixing software alongside Audacity.
If you recorded your vocals in Audacity, you can now adjust the backing track and your voice separately. If you used the browser recorder, skip to Step 5, as your audio and video are already combined.
Movavi Screen Recorder
Disclaimer: Please be aware that Movavi Screen Recorder does not allow capture of copy-protected video and audio streams.
Yes. Plenty of karaoke apps let you sing and record on a phone. A computer gives you more control over sound quality and editing, which matters if you plan to post your recording.
Yes, you can make a basic karaoke recording for free. Audacity is free to use, and you can find karaoke tracks on YouTube or use recordings you have permission to work with. Screencapture.com also offers free browser recording, although the output may include a watermark. If you want to create a new karaoke track, the services often limit free credits, so additional use costs money.
You can, but the song still belongs to its writers and label. YouTube’s Content ID can identify copyrighted music and lead to monetization claims or restrictions, and copyright holders may also request removal. Check the rights before uploading, especially if you plan to monetize your video.
It is usually Bluetooth headphones or recording delay. Switch to wired headphones and, in Audacity, nudge your vocal track or set latency compensation.
Your first recording won’t be perfect, and that’s the point. Record, listen back, pick one thing to fix, and record again. Keep listening for small improvements in each take, and you'll have a clearer idea of what to work on next.


1.5M+ users already subscribed to our newsletter